


I've recently fallen in love with the french country look. So upon finding some linen lookalike I decided to make myself a little zipper pouch! I really do love this little guy! I've been using it for a makeup pouch, but I think it would be great for an Easter clutch too!

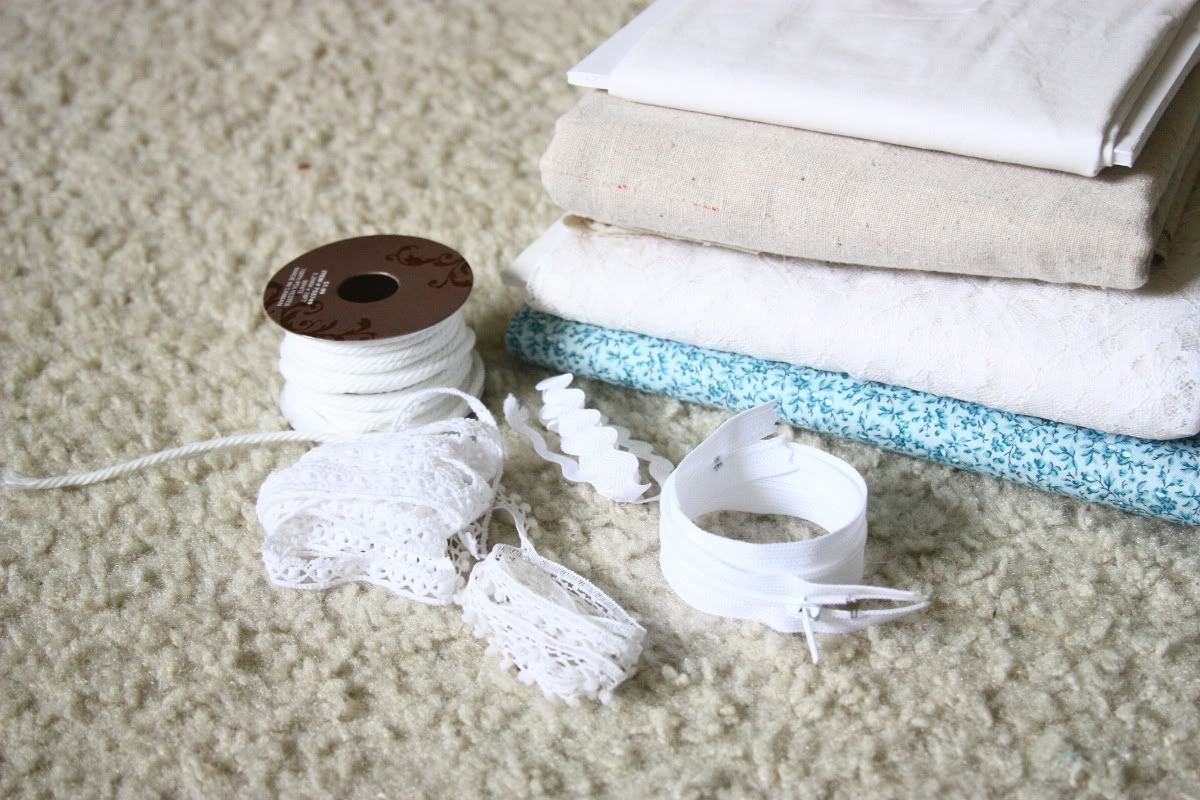
Supplies:
1/4 Linen/Muslin Fabric
1/4 Interior Fabric
1/4 Pellon Shirt Tailors interfacing
1/4 Lace fabric
1/8 White Fabric for bow
9" zipper (or larger)
4-5 10" lace and string pieces.

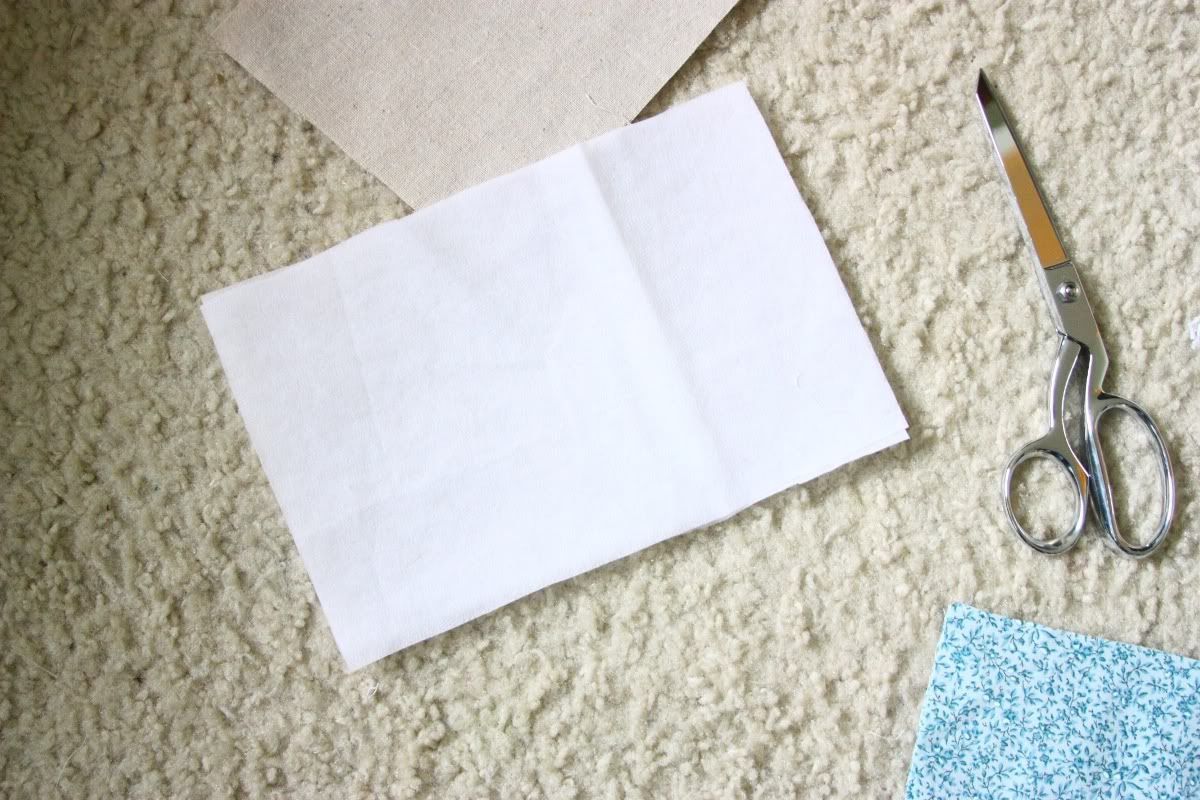
Start by cutting {2} 9"x6" from your exterior fabric, interior fabric and interfacing. And a 10"x7" from your lace fabric. For the bow cut {2} 4"x20".
I picked my linen lookalike fabric up at Hobby Lobby for 3.99 I yard. It looks like linen, but I believe its a muslin type fabric.
For this project I used Pellon Shirt Tailors Interfacing. Heavy weight or Light weight interfacing will work as well.

Take your interfacing and fuse it on to the wrong side of your Linen/Muslin Fabric.
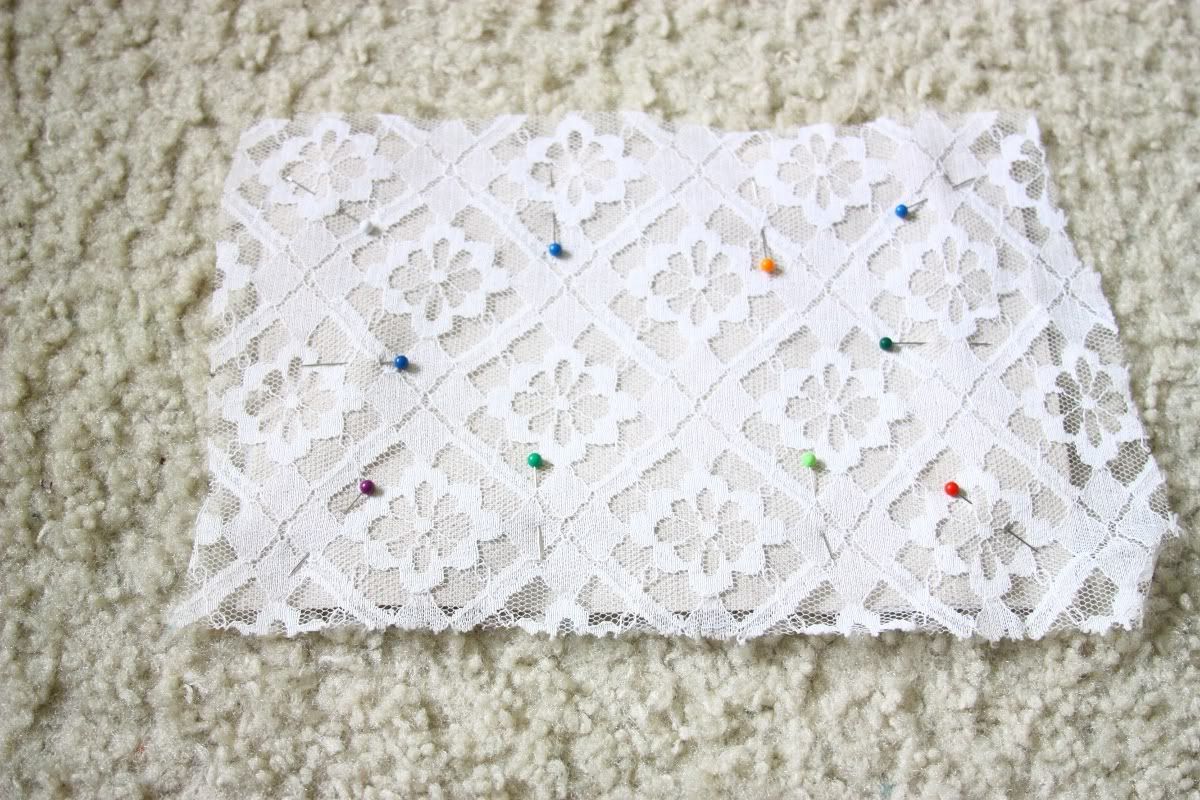
Pin your lace fabric on to the back of one of your linen pieces. Because lace is often slippery/stretchy its much easier for it to be large then your actually project size.
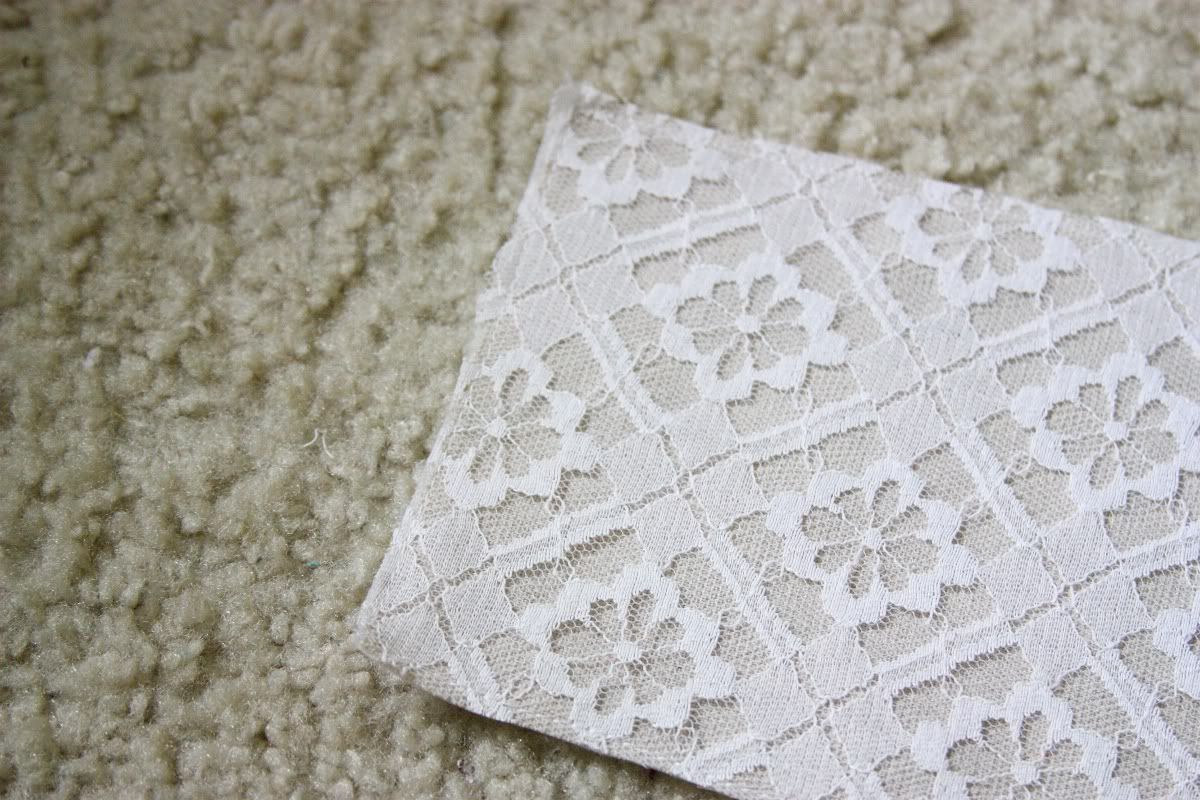
Sew about 1/8-1/4 all the way around the edge and trim off the extra lace.
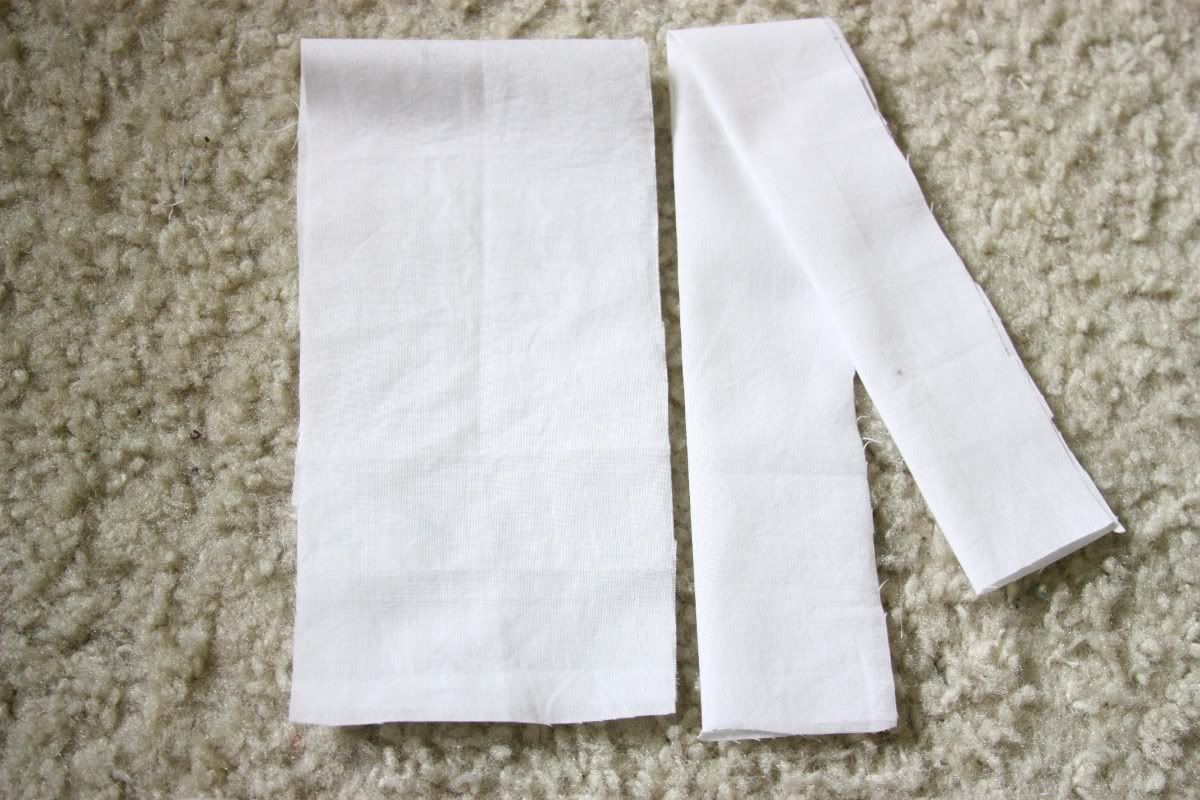
For the bow take your pieces and begin by folding them in half length wise and ironing them down.
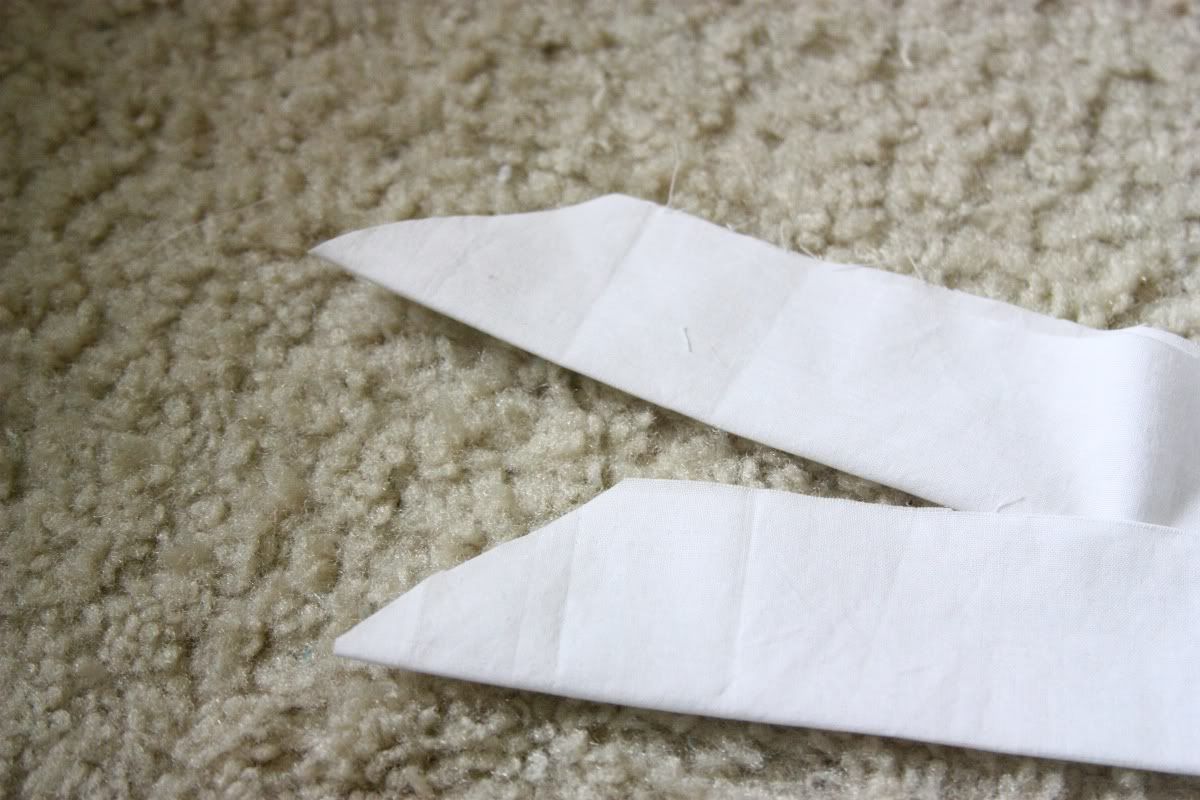
Placing one on top the other and do a diagonal cut along the edge.
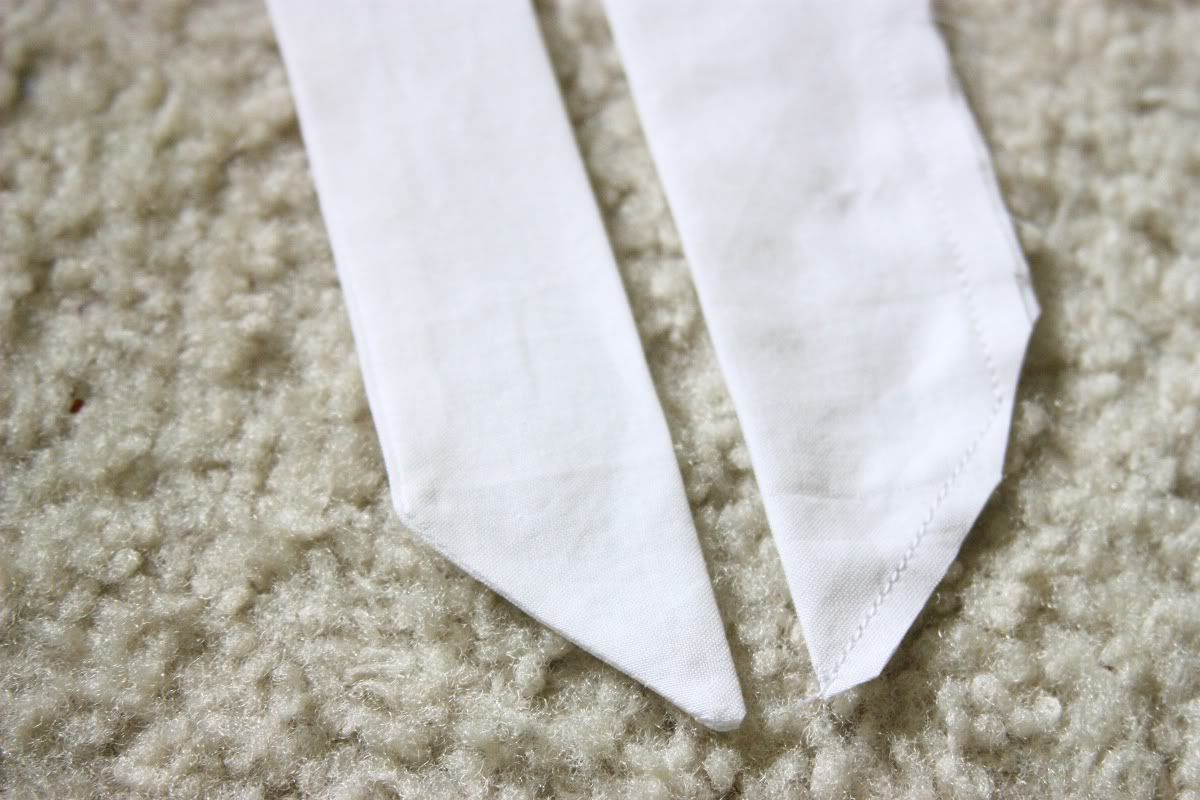
Sew about 1/4 from the edge leaving the flat end open. Trim the corners and flip inside out. Press.
For my project I only cut my bow pieces about 15" long. Then when I got to tying my bow I barely had any wiggle room! For sure you want to have your piece longer, so I suggest 20" long.
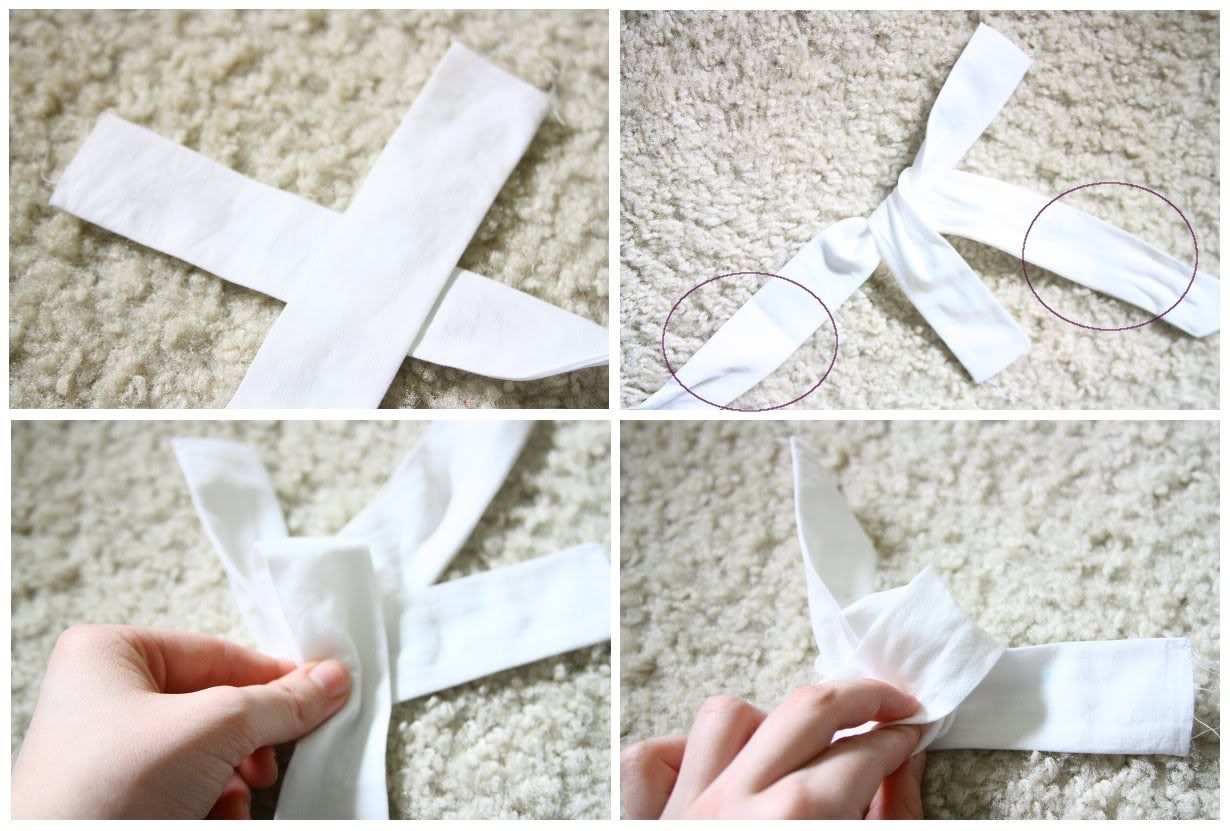
1) Start by laying your bow pieces one over the other. Make sure the end facing up is the flat end.
2) Fold the underneath piece, over the top piece. The two ends you haven't touched yet should be longer (circled in purple). These are the ones you'll use to tied the bow.
3) Begin by pinching the one on the left.
4) Still holding it pinch the one of the right with your other hand and tie them in a knot.
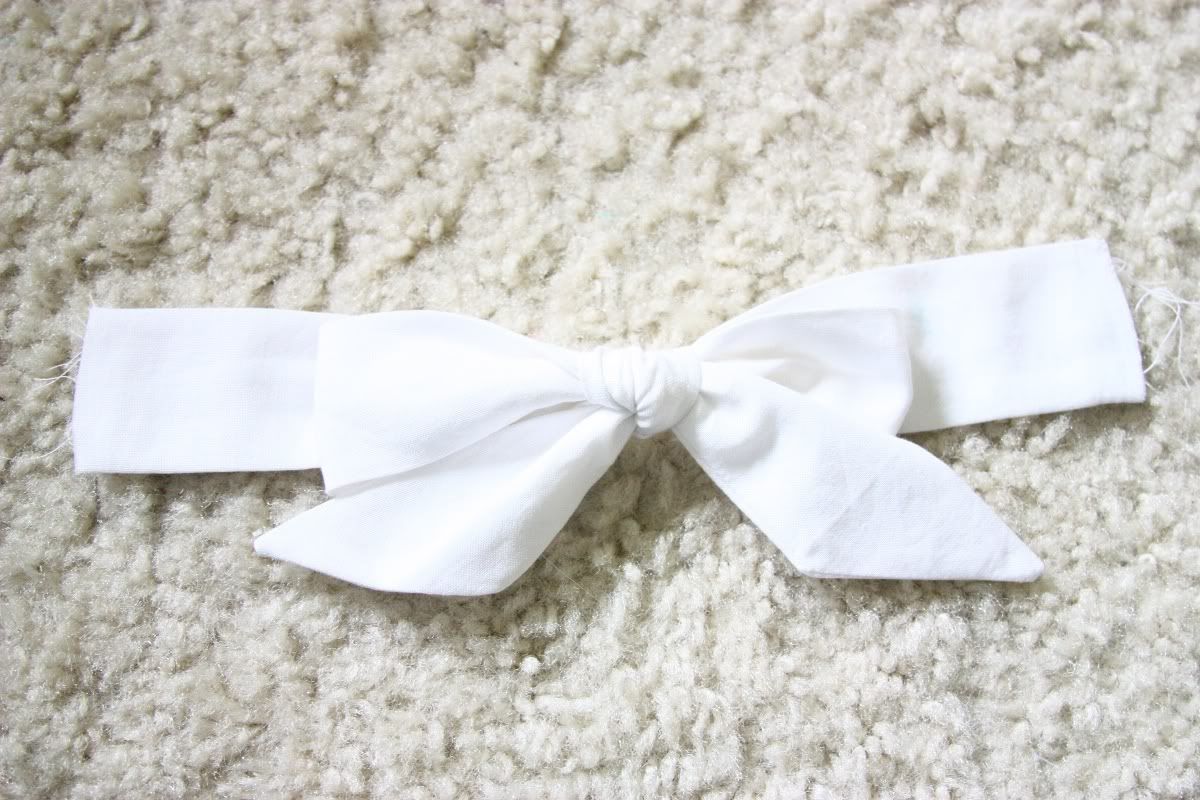
It may take a few tries but... walla! A lovely bow!
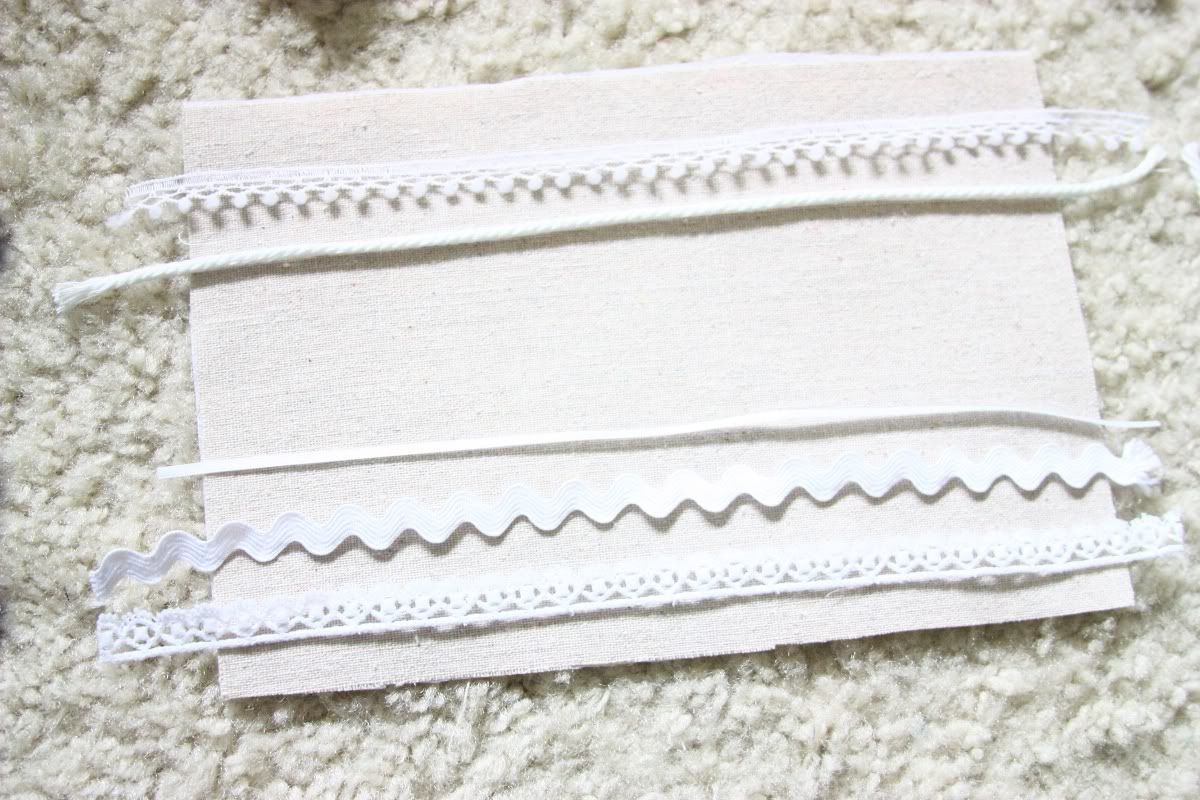
Take your lace and sting and lay them out in what ever order you like, leaving enough space for the bow and about about 3/4" from the top and bottom edge.
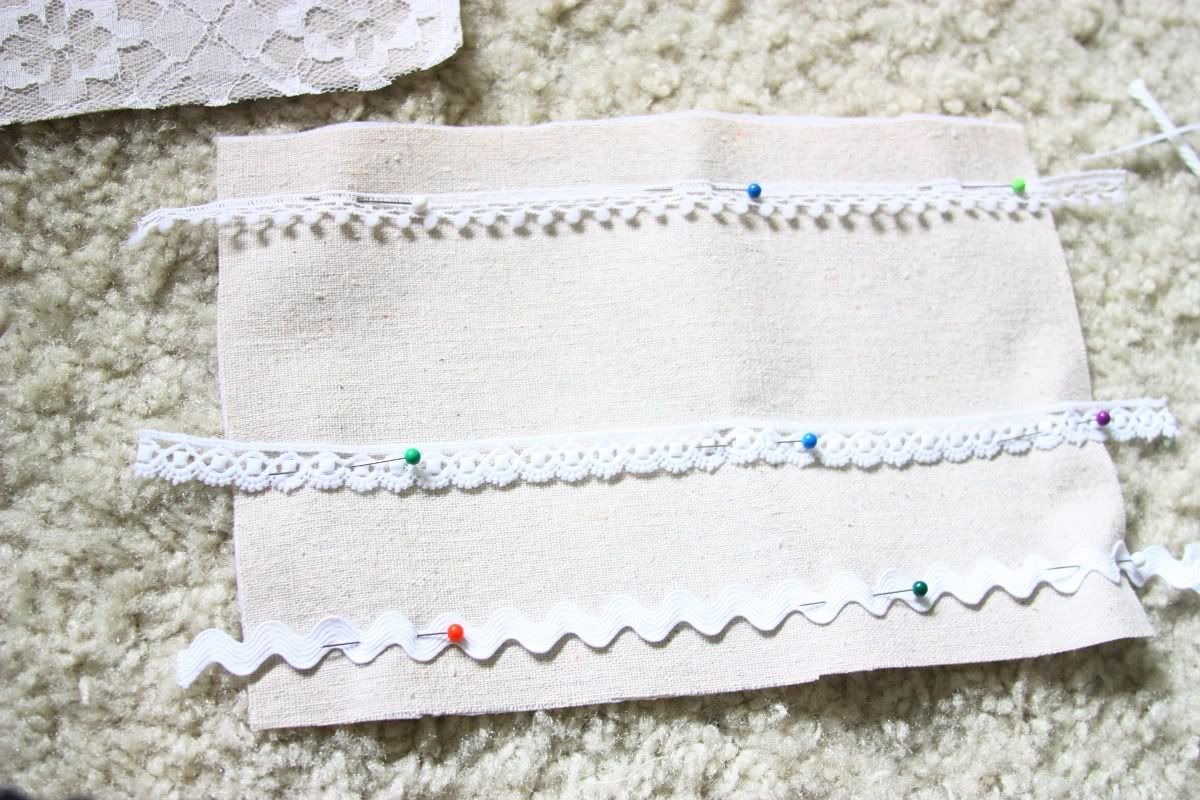
Pin in place and sew. I started with my 3 bigger laces then moved to my smaller ones.
If pins don't work you may also want to try tape
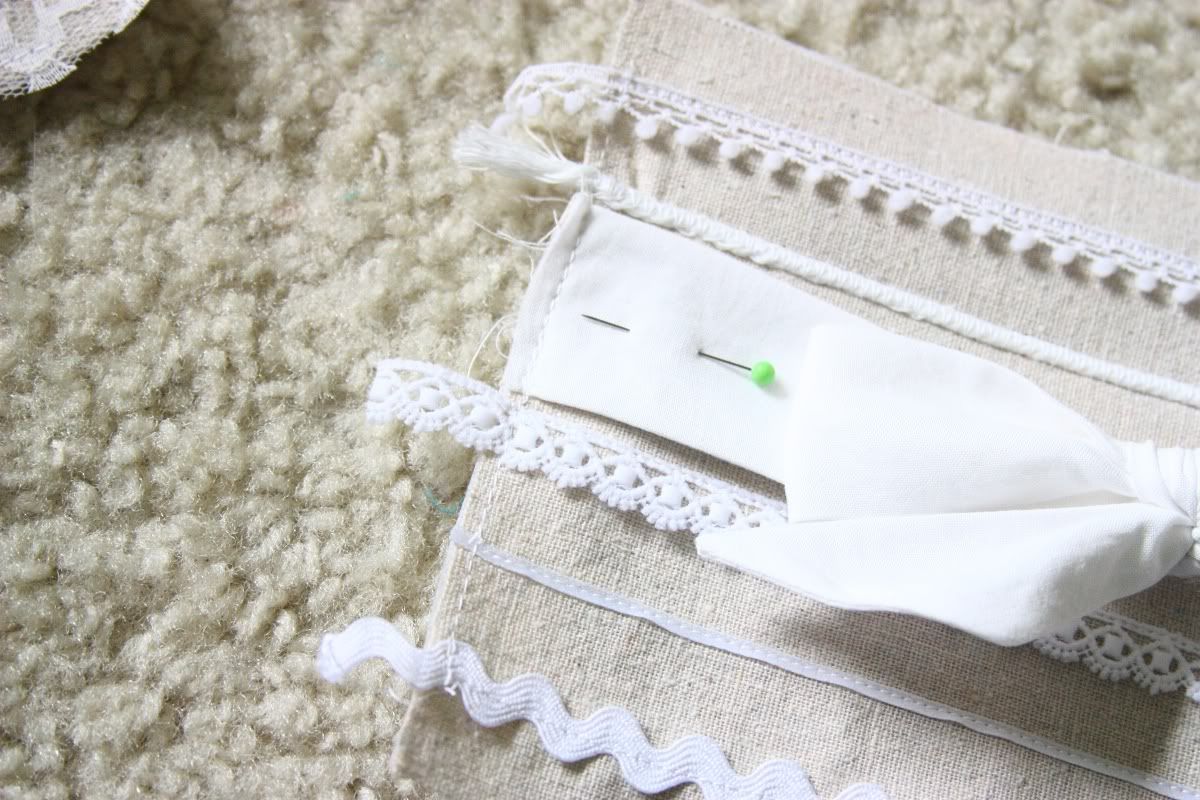
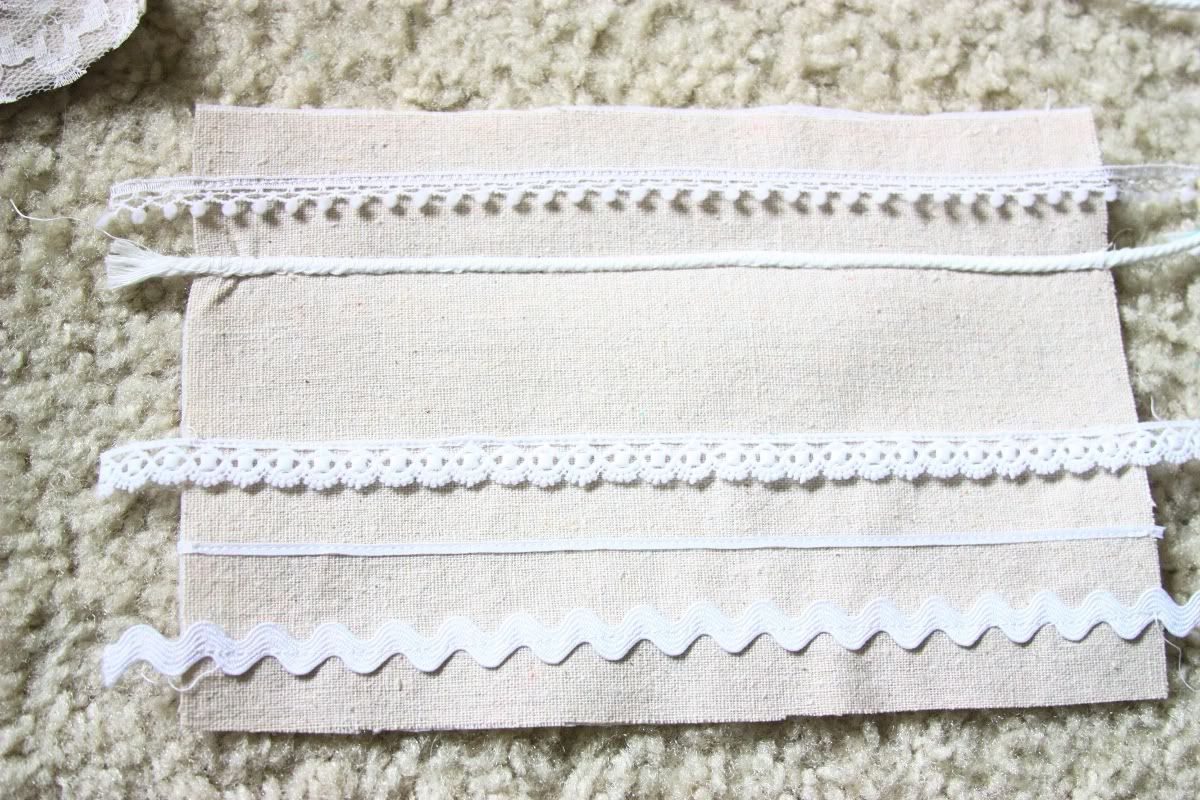
After all your lace is in place add the bow, sewing down the entire side to secure all the lace pieces.
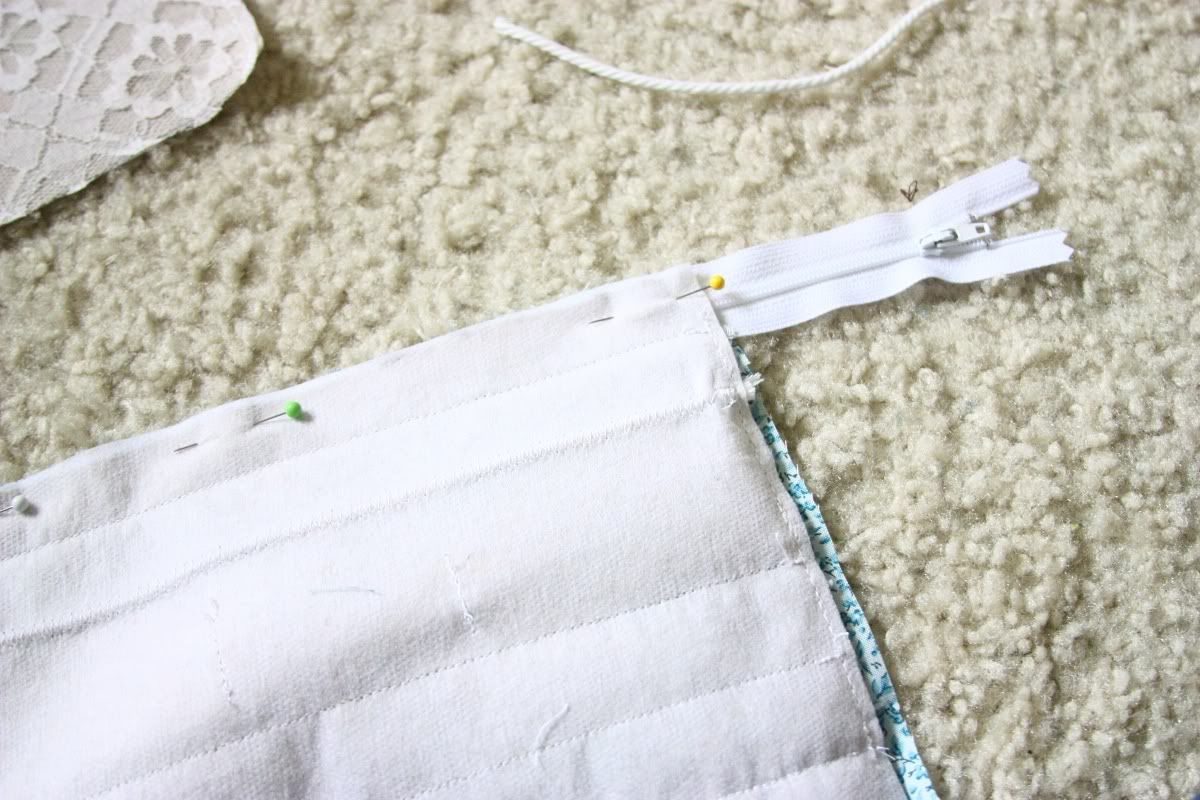
Now to add the zipper. Place your inside fabric down first,right side up, then the zipper on top (facing up) and finally your linen fabric right side down.. Pin in place and sew along the top. Repeat for other side.
When your done, top stitch 1/8 down the zipper. Because my Zipper was long I've also sewn over my zipper to hold it in place.
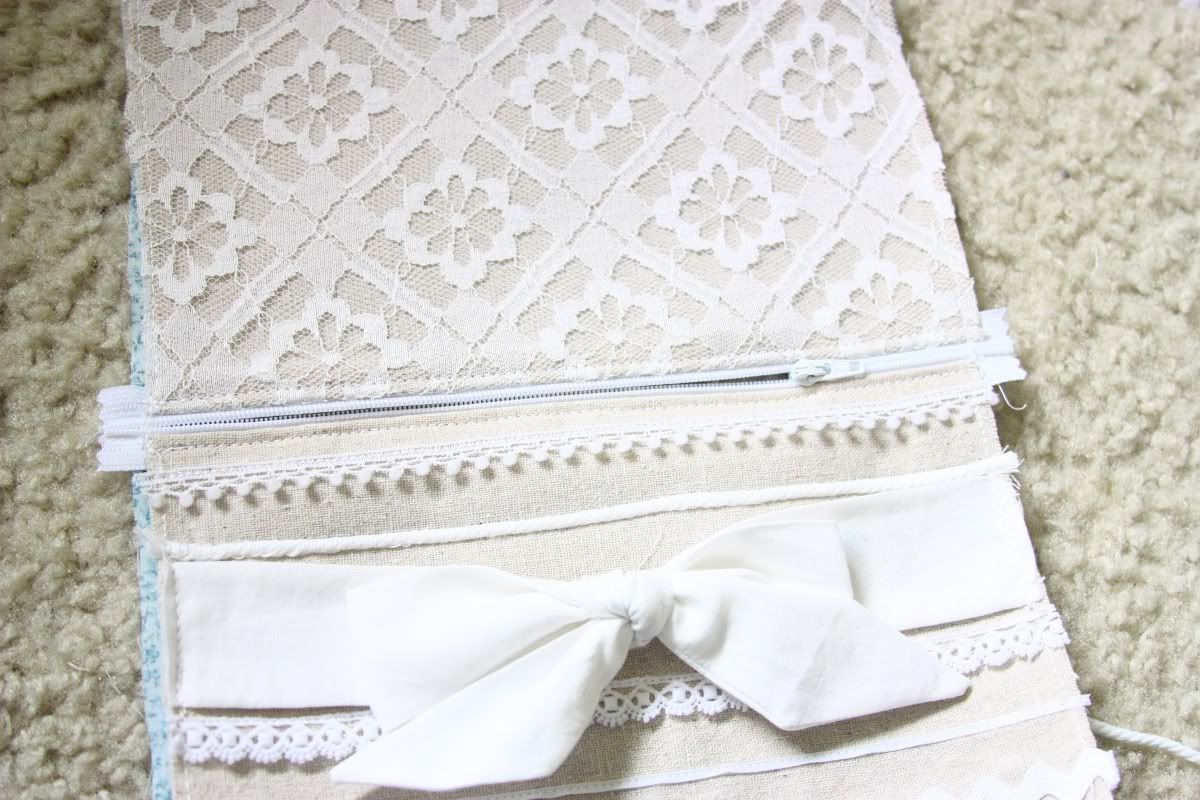
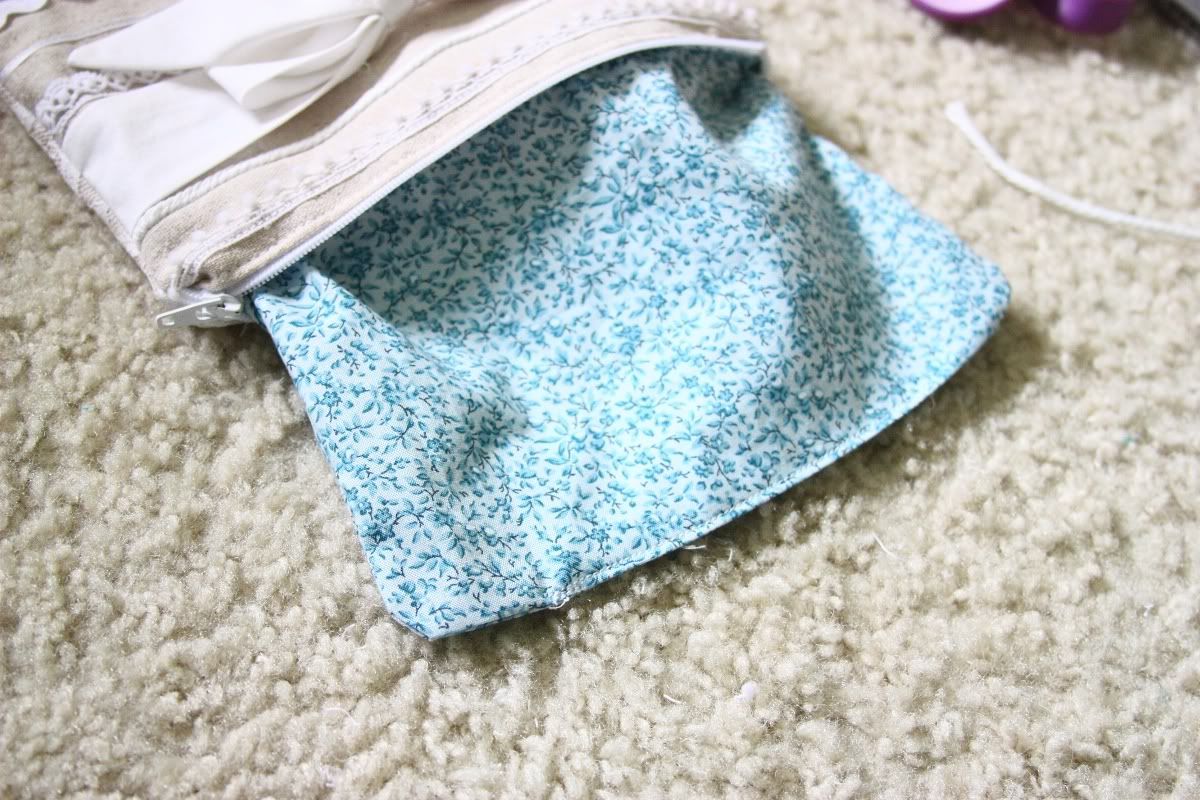
Here's what it should look like.
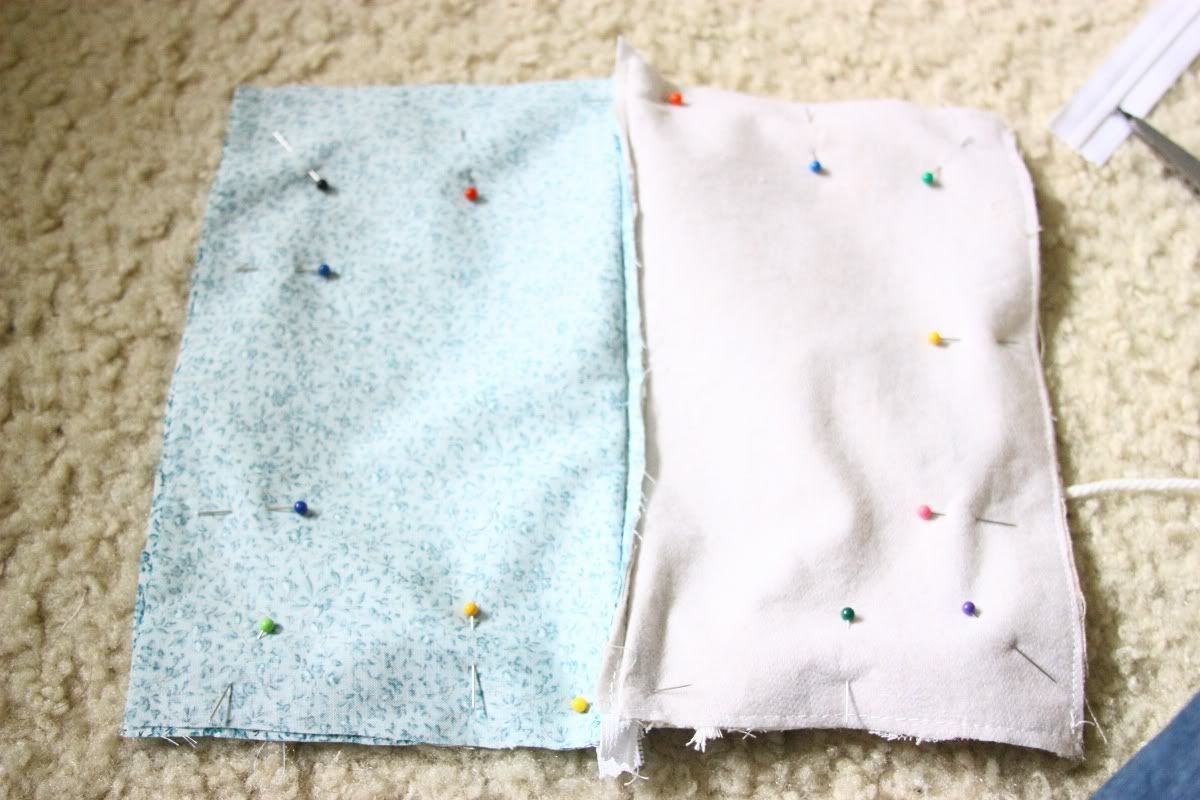
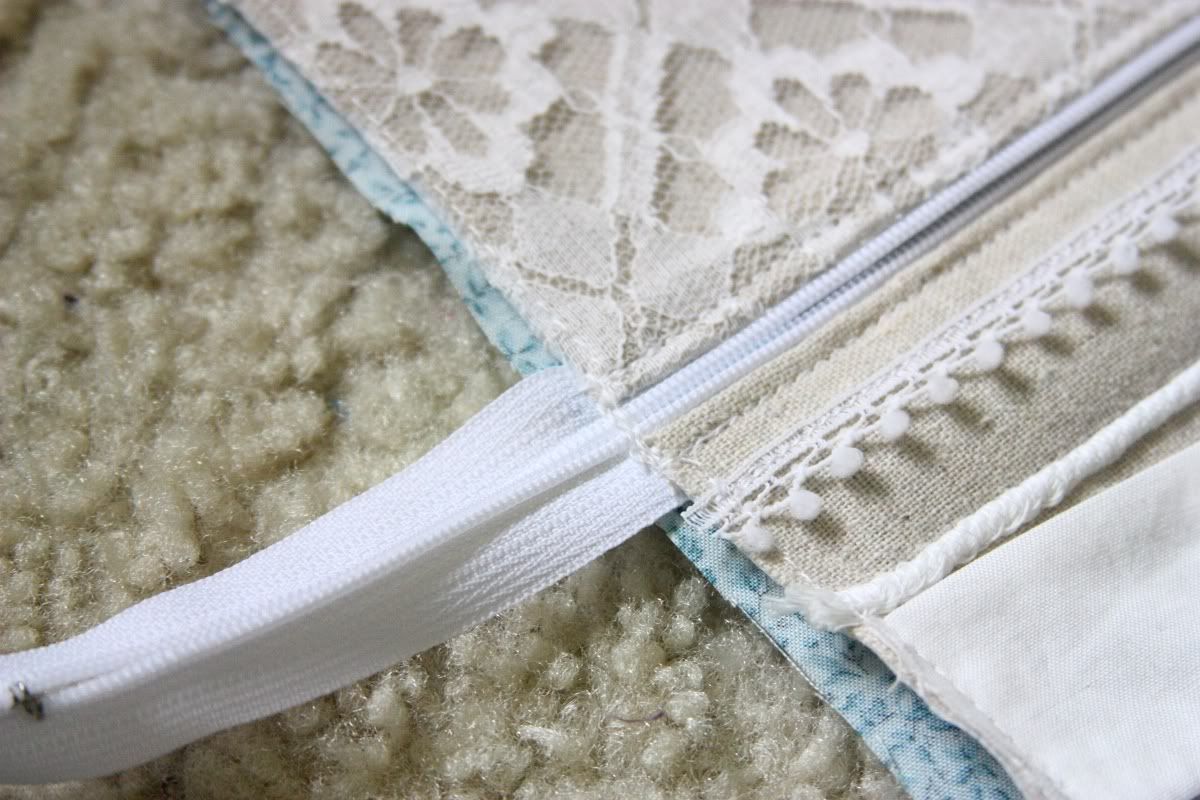
Fold it over so that the zipper is in the middle with the line/muslin fabric on one half and the inside fabric on the other half. Pin in place.
One thing to keep in mind is to face the top part of the zipper towards the linen fabric. That way when you flip in inside out the zipper is pointing towards the outside of the pouch.
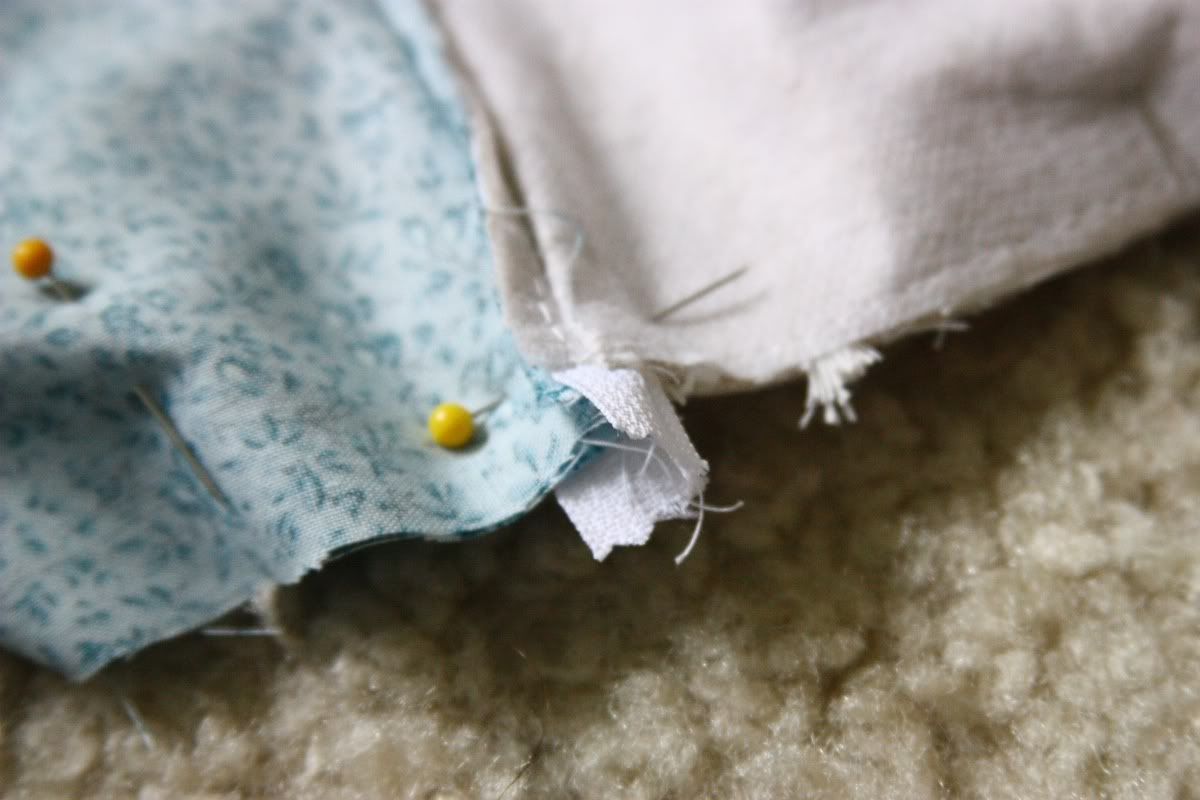
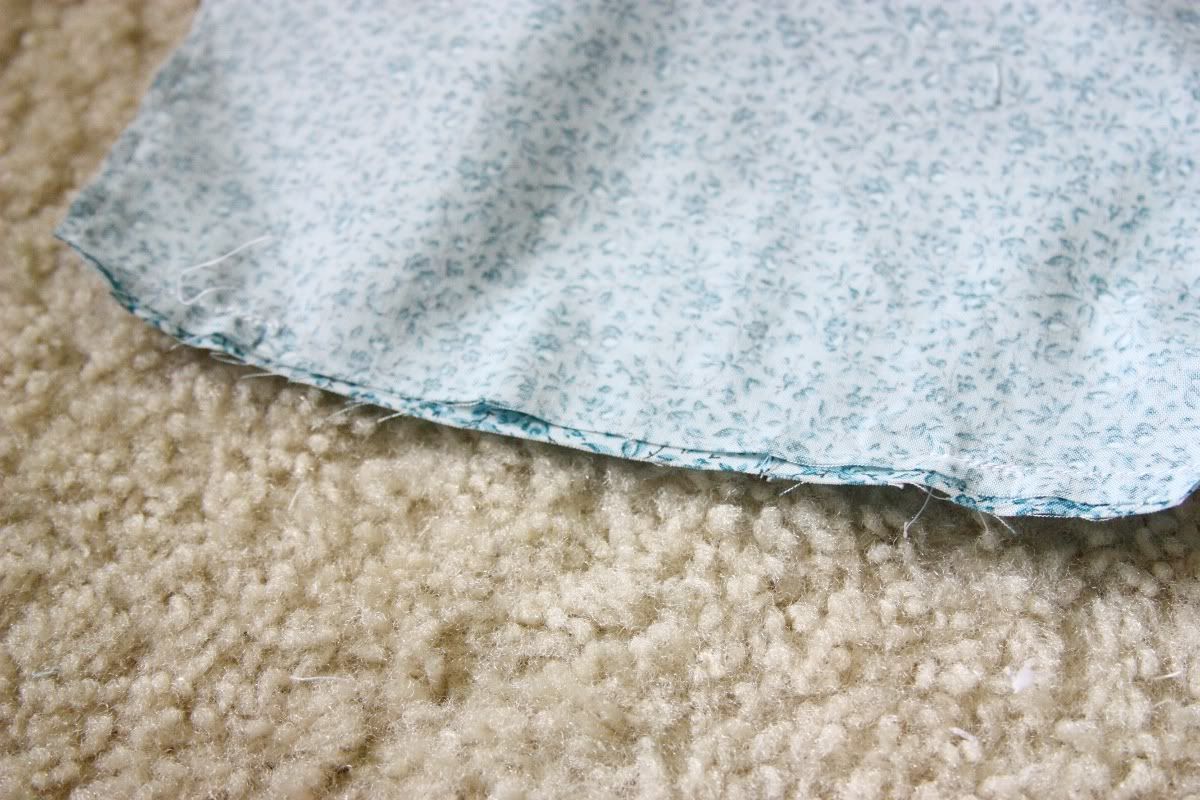
Sew 1/2" all the way around leaving about 3 1/2 inches to flip it inside out. Trim your edges and corners.
Take your opening and flip it inside out.
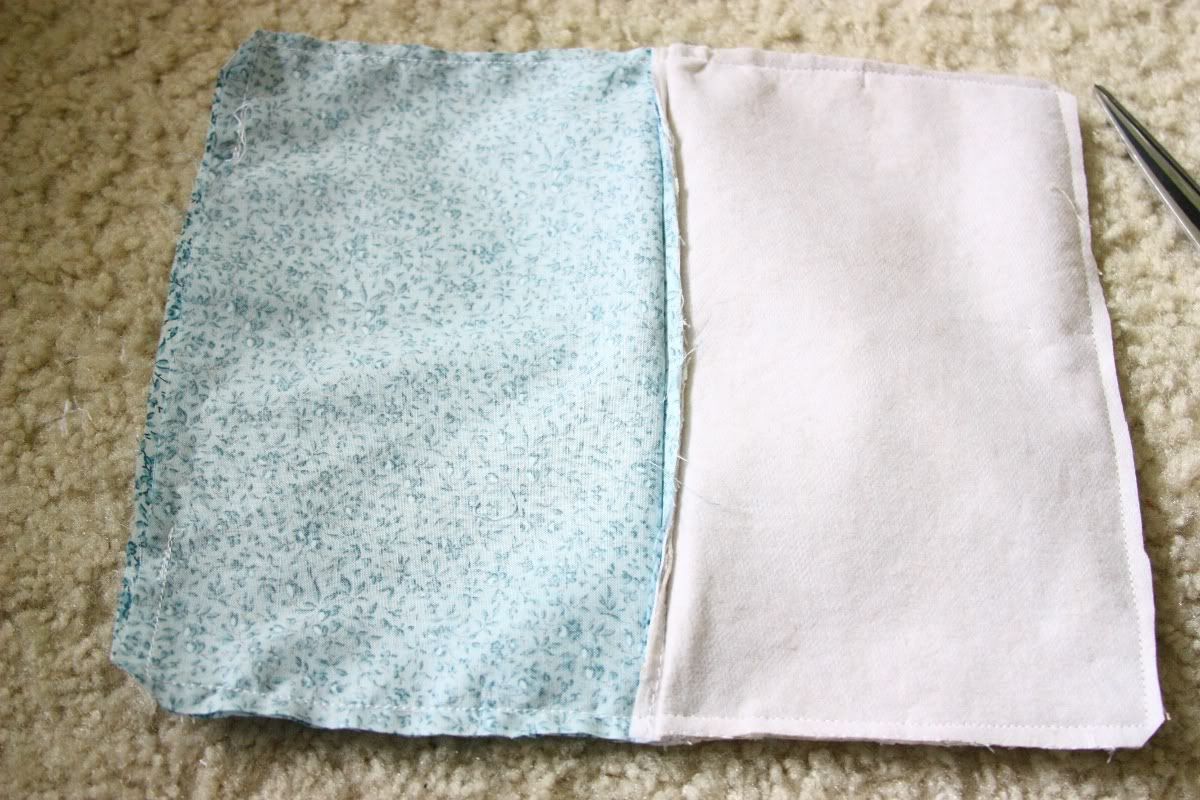
Once it flip, fold your opening under and sew along the edge.
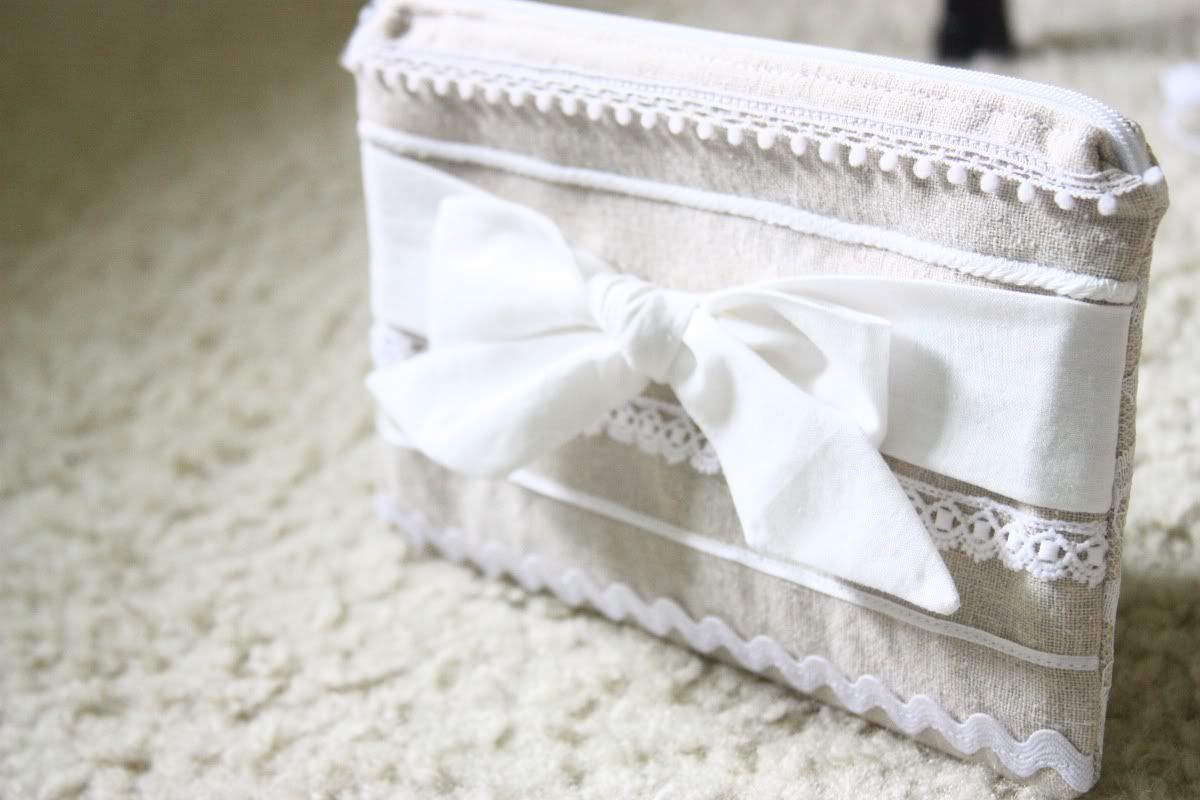
Yay! Your done!

Hi! Visiting from tt&j. Ohhh.. this is so pretty! I love the fabric you used.. and the ricrac and the the lace. Its all beautiful!
ReplyDeleteIm going to poke around your site a little bit. I would love for you to share this at my Friday link party!
I love this!!! I am just learning to sew and have everything but the interfacing. Thanks for the awesome tutorial!
ReplyDeleteAngie @ Desperate Houselife
This is so gorgeous Katie!! Totally my style! I love the trims you used and that bow is darling!
ReplyDeleteThis is so pretty! Love the big bow and all the embellishments. Thanks for sharing!!
ReplyDeleteHi, visiting from TT&J. I love this. Totally cute.
ReplyDelete