PhotobucketPhotobucketPhotobucketPhotobucket

Wednesday, May 30, 2012

Packaging Your Etsy Items (Part 2)

I'm back with another great and inexpensive way to  packaging you Etsy items.

If your selling handmade items your most likely a creative crafty person and want to reflect that in how you package. But you don't have to be a scrapbook expert or a avid sewing to get these great packing styles.

If you sew (like me) your likely to have tons of fabric scraps on hand perfect for this packaging style.


Photobucket

But if you don't sew and you don't want to go off and buy a few yards of fabric then here's a quick and inexpensive way to package using scrapbook paper!

Photobucket

This is best for smaller size items because the paper is only 12" long, but I also taped 2-3 pieces together to get a longer strip.

Photobucket

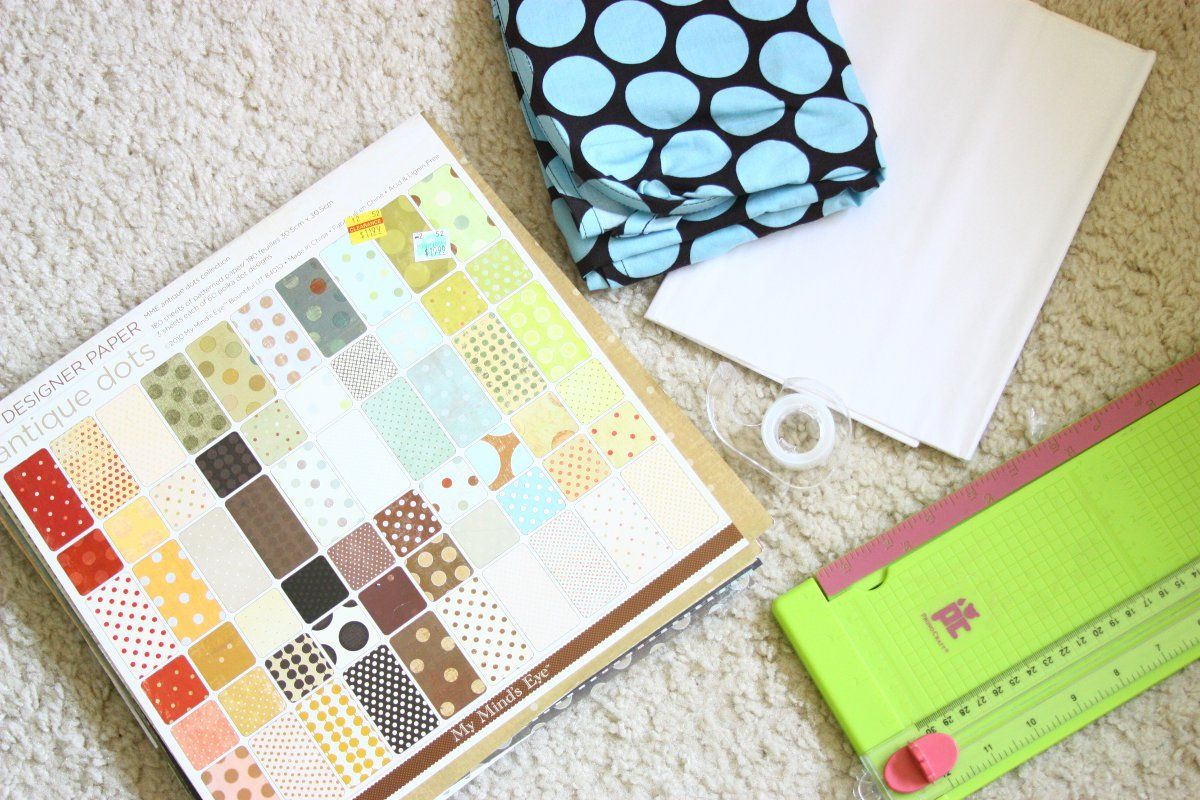
All you need is some tissue paper, tape, paper cutter, paper stack and your item.

Photobucket

1) Start by wrapping your item in  tissue paper/kraft paper. I use 2 sheet of tissue paper for larger items and one for smaller ones.

Photobucket

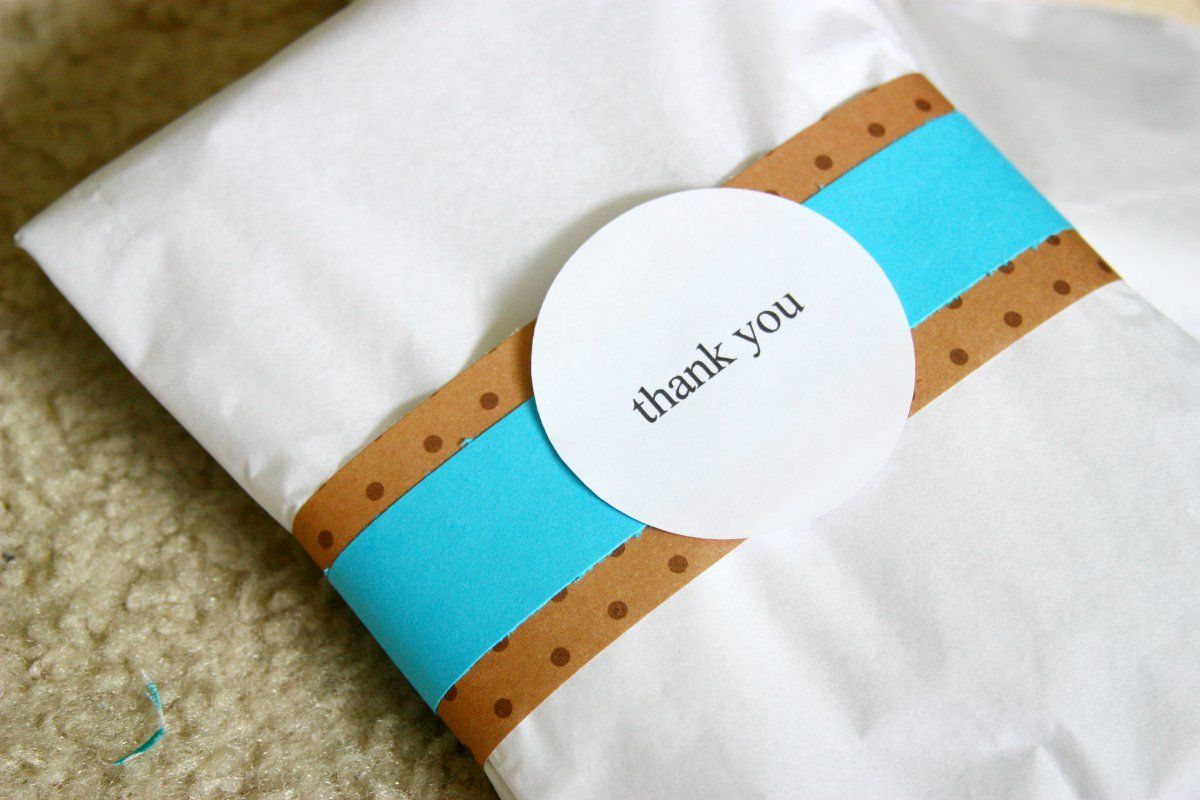
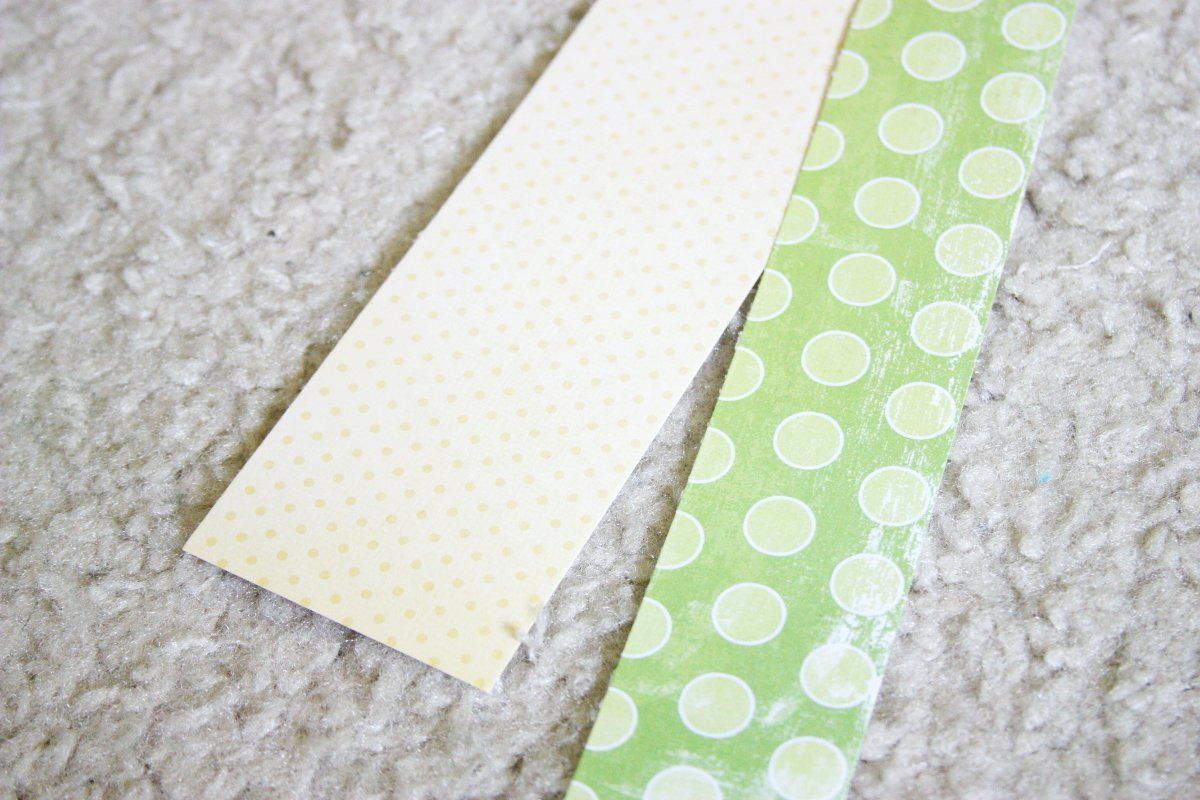
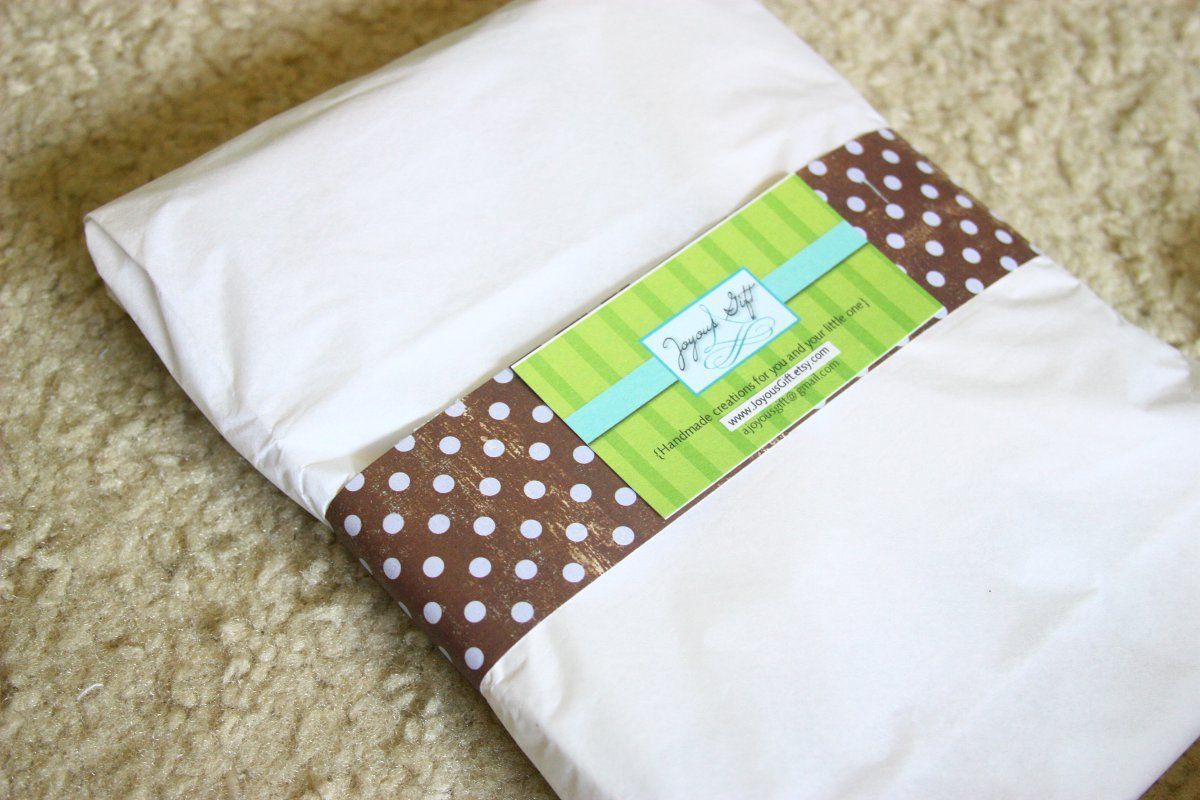
Pick two coordinating papers. Cut a 3" for one and a 2" from the other. I used two 12" pieces taped together to get a 23" piece. This is where a paperstack comes in handy. Most of the time you can get these half off for $8-$10 with 48 sheets of paper. Plus most (if not all) coordinate together.

Photobucket

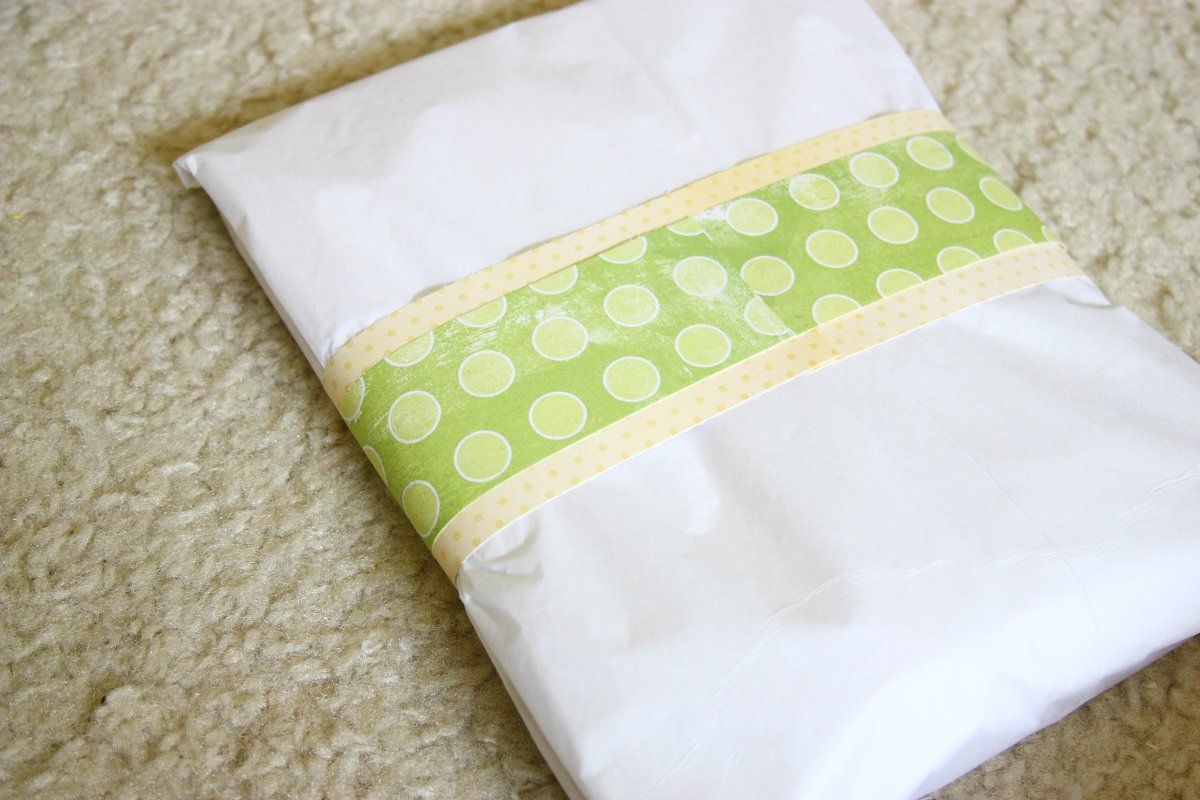
Trim down if necessary and tape into place.

Photobucket

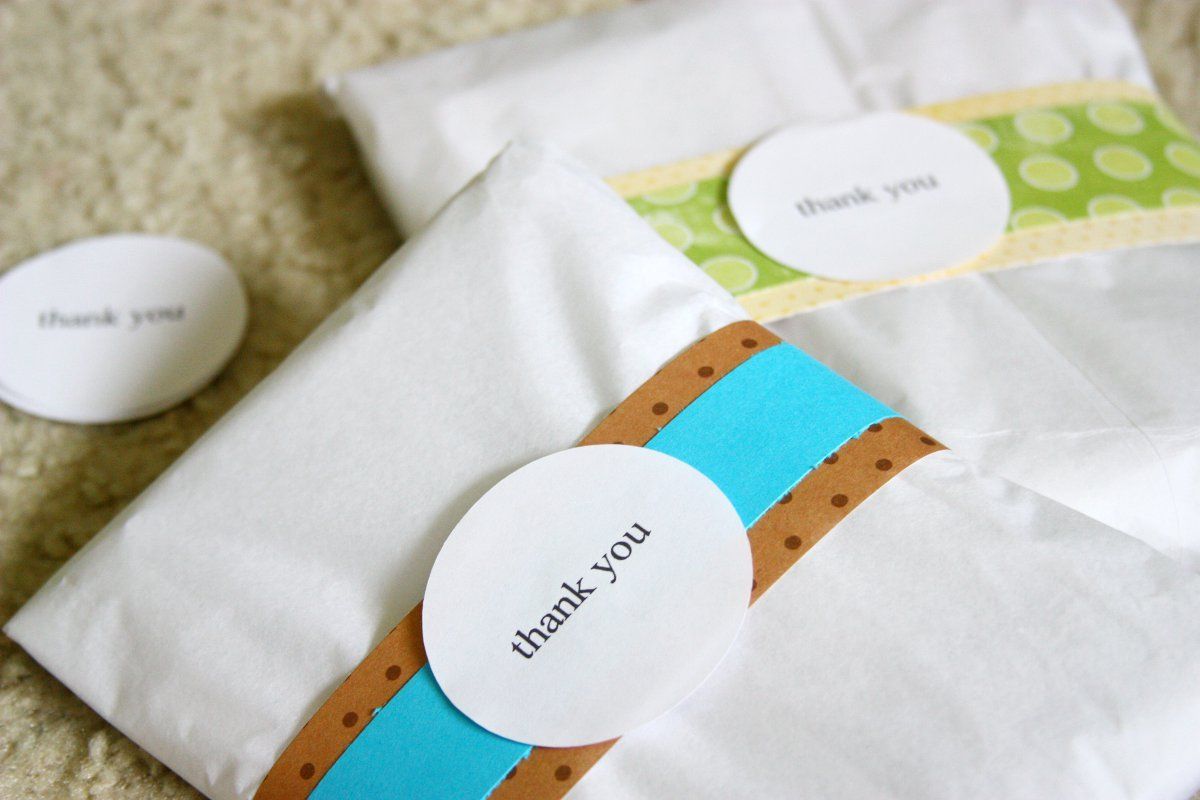
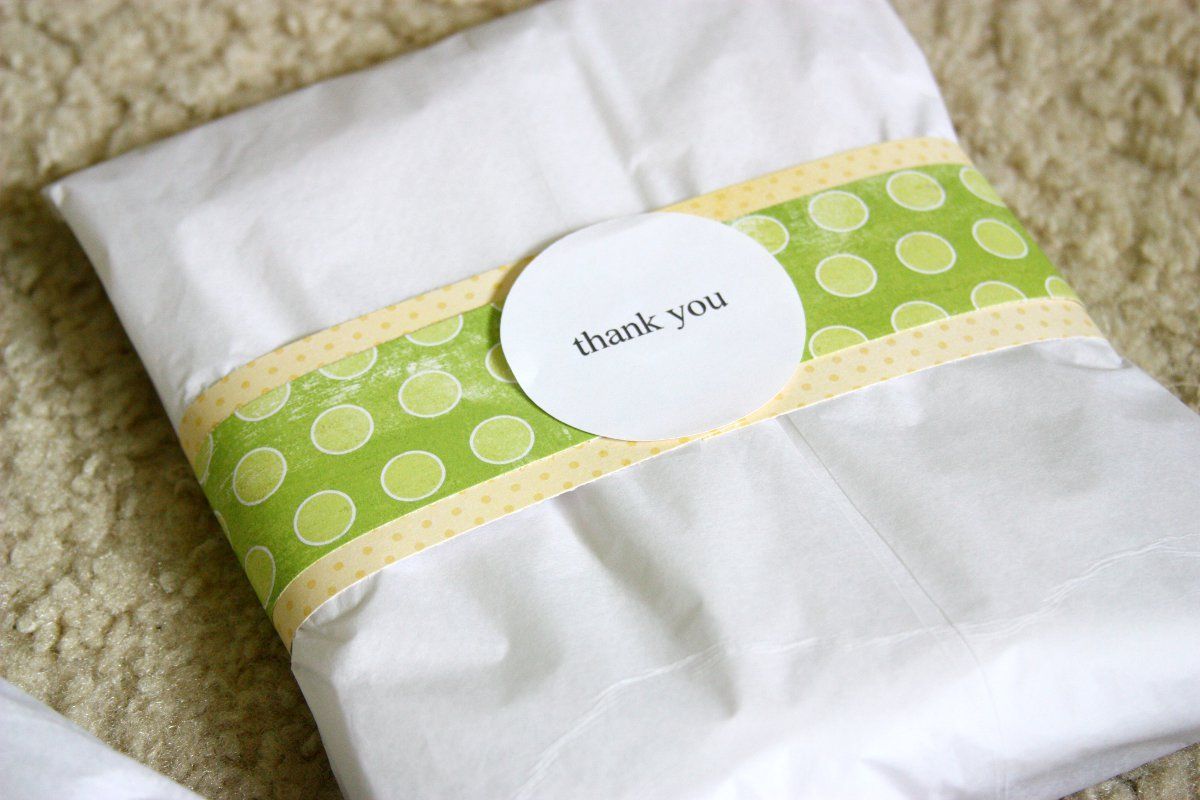
Now just add a thank you circle, sticker or even your business card. I made these thank yous circles with my silhouette.

Photobucket

A great, fun and easy to to package your items. Plus they look great too. :)

Linking up with- Tatertots and Jello , Flamingo Toes, The Well Crafted Home, The Grant LifeOne Artsy Mama 
Katie

Thursday, May 24, 2012

Packaging Your Etsy Items (Part 1)

The other day I went packing happy. Meaning I had a great idea and before I knew it I had packaged over half my items.

Would you like to see?


Photobucket

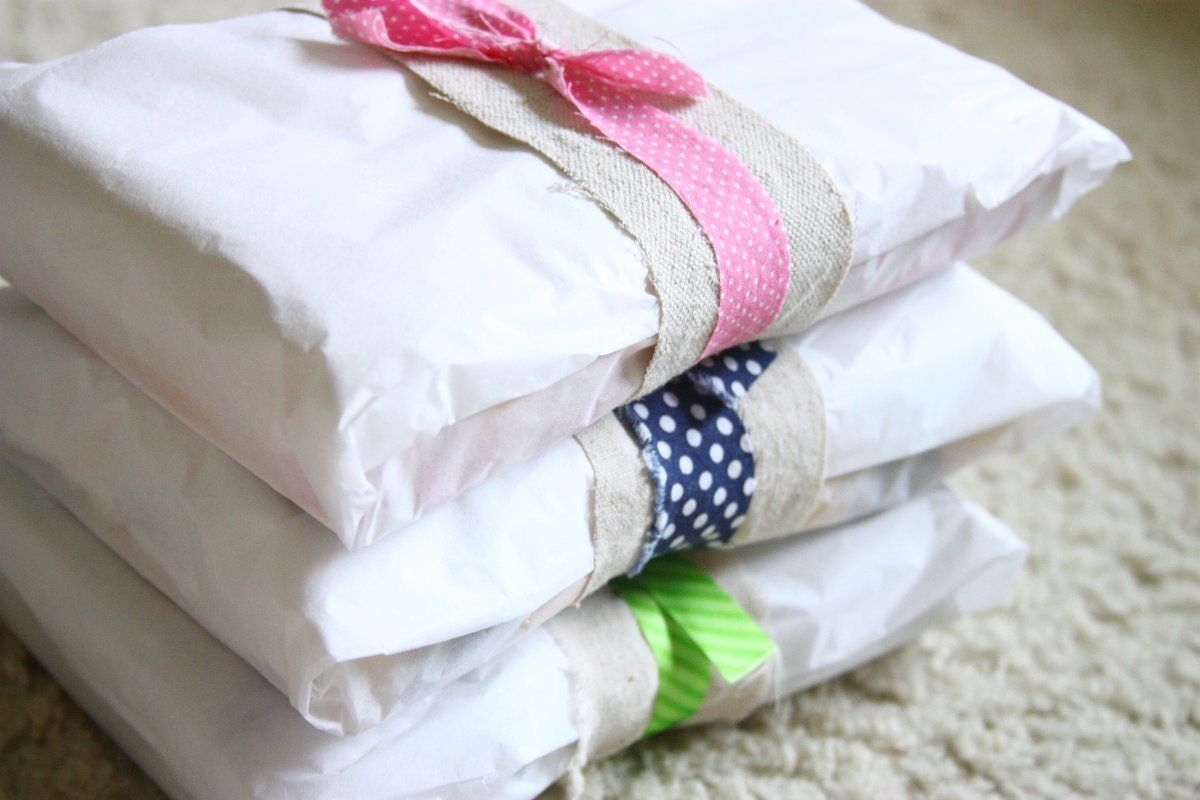
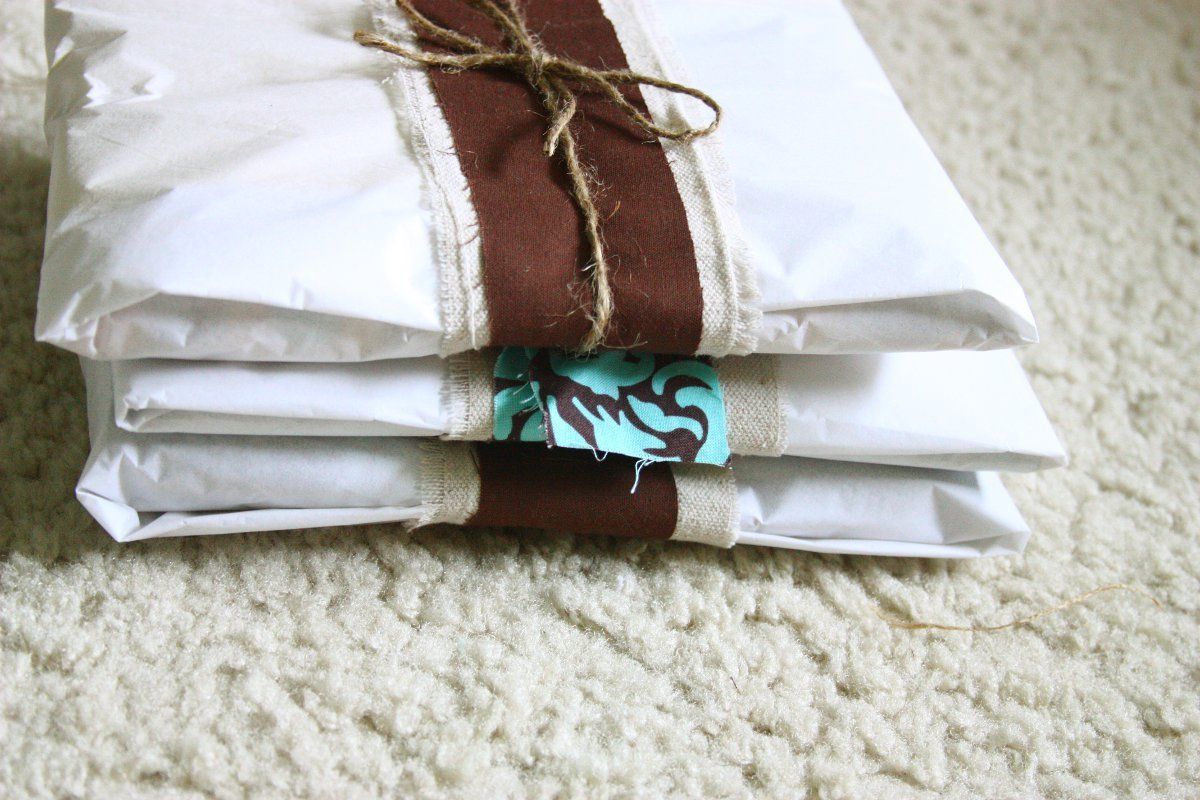
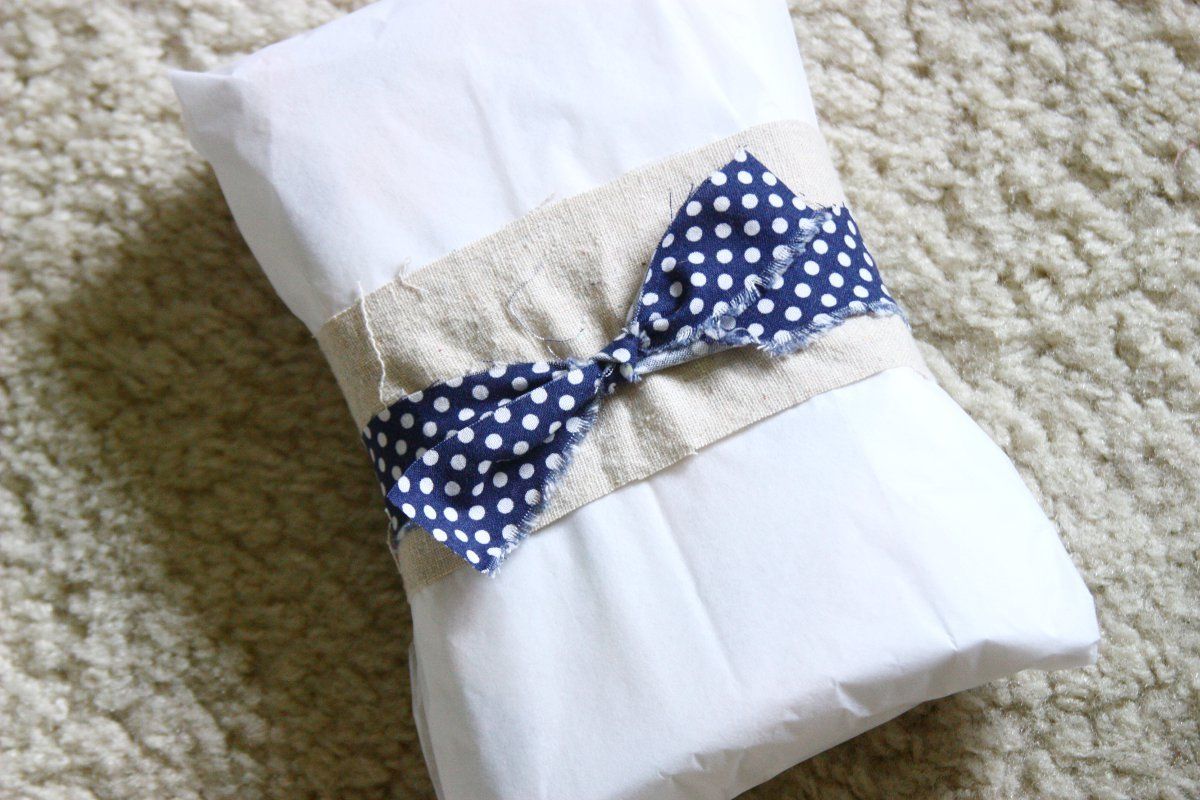
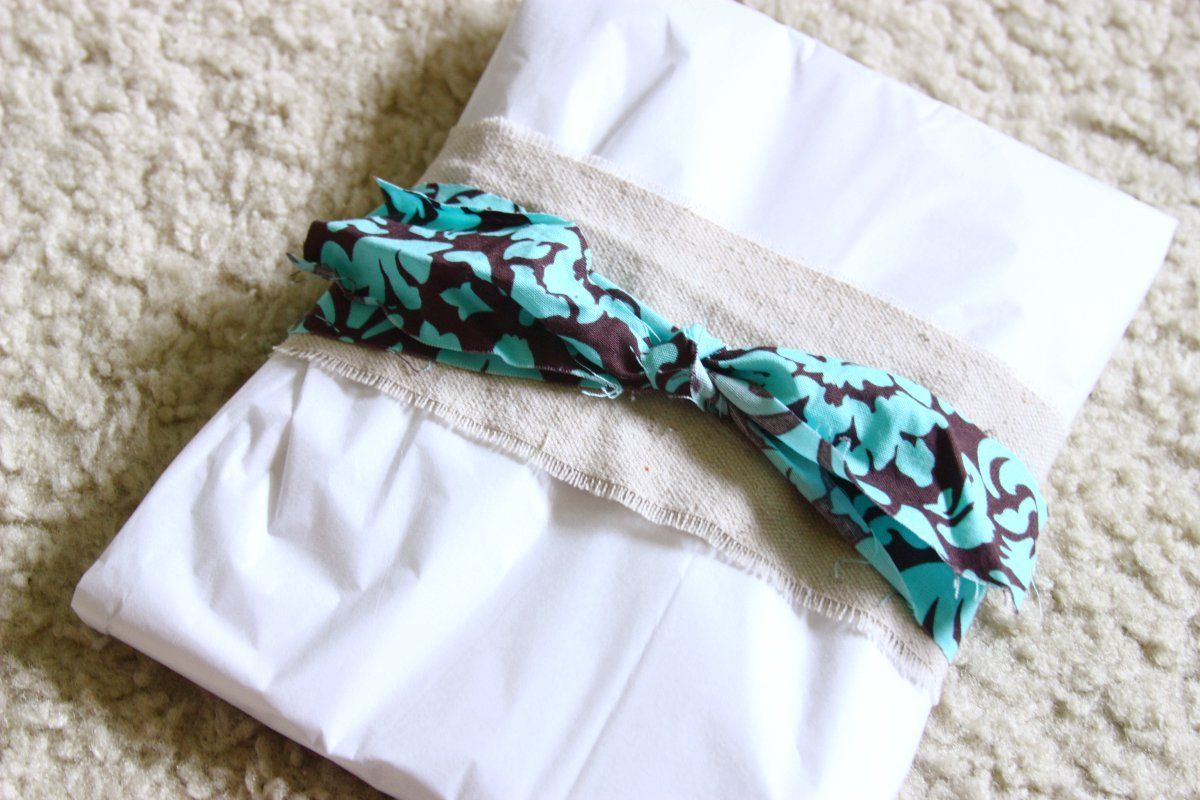
I must say, I really love how they turned out! Why didn't I think of this before? You can use your fabric scraps to beautifully package all your Etsy items. :)

Photobucket


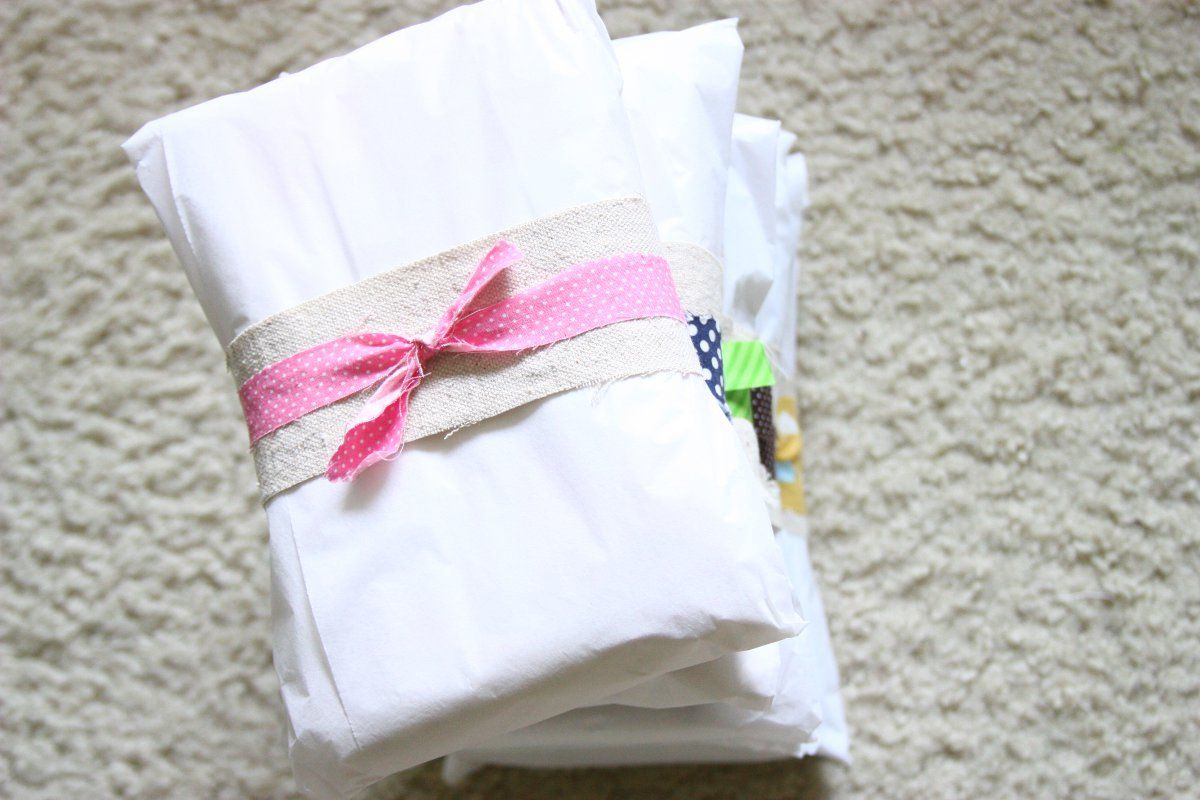
All it takes is some tape, tissue paper, your item and some fabric scraps/ribbon/twine.

Here's the easy process:

1) Grab your item and wrap it in some tissue paper or kraft paper. I used to use kraft paper but when I started running out I just switched to tissue paper. I use 2 sheet for larger size items and one for smaller ones.

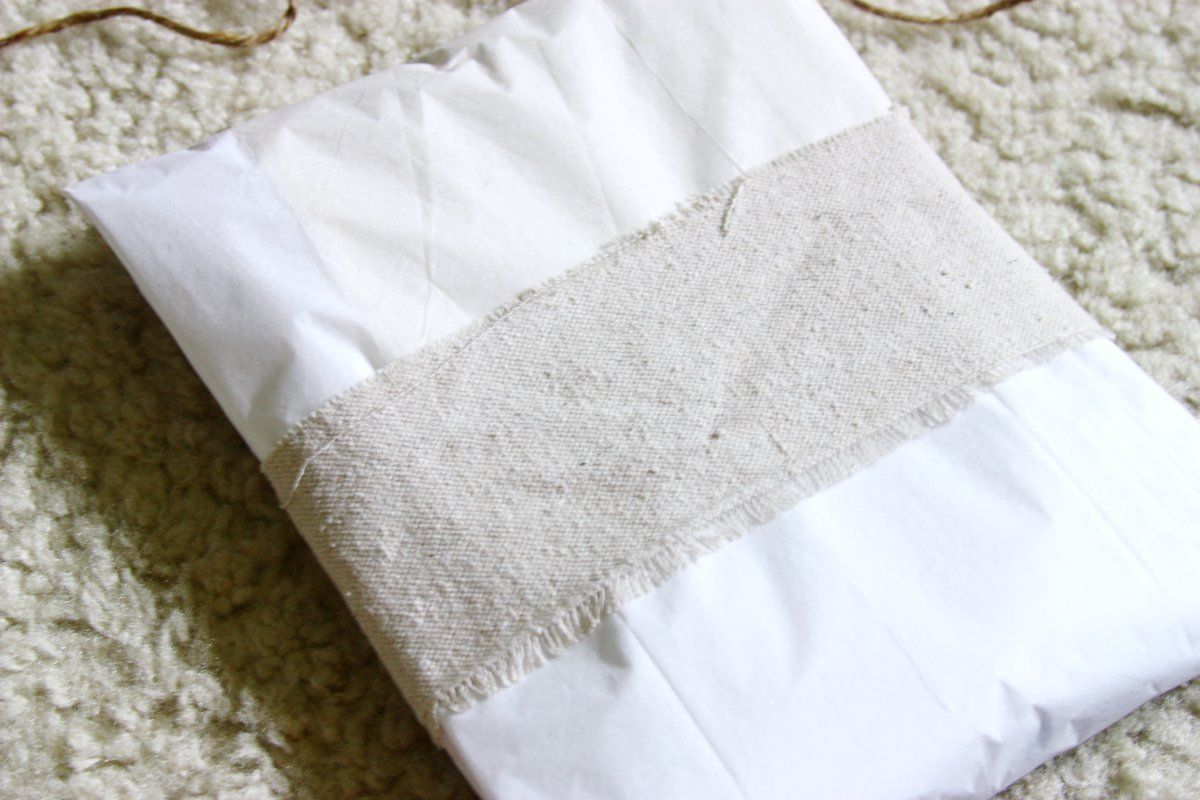
2) Grab a piece of fabric and cut it down to 3" wide x "amount need to wrap around item".  Wrap it around your item securing it with tape in the back. I used a painters drop-cloth for some of these and some cheap $3yrd muslin for others. You could also use kaki, or any solid.


Photobucket

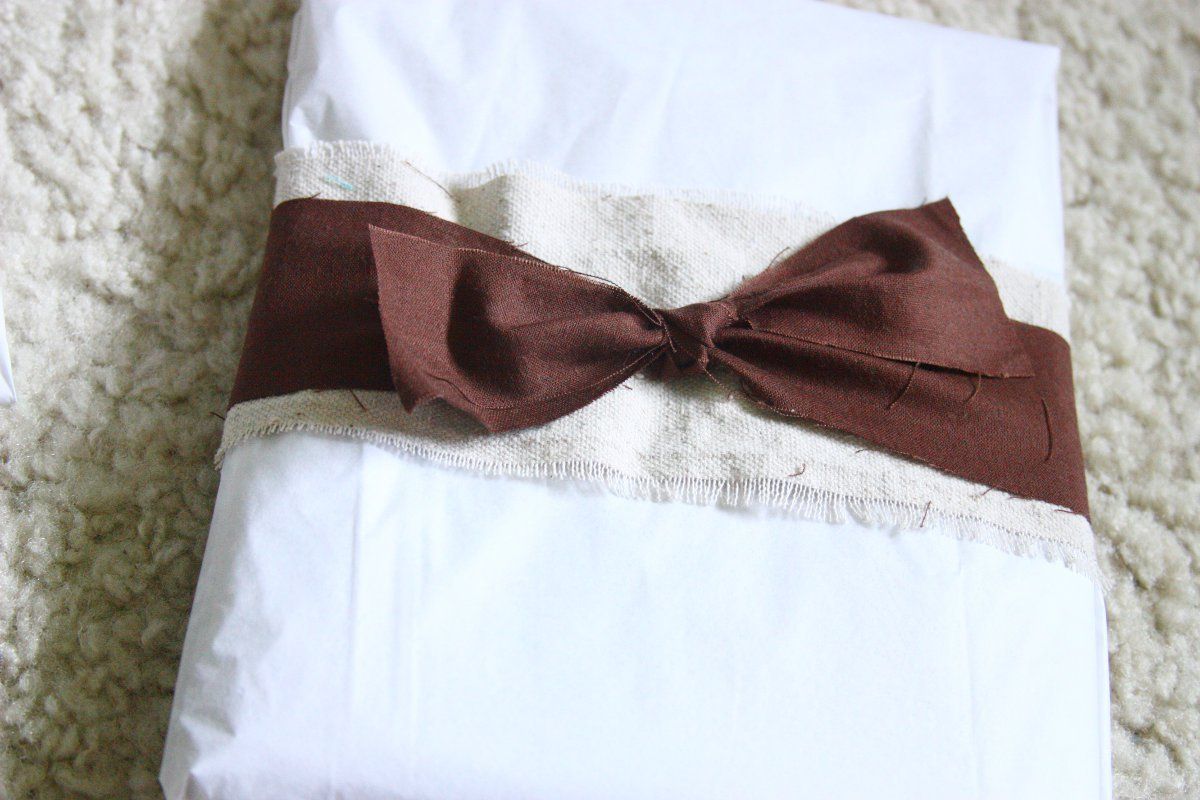
3) Grab a ribbon, twine, or another fabric scrap and cut it about 1"-2"wide x 1.5 the length of your previous piece. (in other words so it can wrap around your item 1 1/2 times) Wrap around a tie a knot in the front.

There you have it! A super cute way to package item for all you sewers out there!

Photobucket

Now you can go and wrap all your stock items! Or if you rather wait until it sells BUT want to make packaging really easy simply pre-cut a basket full of different sized scraps to have on hand. What took the longest for me what determining which fabric I was going to use on each package. :)

Photobucket

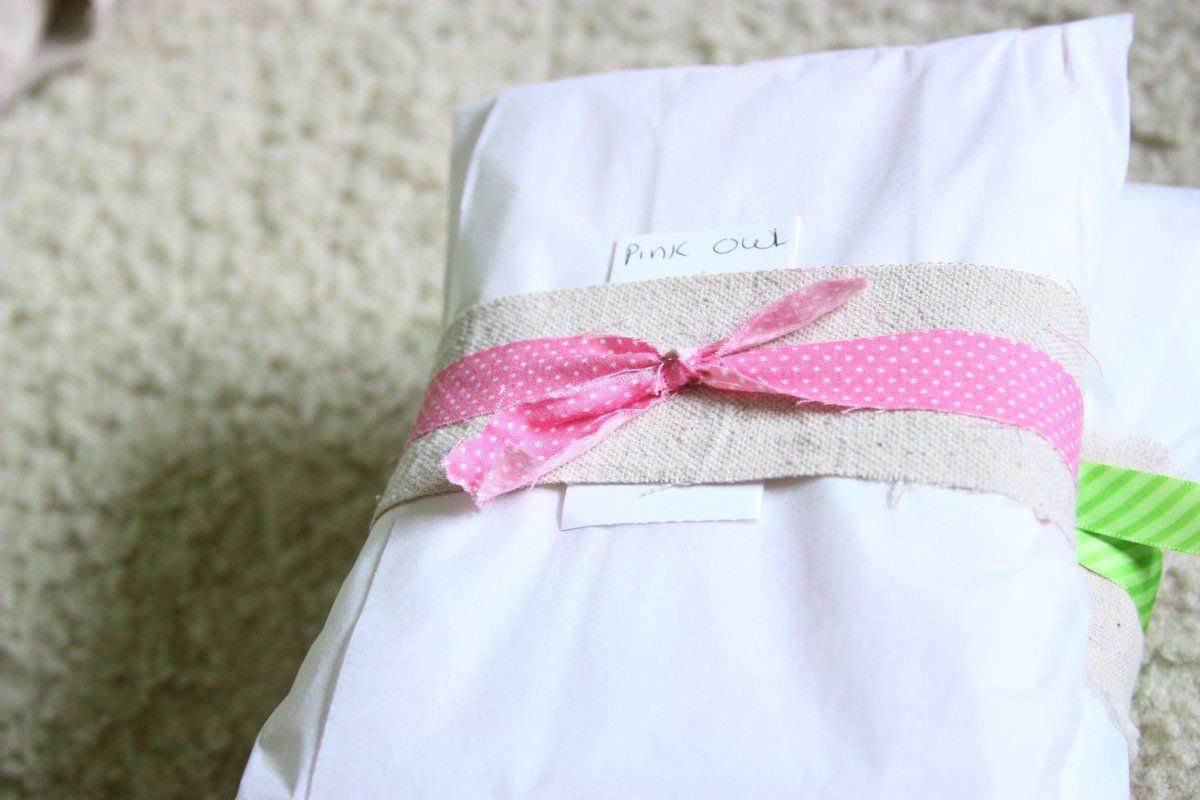
Since I did pre-wrap at least 20 packages I also labeled them so I knew what was in them. Because I used tissue paper I could still see the print on the back side, but to make it quick after I wrapped it a stuck a little note on it with the prints pattern.

Photobucket


Photobucket


Photobucket


And for all you non-sewers out there I'll show you another easy and inexpensive way to package your items next week.


Linking up with- Tatertots and Jello , Flamingo Toes, The Well Crafted Home, The Grant LifeOne Artsy Mama 
Katie

Friday, May 18, 2012

Mother's Day Summary

I hope you all had a wonderful Mother's Day! I didn't realize how much I'd have going on last week. I completely forgot that Mother's Day was coming up so I spent last week getting ready as well as sewing 2.5 dresses. The third one still needs sleeves...

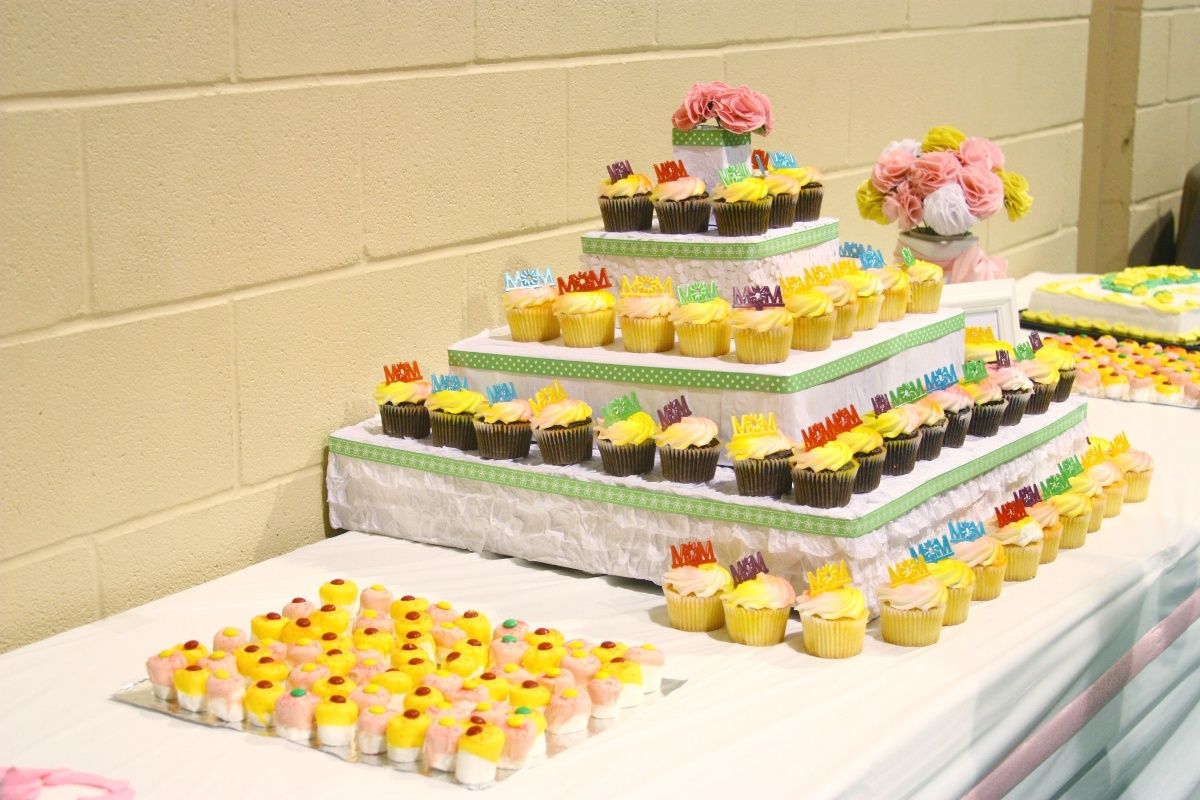
Every year at church for Mother's Day the men and teens grill and mix up a huge (and delicious) Mexican meal.  I usually 'decorate' and plan the dessert table. For the past two years I've done a boxed cupcake stand. Its very inexpensive and I love how it always turns out. :)


Photobucket

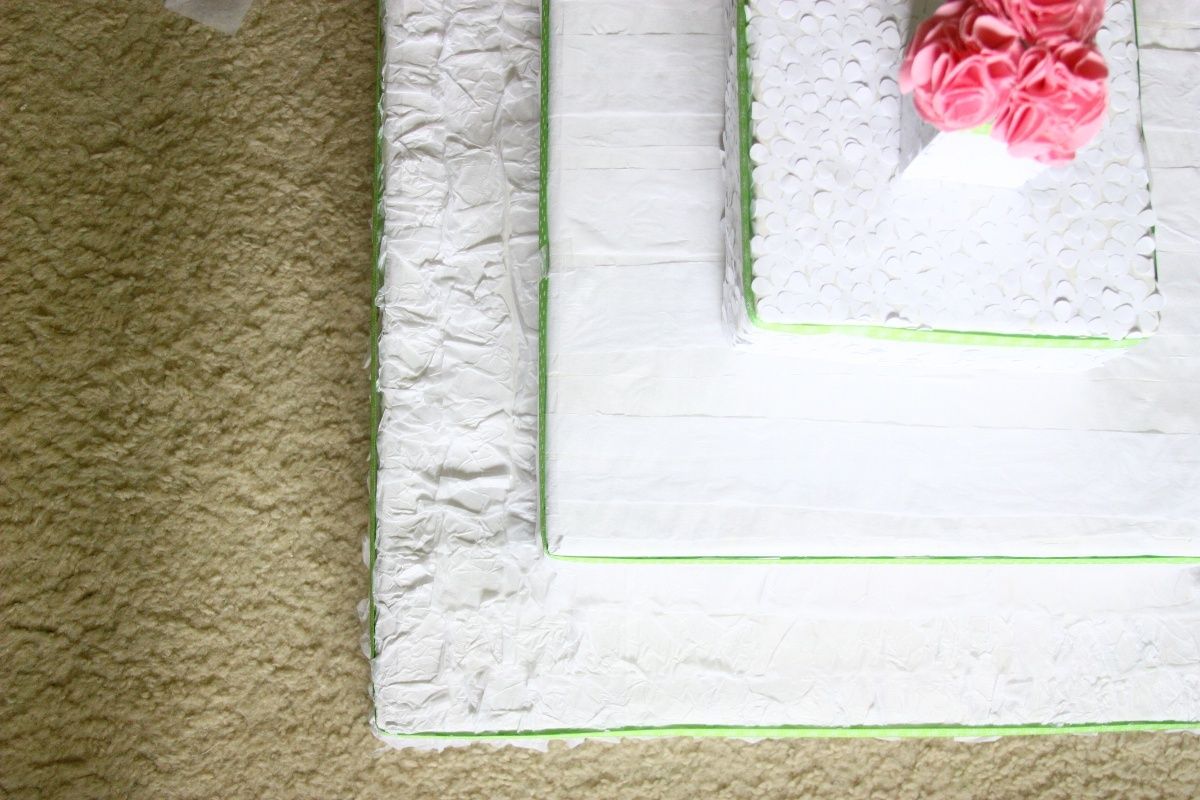
They needed a little updating from last year so I cover one in little flowers, and the other two in tissue paper. 


Photobucket

I didn't plan for much decorating this year, just a pitcher of flowers and a framed quote.


Photobucket


As tradition would have it I also do chocolate dipped marshmallows. My older two siblings helped me and we had this done in 30 minutes. They're super easy just dip about half the marshmallow in some dipping chocolate and add some sprinkles and a M&M. In thee past I've place them of sticks, but we decided to just leave them flat this year.

Photobucket

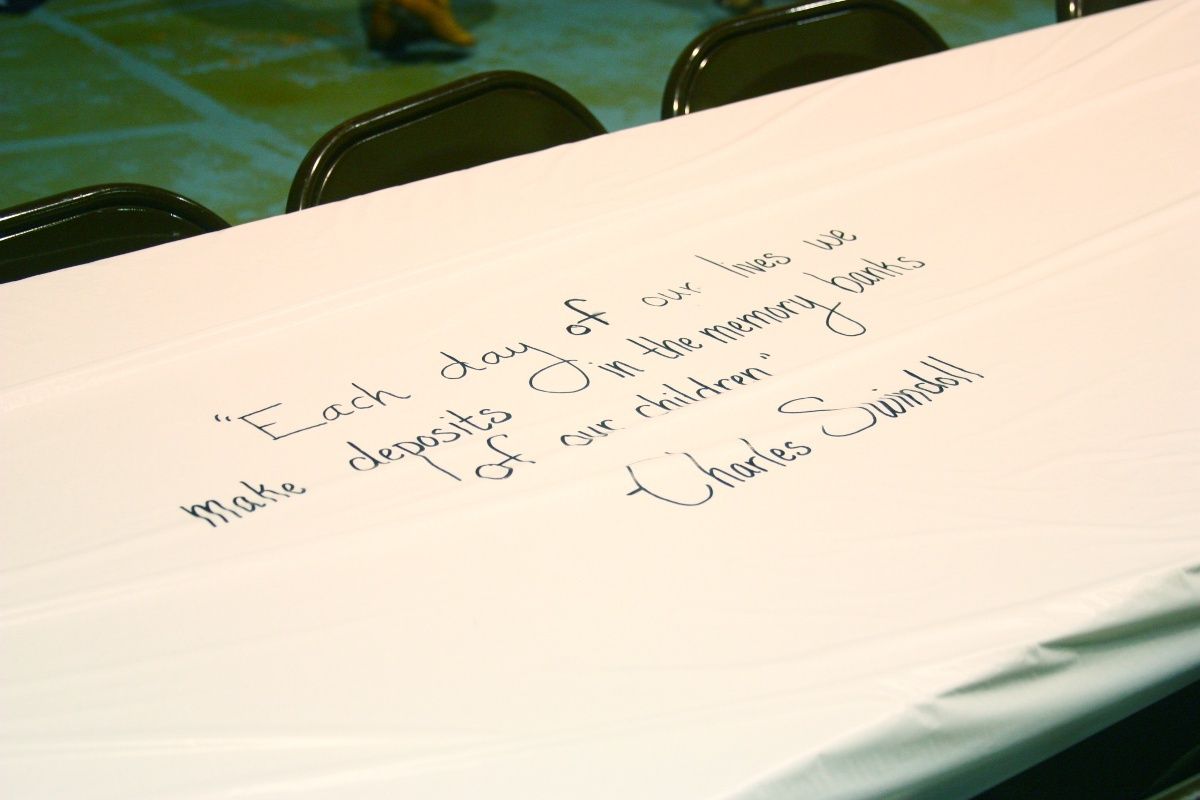
My sister had this idea to write encouraging quotes on the tablecloths for the Moms to read. I really liked how it turned out!


Photobucket

Each day of our lives we make deposits int he memory banks of our children-Charles Swindoll

Wells there's my Mother's Day recap. Hope you all have a great week!

Linking up with- Tatertots and Jello , Flamingo Toes, The Well Crafted Home, The Grant LifeOne Artsy Mama 
Katie

Sunday, May 13, 2012

Happy Mother's Day!

I learned more about Christianity from my mother than from all the theologians in England.

-John Wesley


Katie

Tuesday, May 1, 2012

Cardboard Box Laundry Hamper Tutorial

I was cleaning out my room yesterday when this idea sprang on me. I've been looking for a laundry basket for awhile., but couldn't find anything I really liked in my price range.


I was looking at something like this. But all the baskets I liked were $30-$60, which I didn't want to pay. So on the whim I got to thinking "why couldn't I make my own using a cardboard box?".

And I did.
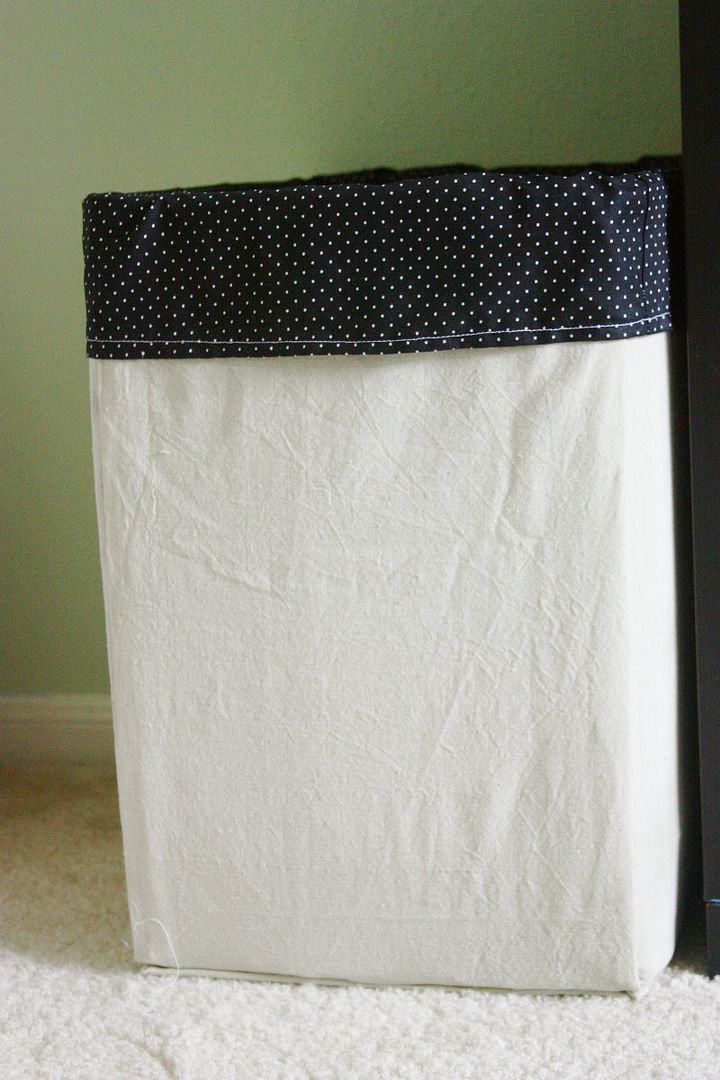
Here is my new "basket" 

Photobucket


I love that I now have a lovely laundry basket that matches my room! Plus all it took was a cardboard box, some fabric I had on hand and a little elbow grease! Plus it was under $10!
Its not quiet at sturdy as a normal basket, partially due to the box I picked. You could even add some strap to the wide of the box if you want to carry it around.
Photobucket

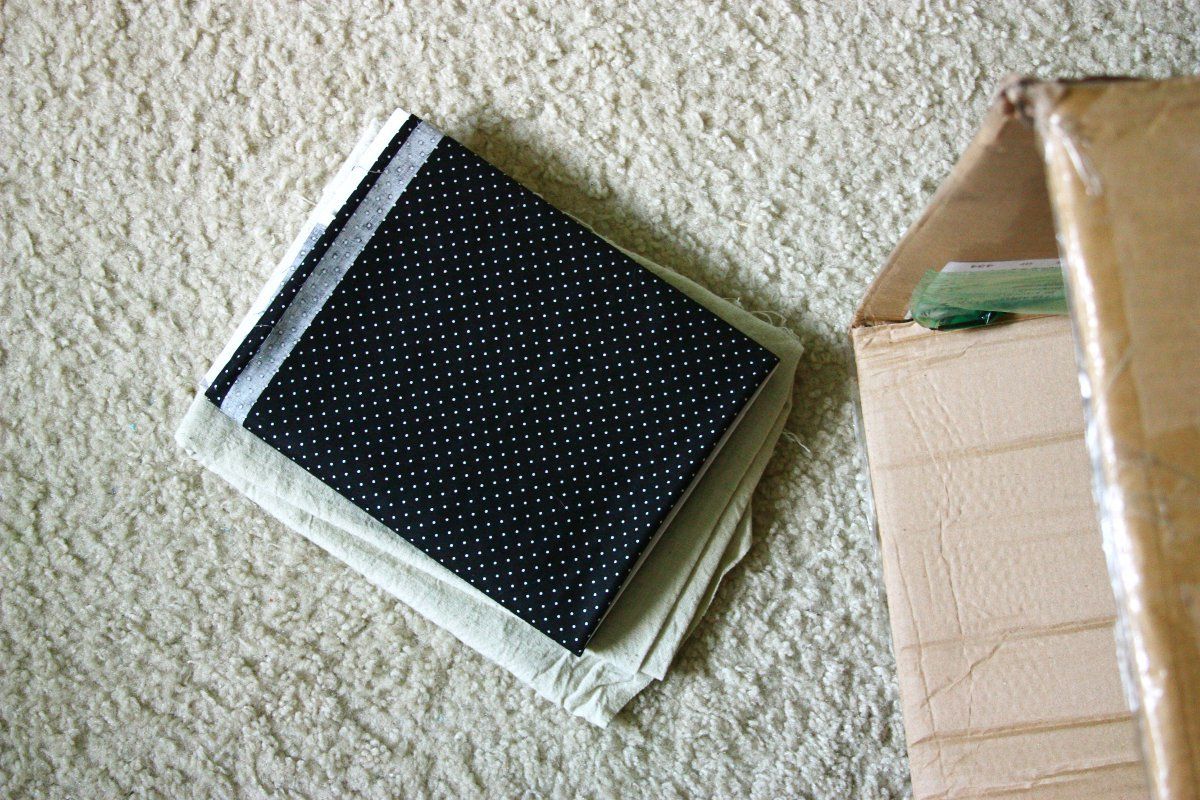
Supplies:
1 yard Fabric for box
1 1/2 yard Fabric for lining
Cardboard Box
Hot glue

I also used: 
Felt
Fleece
Photobucket

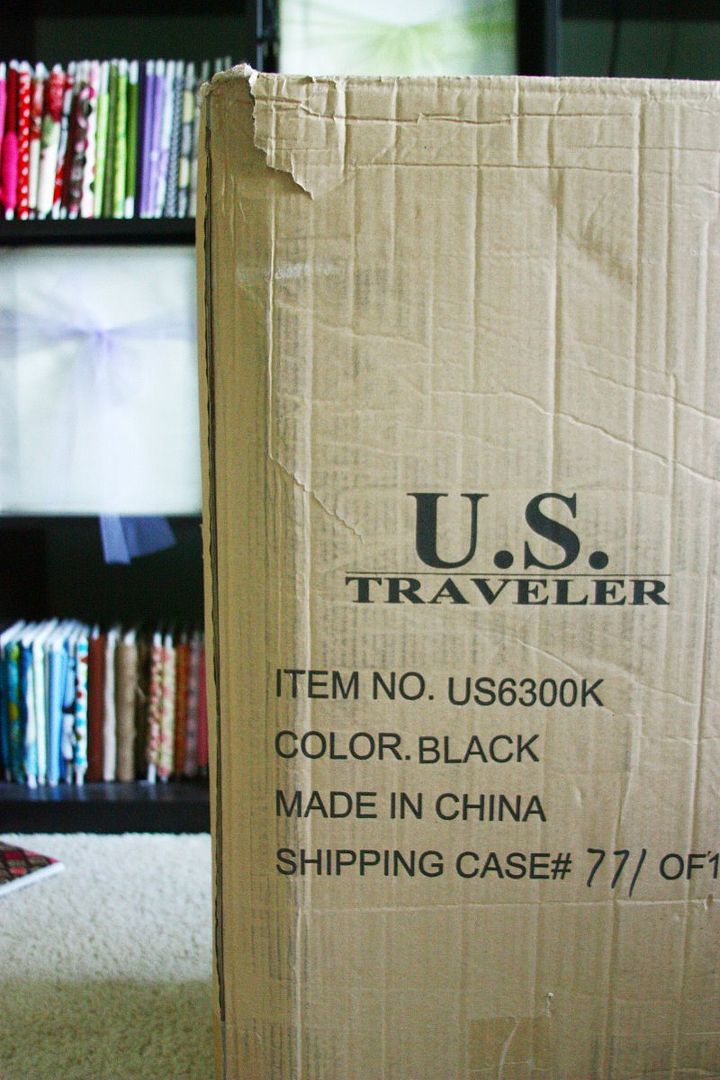
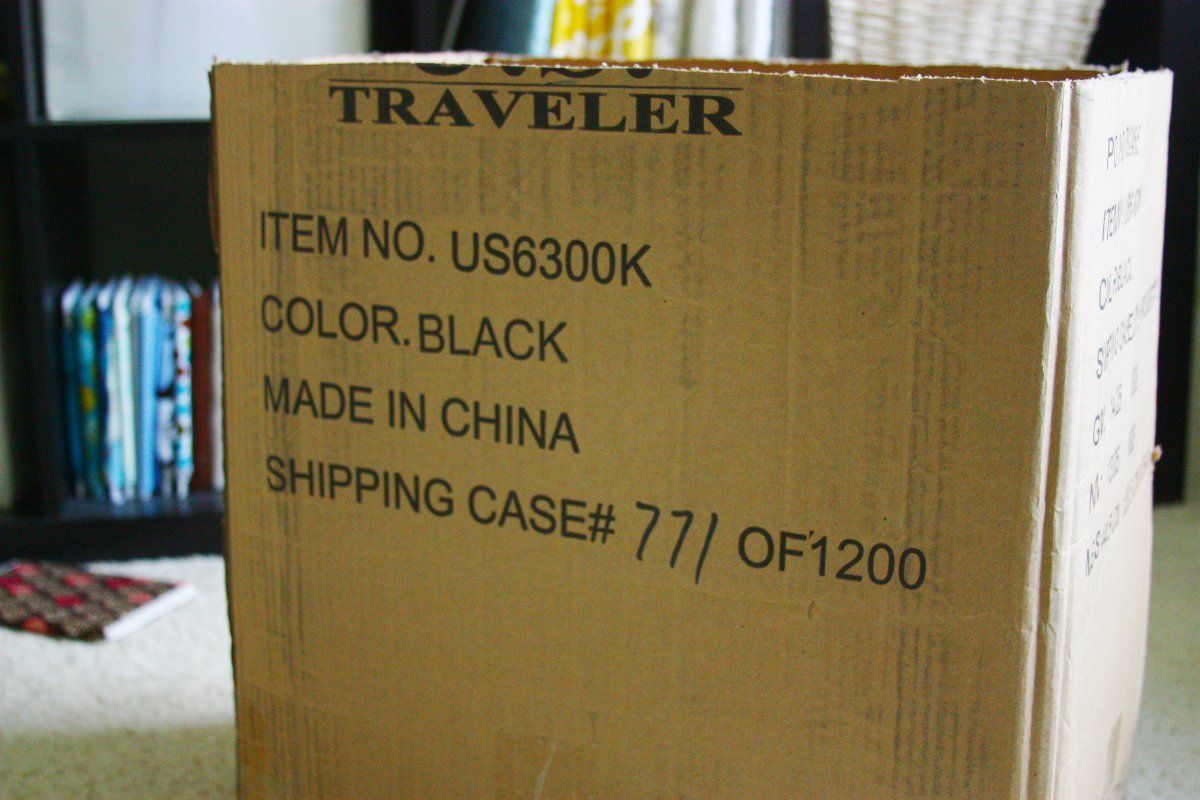
Here's my box!

Photobucket

My box was falling apart at the bottom so I started by taping it up.
Photobucket

Then I cut my box down to about 18".

Photobucket

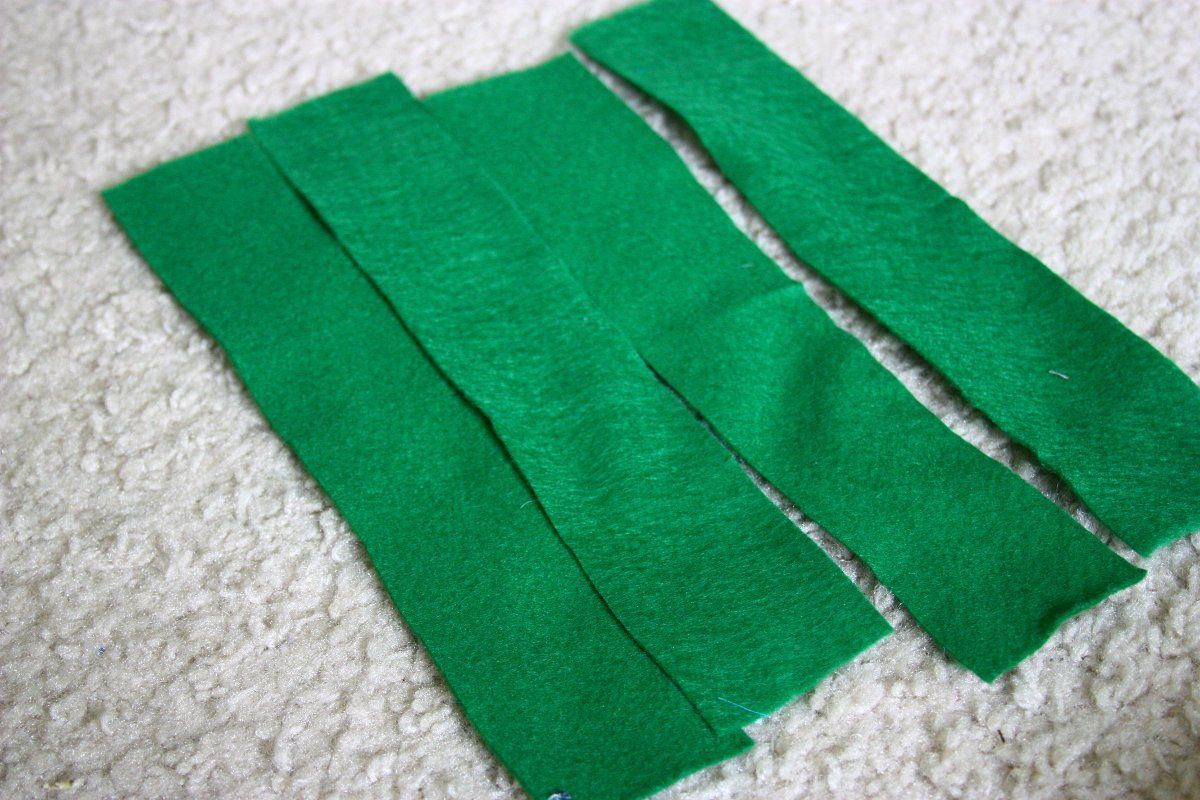
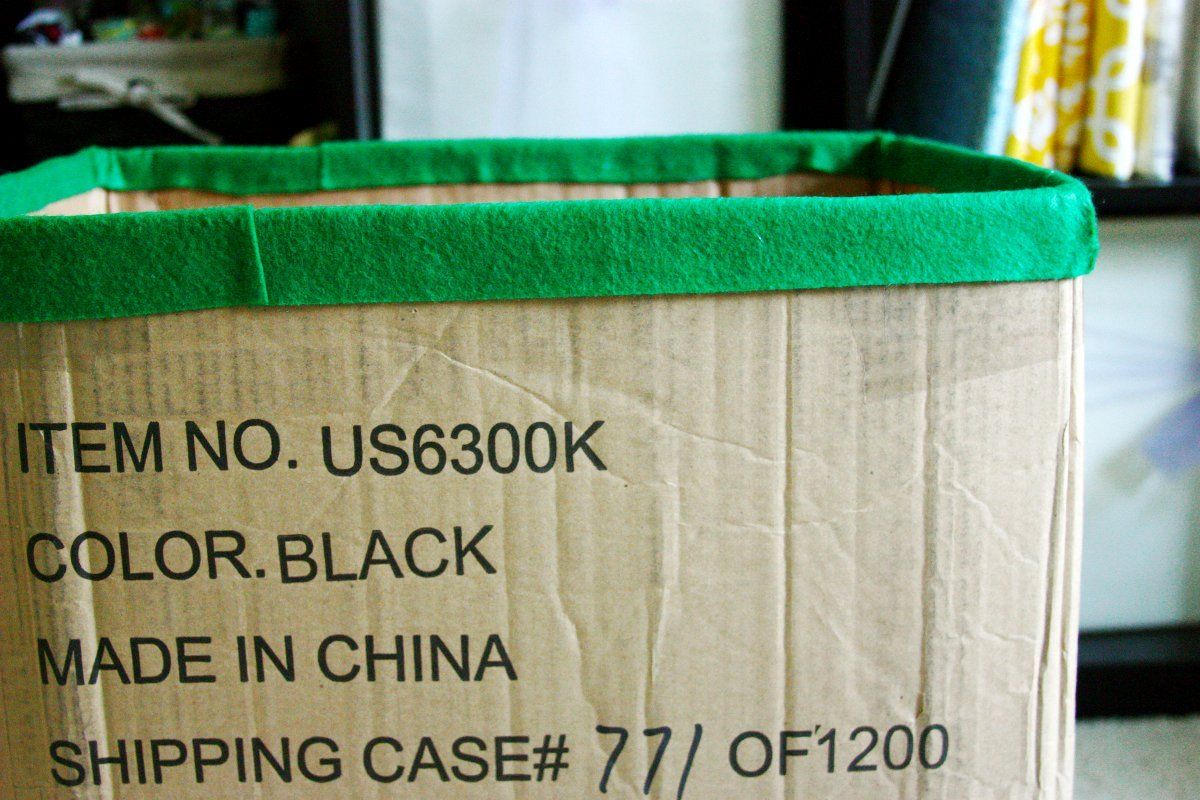
I decided to cover the top of my box with felt to smooth out the cut marks. Cut your felt sheets into 4 equal strips.
Photobucket

Hot glue them around the top of your box. I used about 1 1/2 felt sheets.
Photobucket

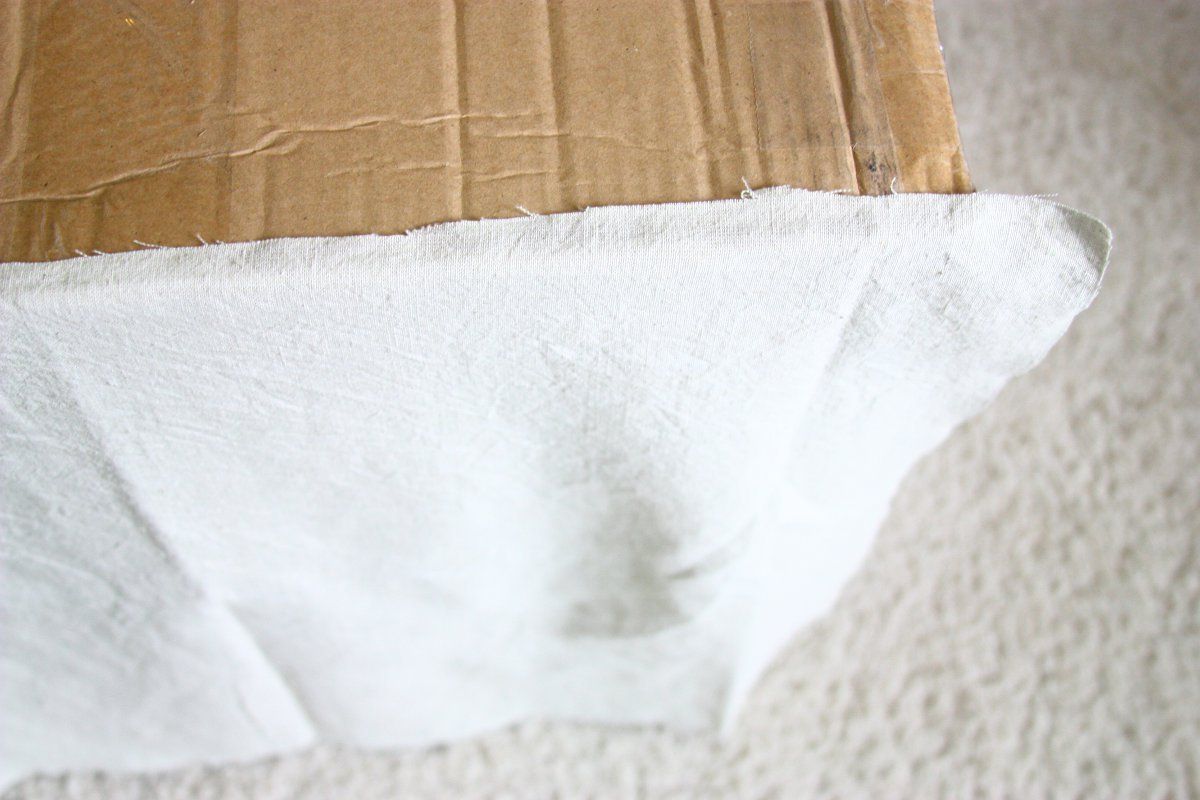
Starting with your long sides hot glue it along the bottom of your box, leaving some extra off the edge for folding over. 
Photobucket

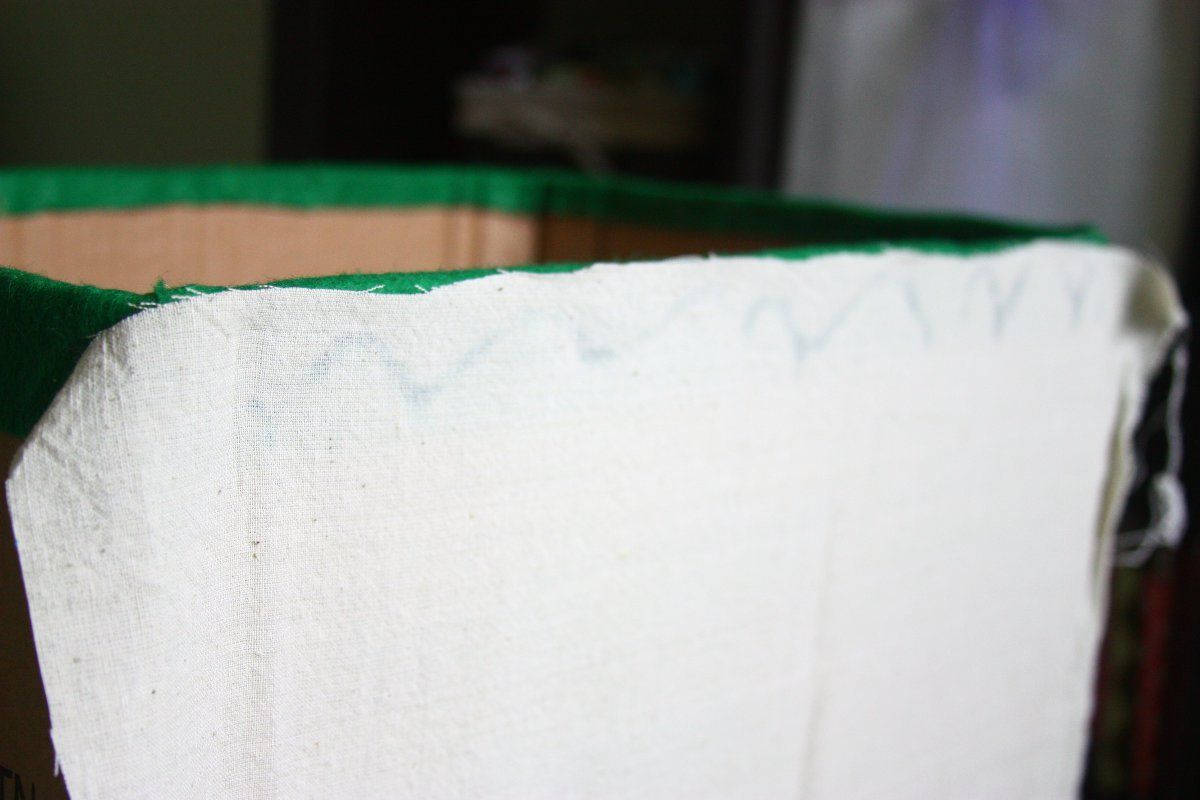
Pull it tight and glue it across the top and glue. I only had about 2/3 yrd fabric or I would have made my pieces large so I could pulled it up and over to the inside of the box. Although the living will cover it.
Photobucket

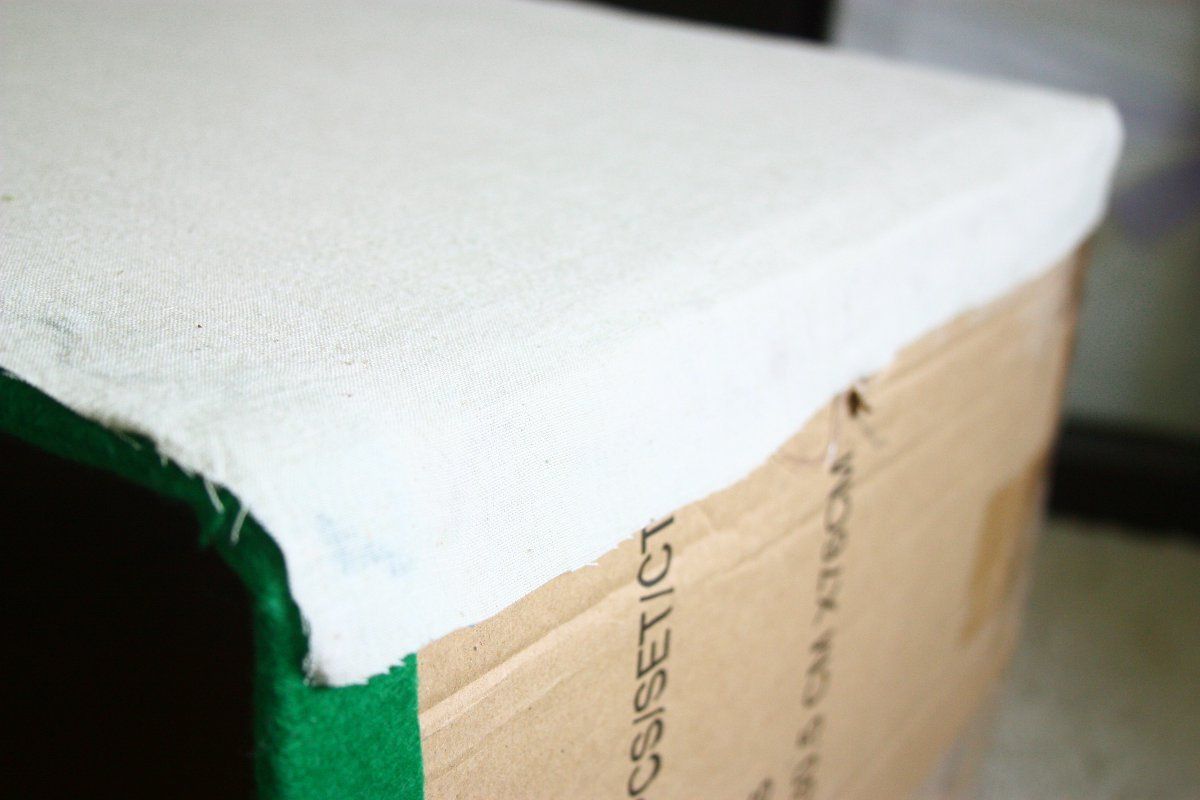
Finally pull the edges tightly around the sides and hot glue into place. Repeat for other side.
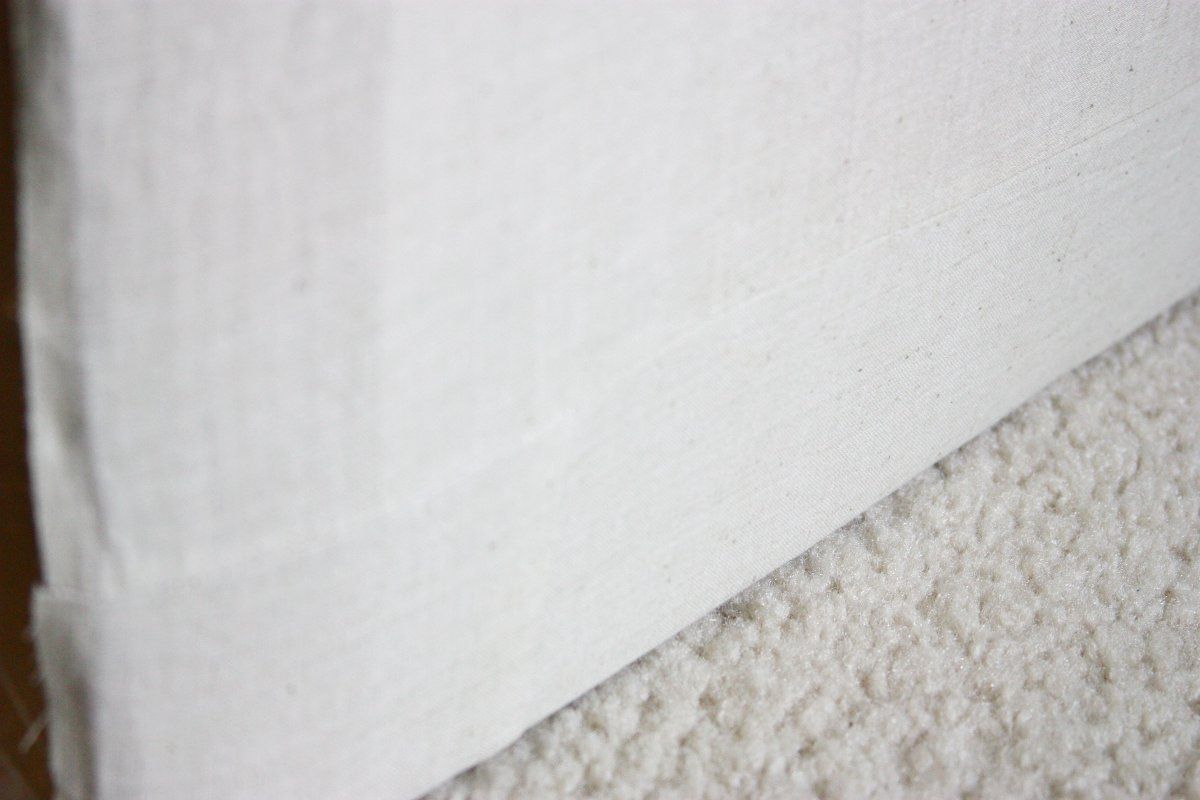
Photobucket

I ran out of fabric and so had to start piecing it for one side. You can barely see the seam here.
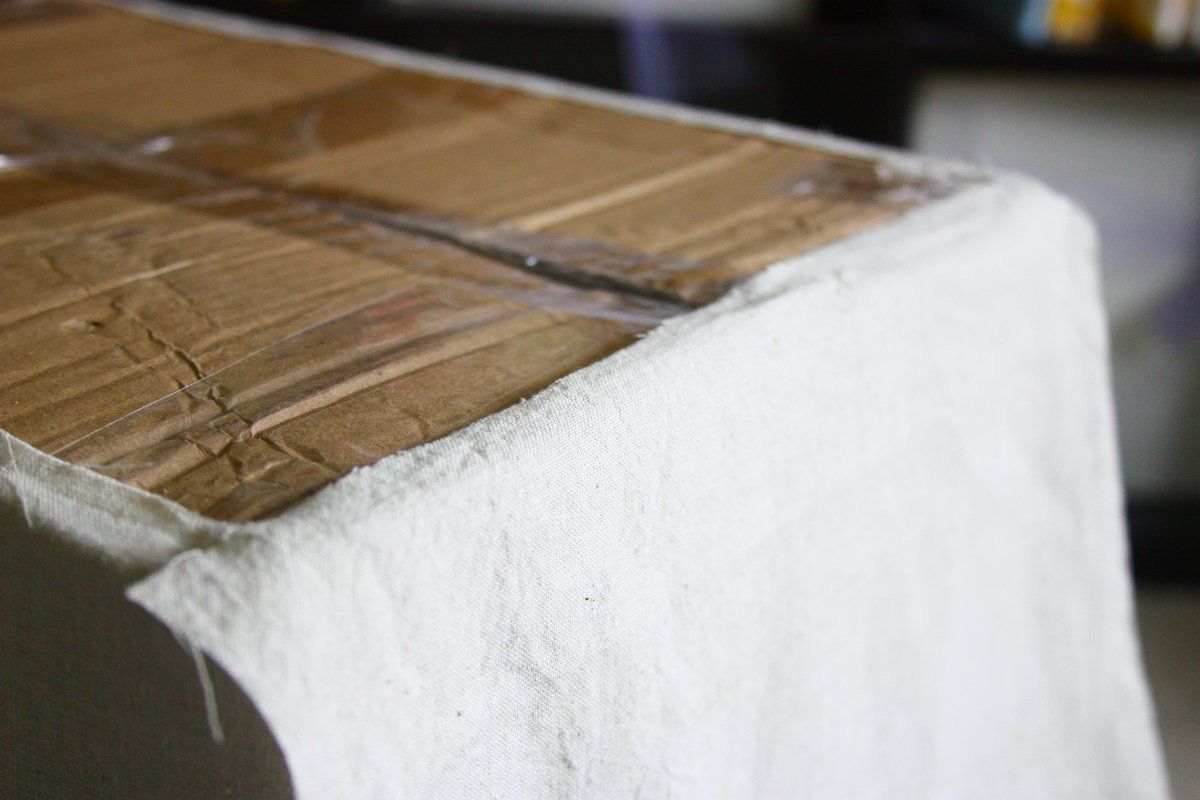
Photobucket

For the short sides, also start by gluing it in along the bottom edge.
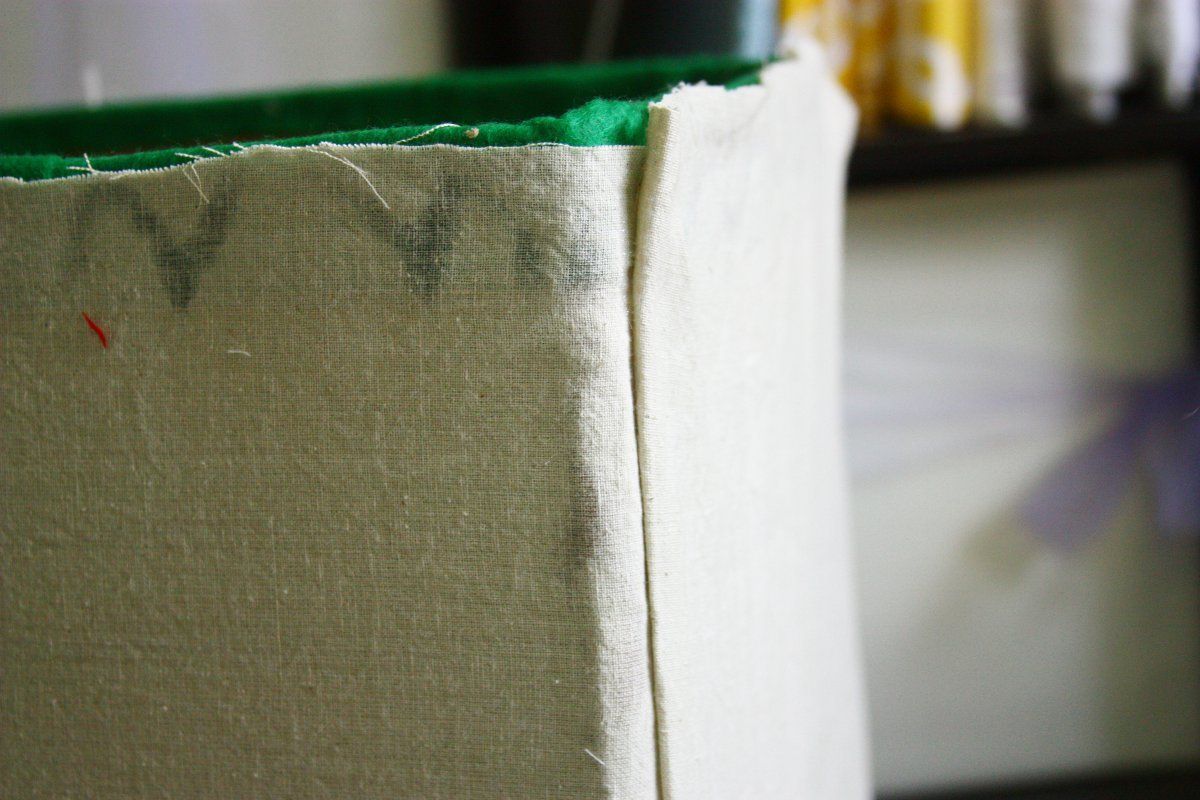
Photobucket

Instead of gluing it along the top first, fold over the edge of the fabric and glue it along the edge.This way you get a nice clean edge. I was thinking of adding some pipping too, but I didn't have enough fabric. :(

Photobucket

Finally glue it along the top. and trim any extra off the top. Repeat for other side.

Photobucket

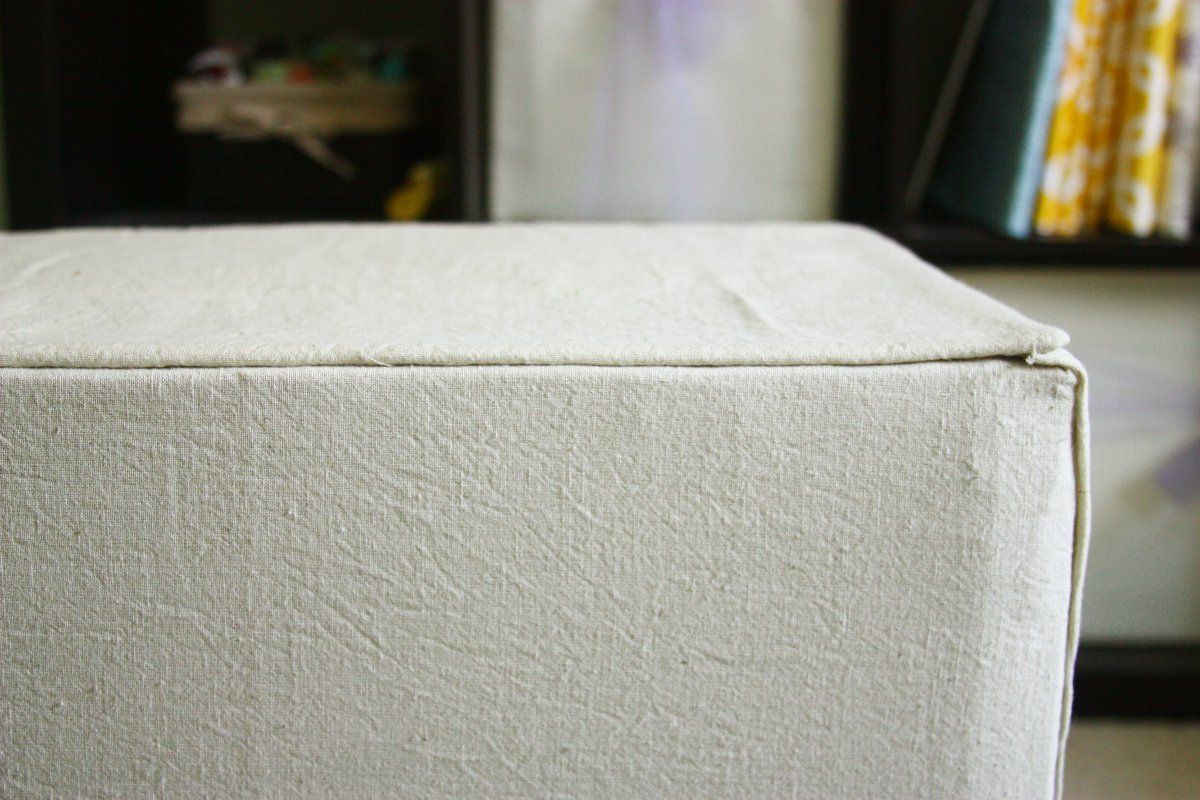
For the bottom I decided to use some Pellon fleece I had on hand. This part is optional. Trace the bottom of your box onto a piece of fleece and cut it out.
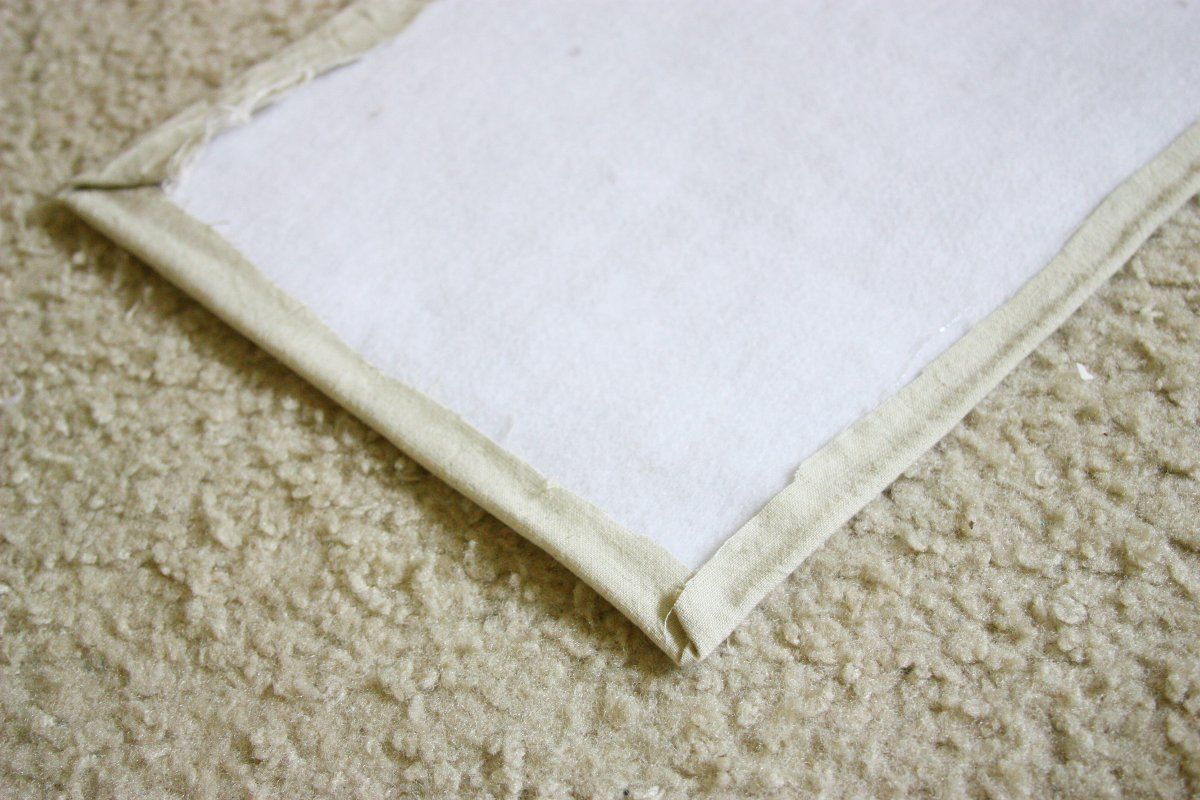
Photobucket

Then glue your bottom piece onto your fleece.
Photobucket

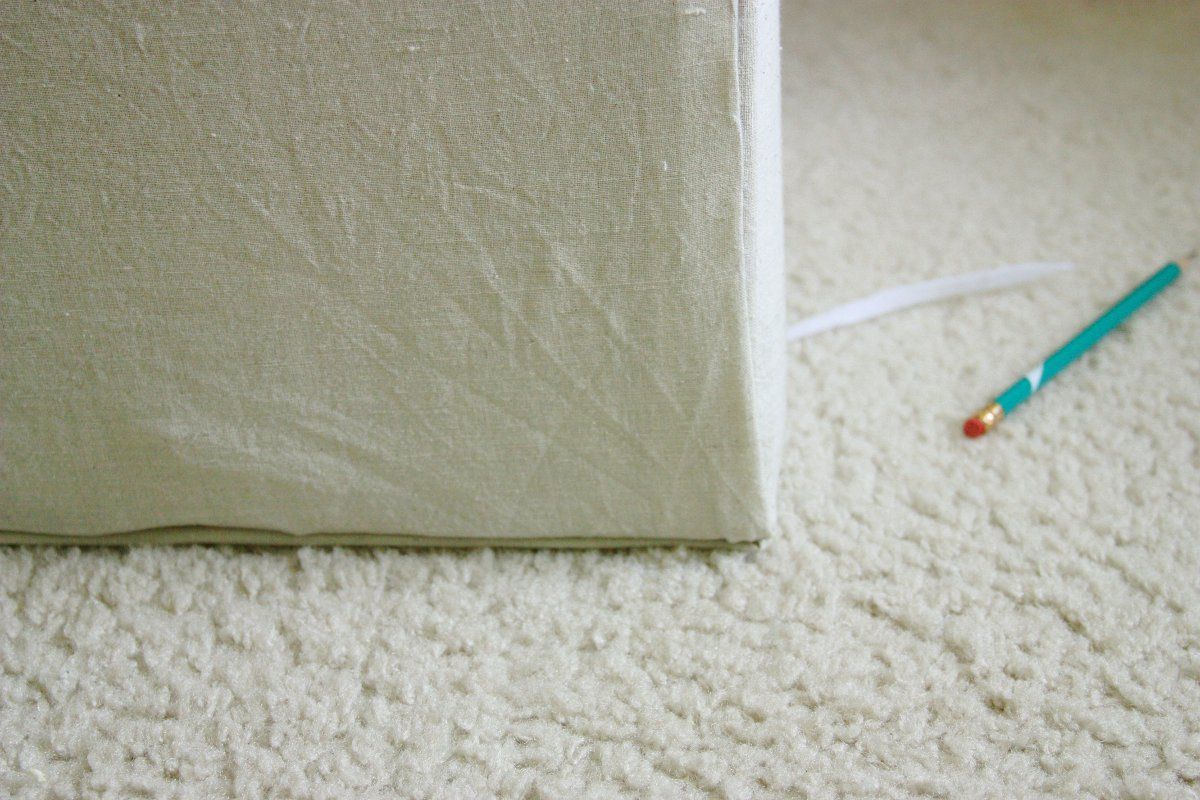
Finally glue the fleece piece onto the bottom of your box.
Photobucket

Photobucket

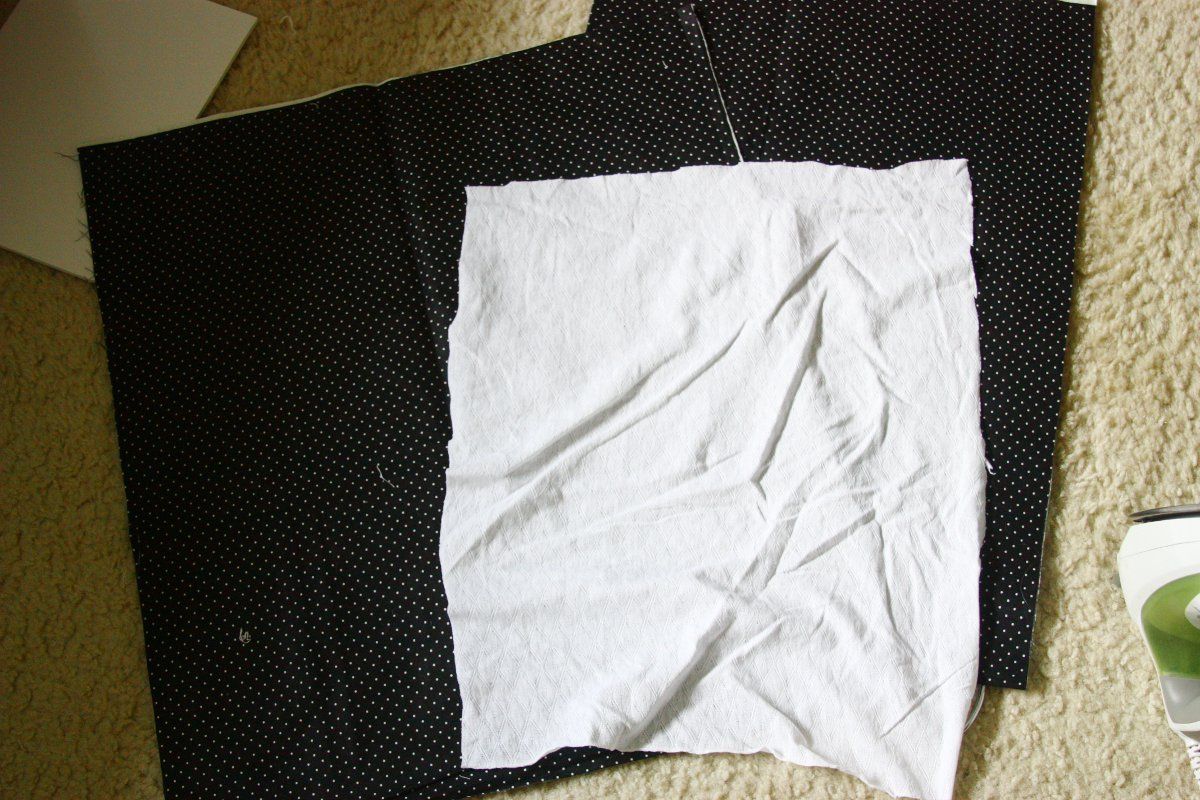
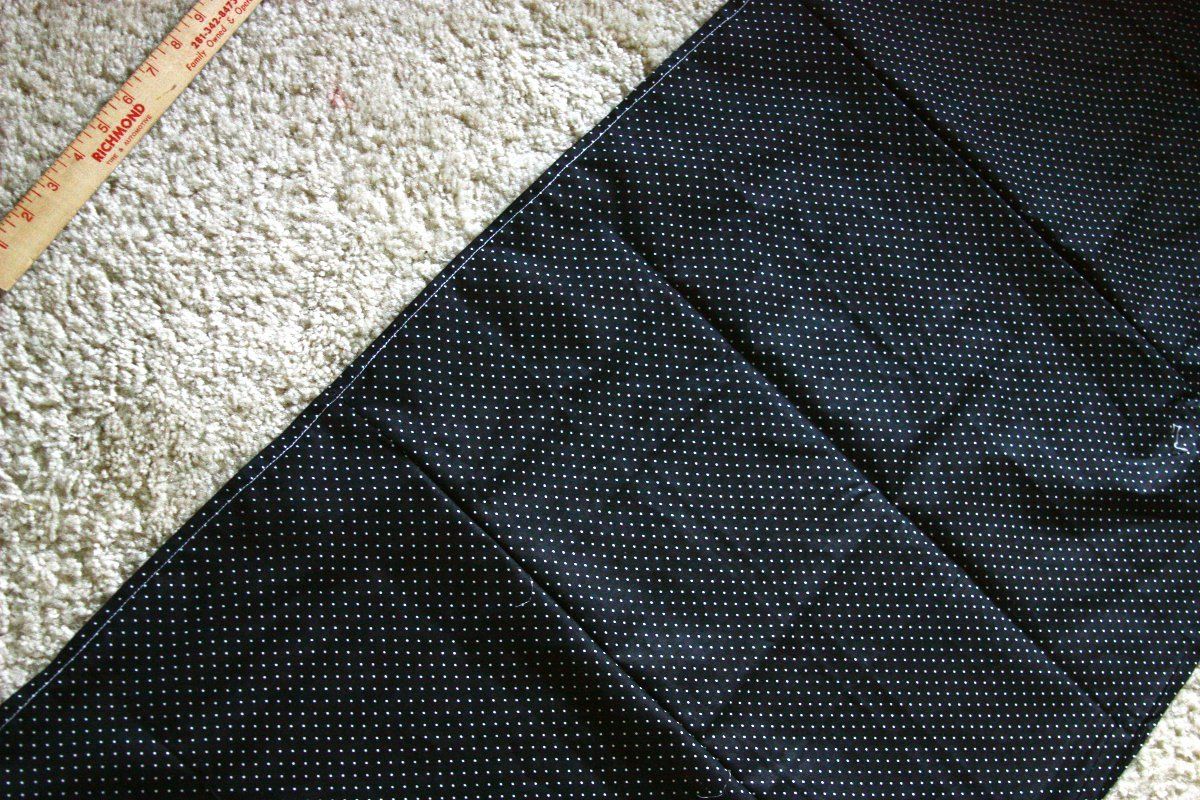
For the lining cut out your 4 side pieces and a bottom piece. I ran out of fabric (only had 1 yrd. on hand) so used some white fabric for the bottom.
Photobucket

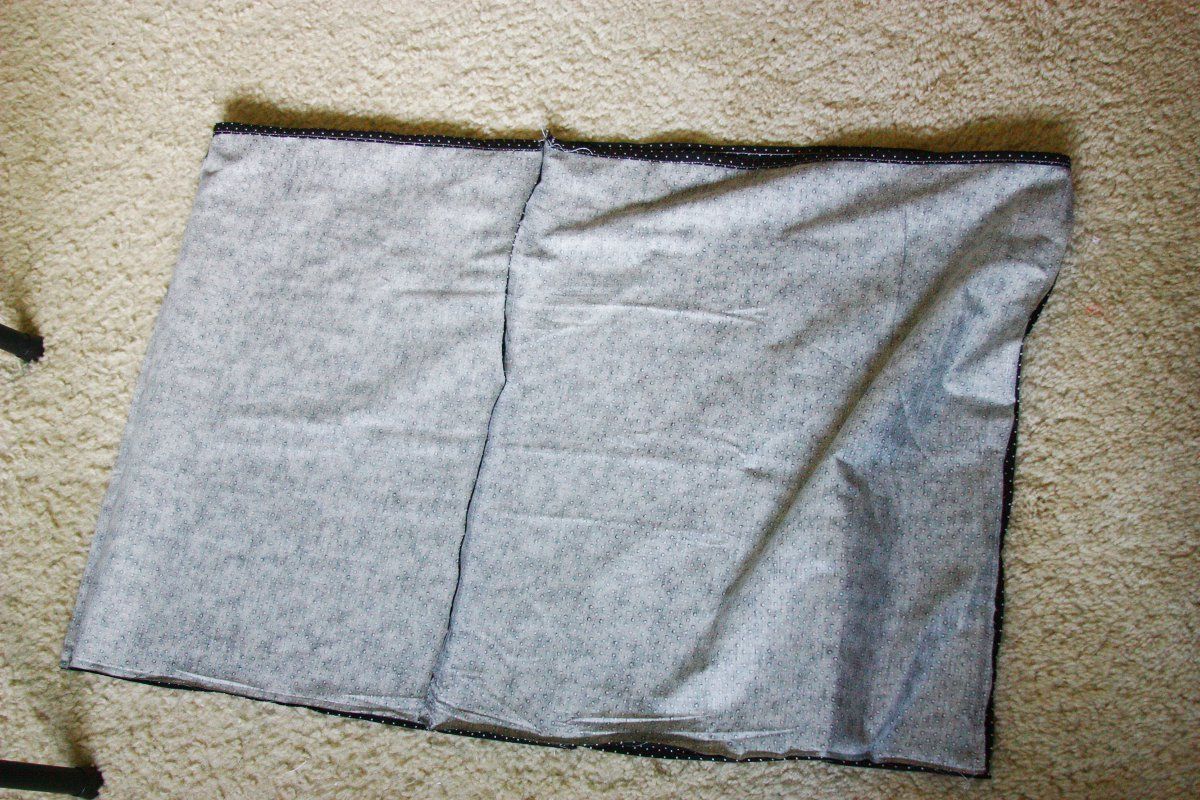
First I piece the 4 side pieces together in a long strip and did a quick hem along the edge.
Photobucket

Then I sew it all together in the a tube shape.

Photobucket

Pin on the bottom piece and sew 1/2" along the edge.
Photobucket

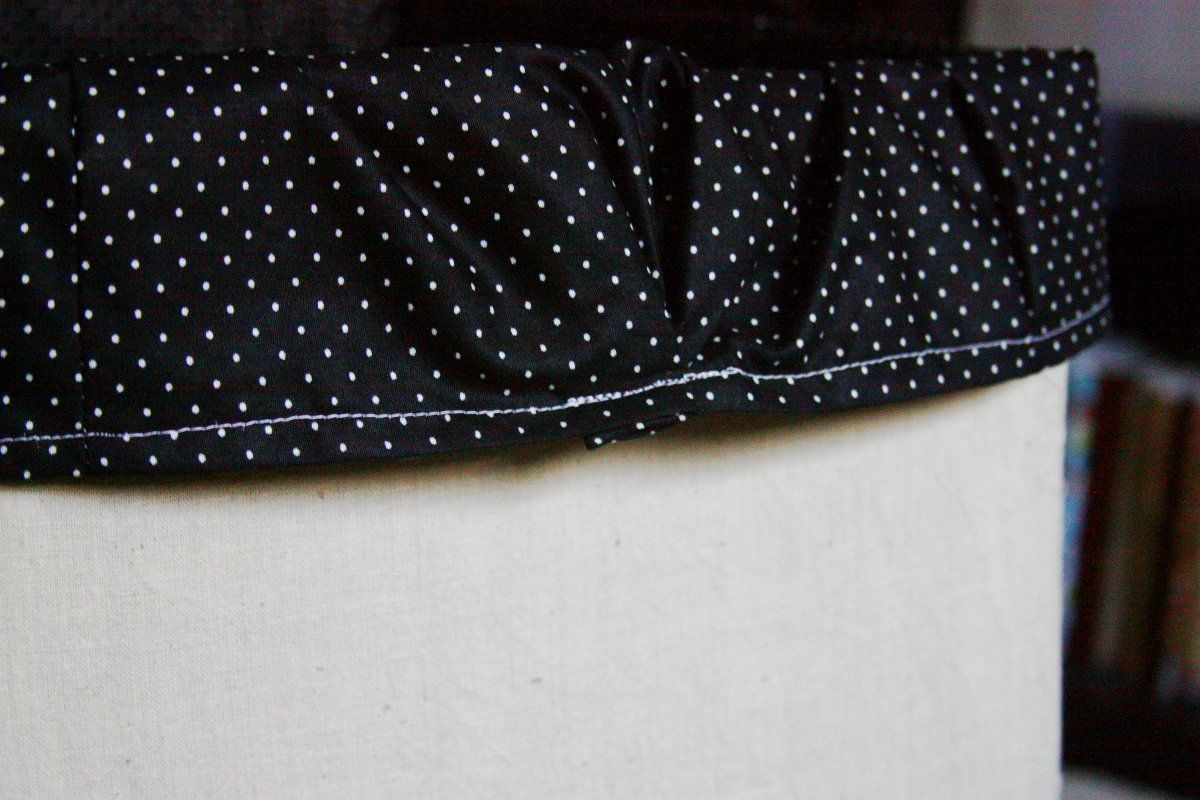
I wasn't being very precise and made my lining too big, so I gathered some at the back.
Photobucket

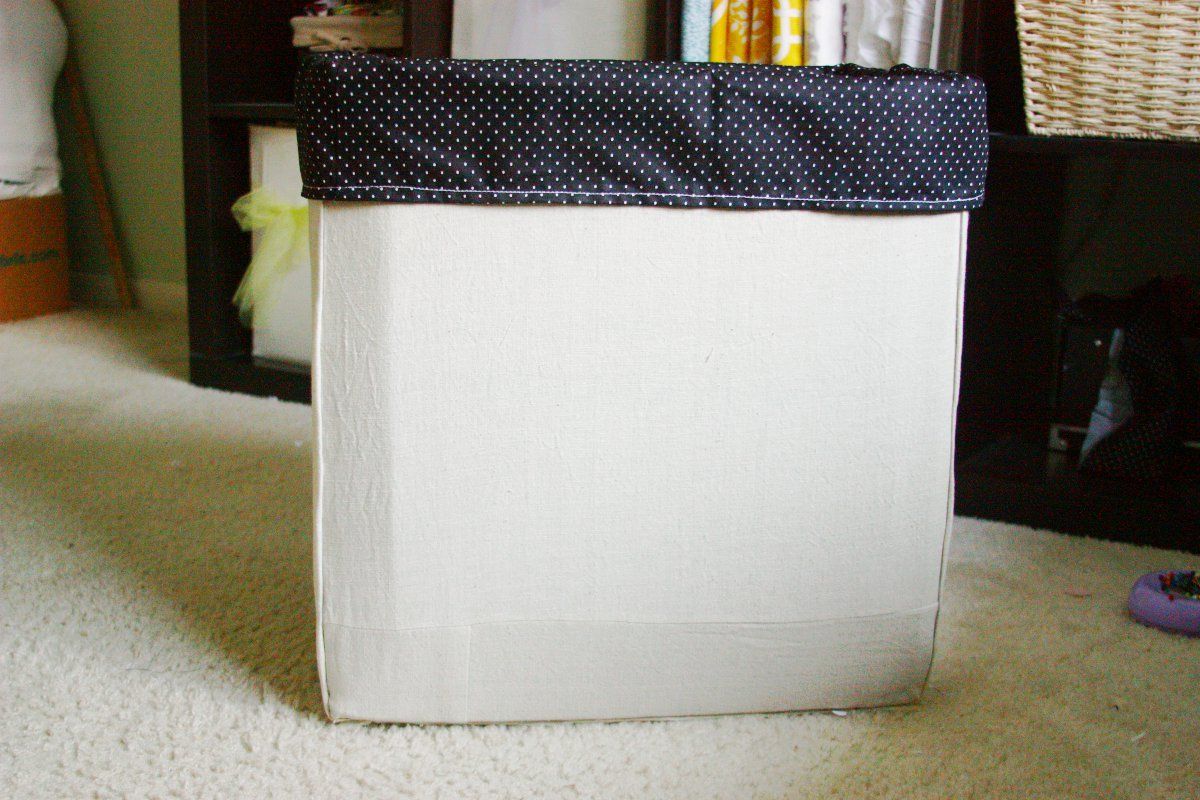
And there it is! I love the fact that I finally have a laundry basket/hamper and it was so inexpensive!


Linking up with- Tatertots and Jello , Flamingo Toes, The Well Crafted Home, The Grant LifeOne Artsy Mama 

Katie