PhotobucketPhotobucketPhotobucketPhotobucket

Saturday, April 28, 2012

Happenings

Has anyone else noticed that Bloggers scheduled post isn't working?
Maybe its just me.

I've been quite busy as of late... Ok. So I'm probably always busy.

First off I'm heading off the Regional Invitational Tournament this week! I qualified in two of my speeches.  I'll be going with my brother who also qualified in one of his speeches and debate.

I have lots of stuff planned for the next few weeks... months... (years?)! Whether or  not it gets done we'll see.

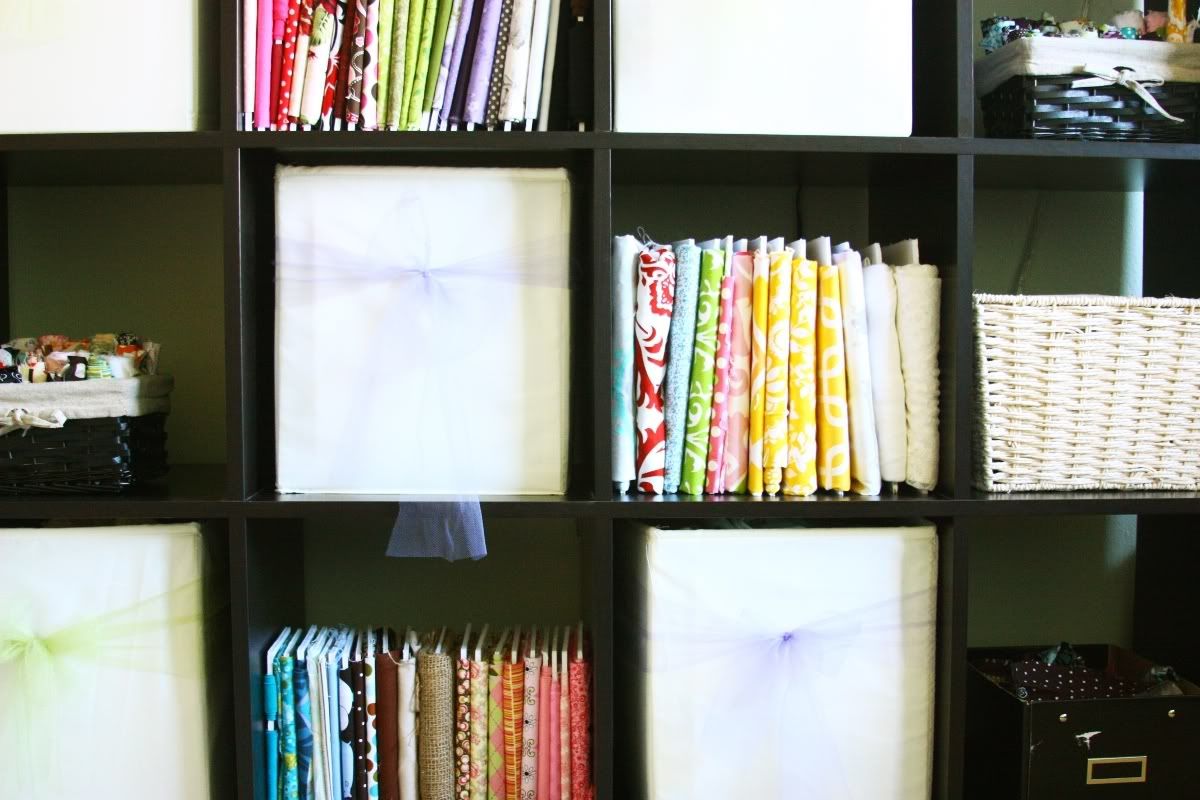
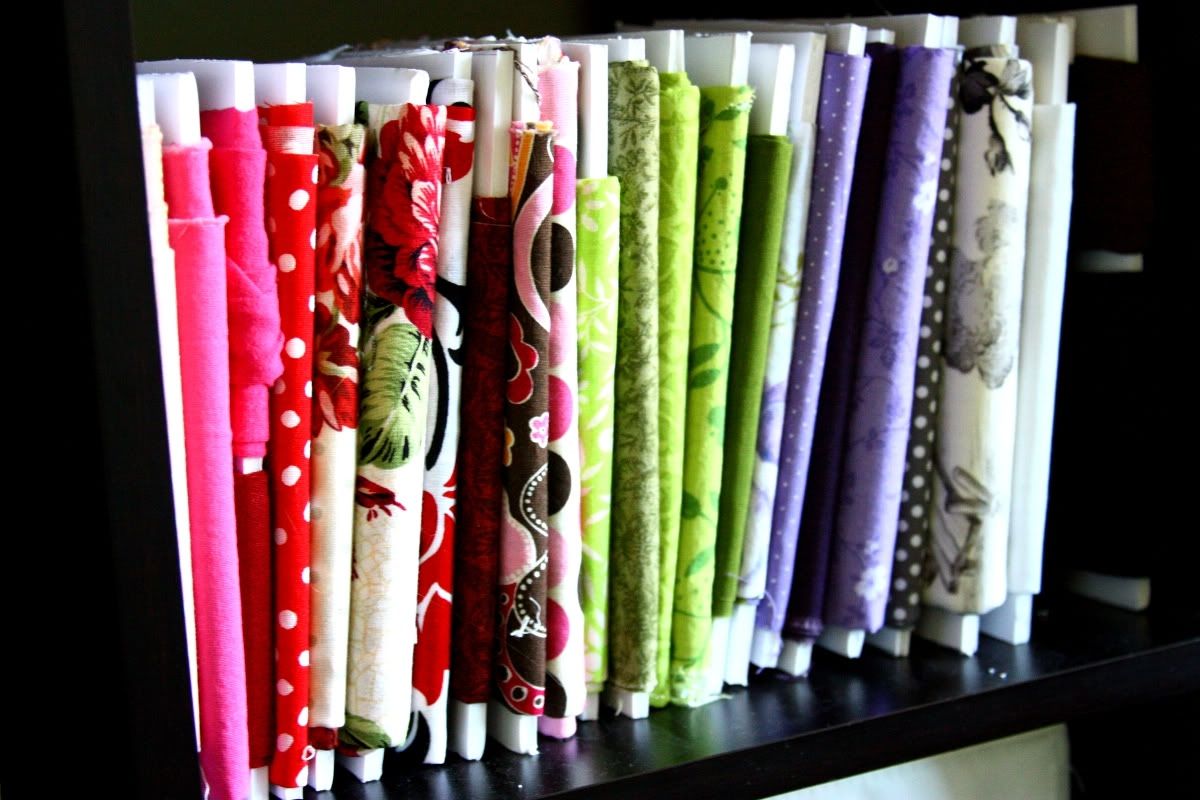
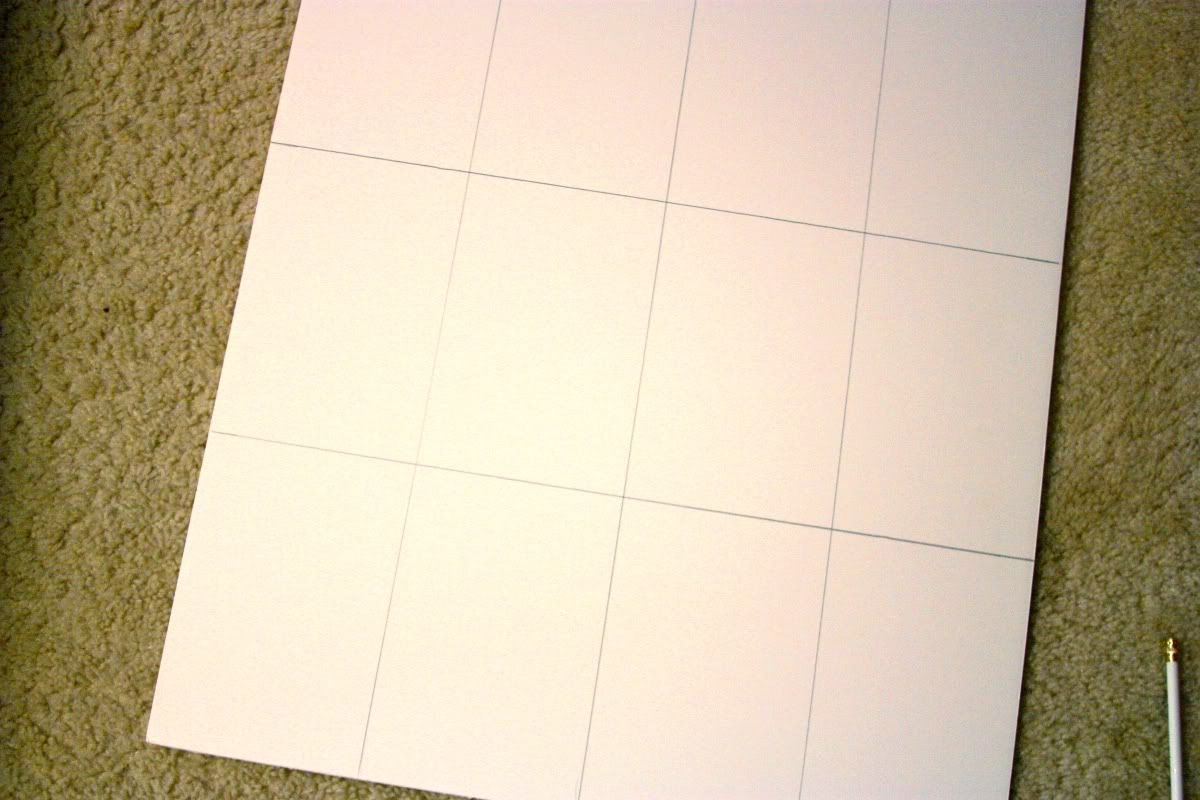
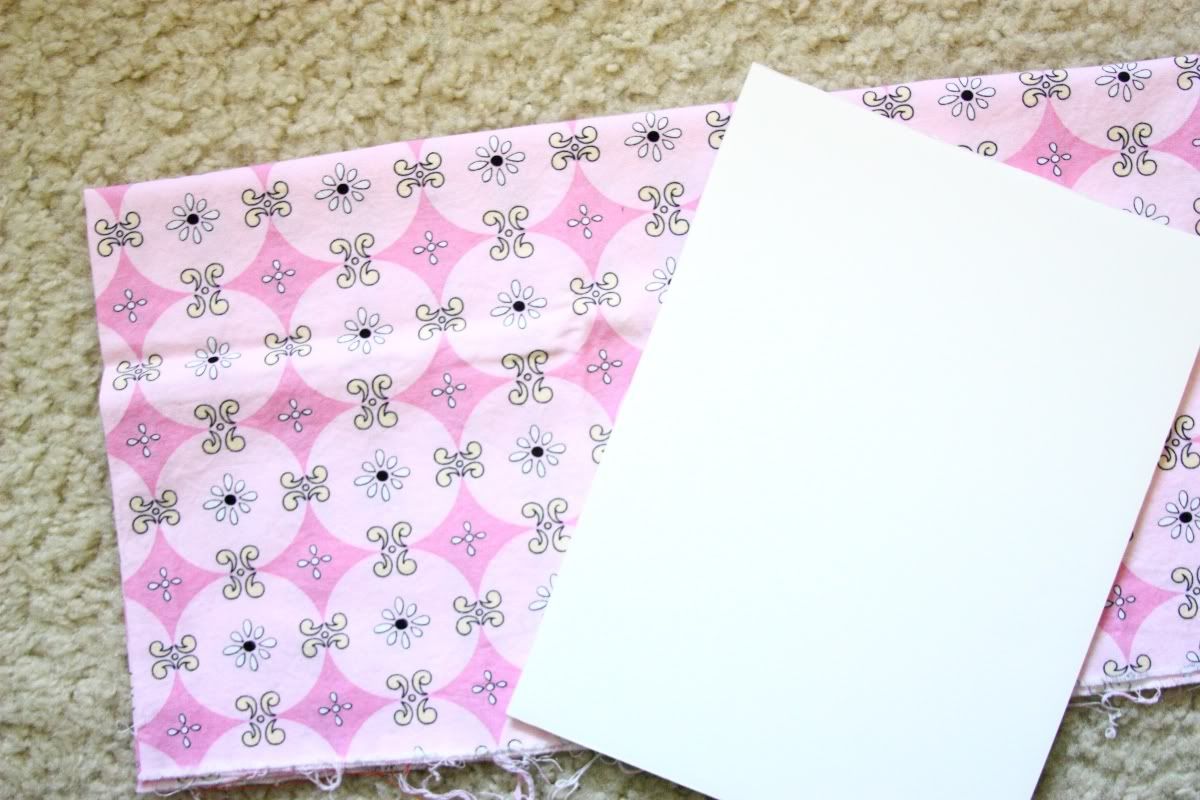
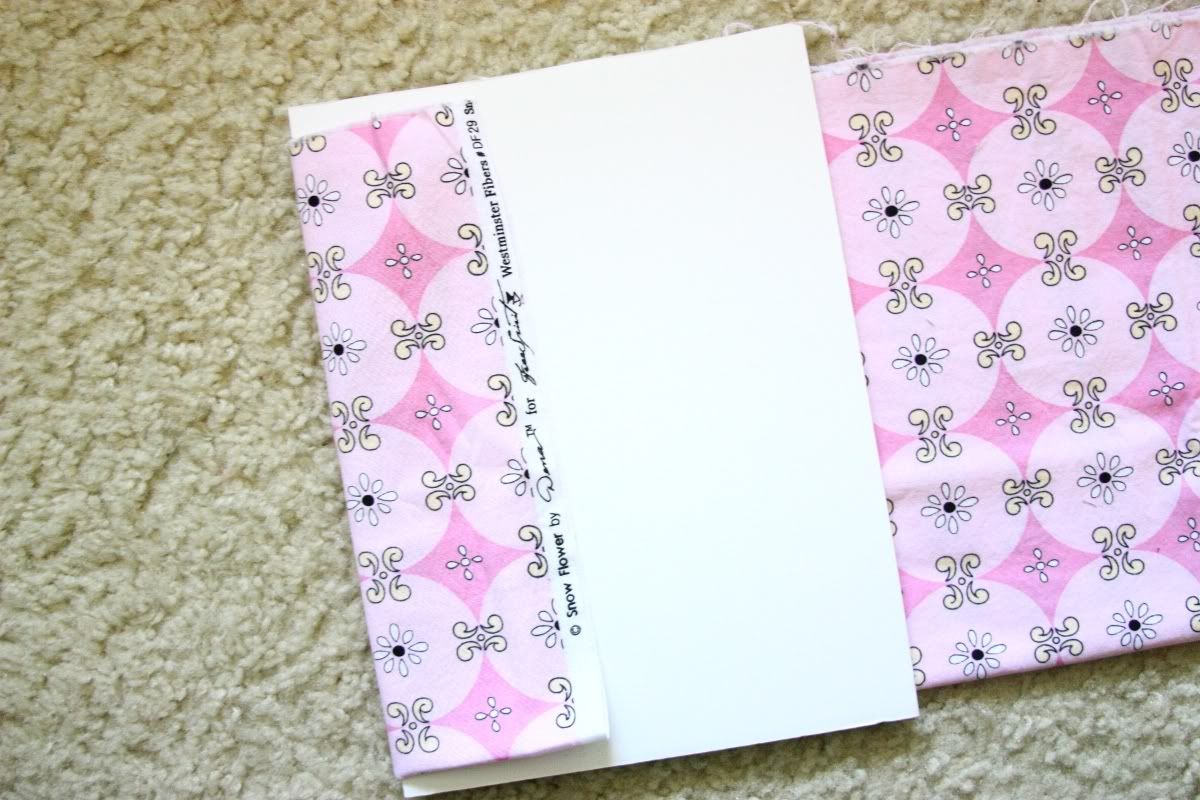
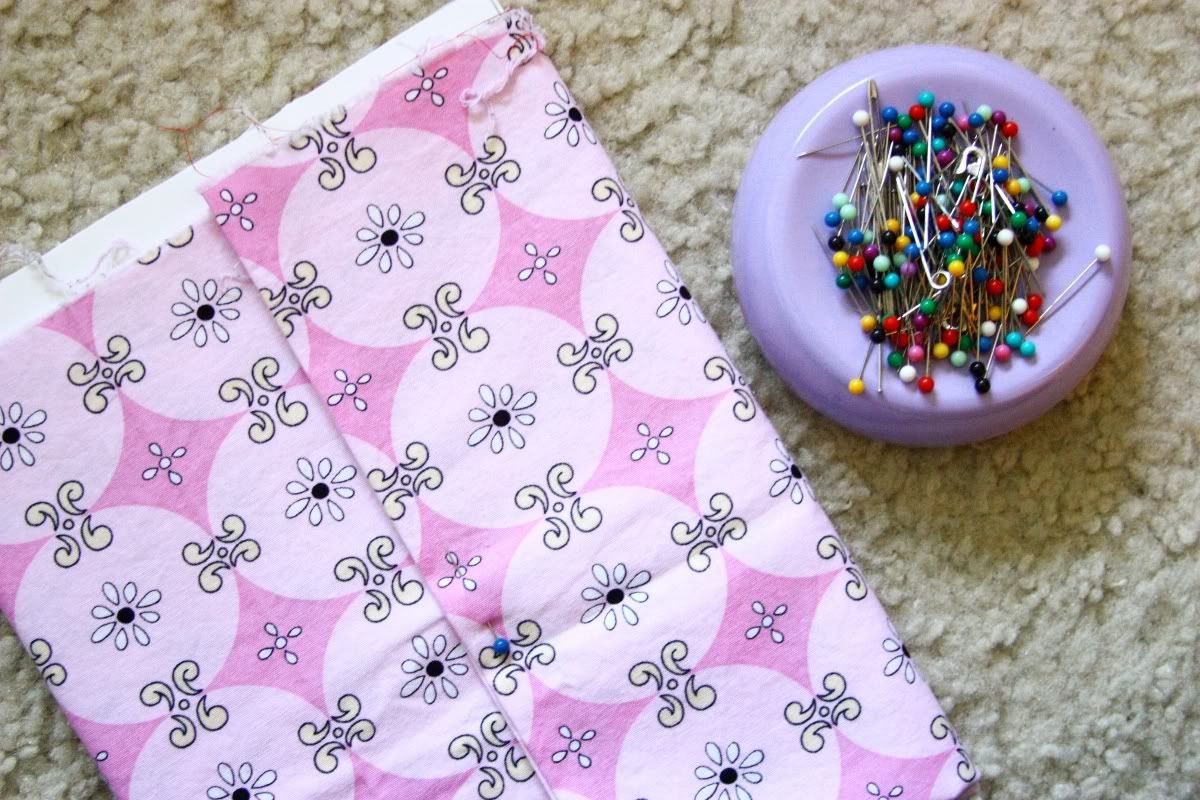
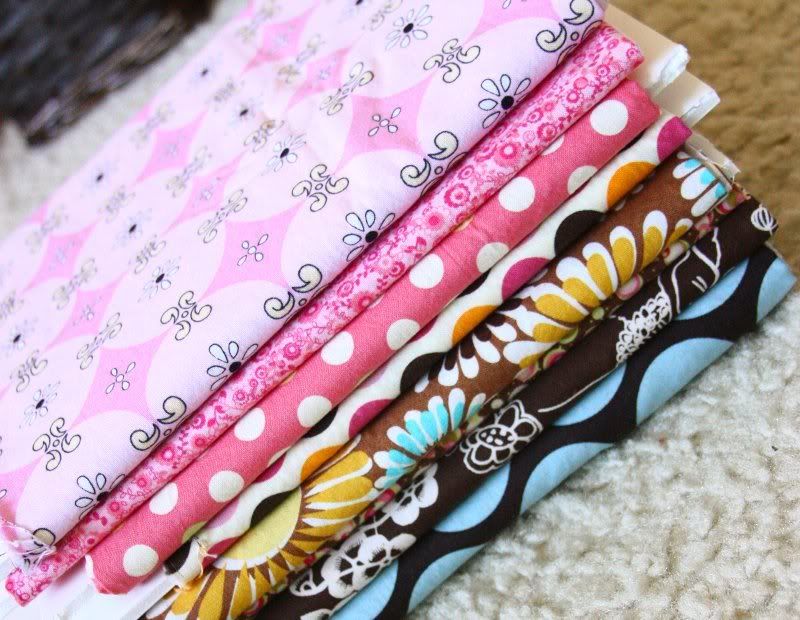
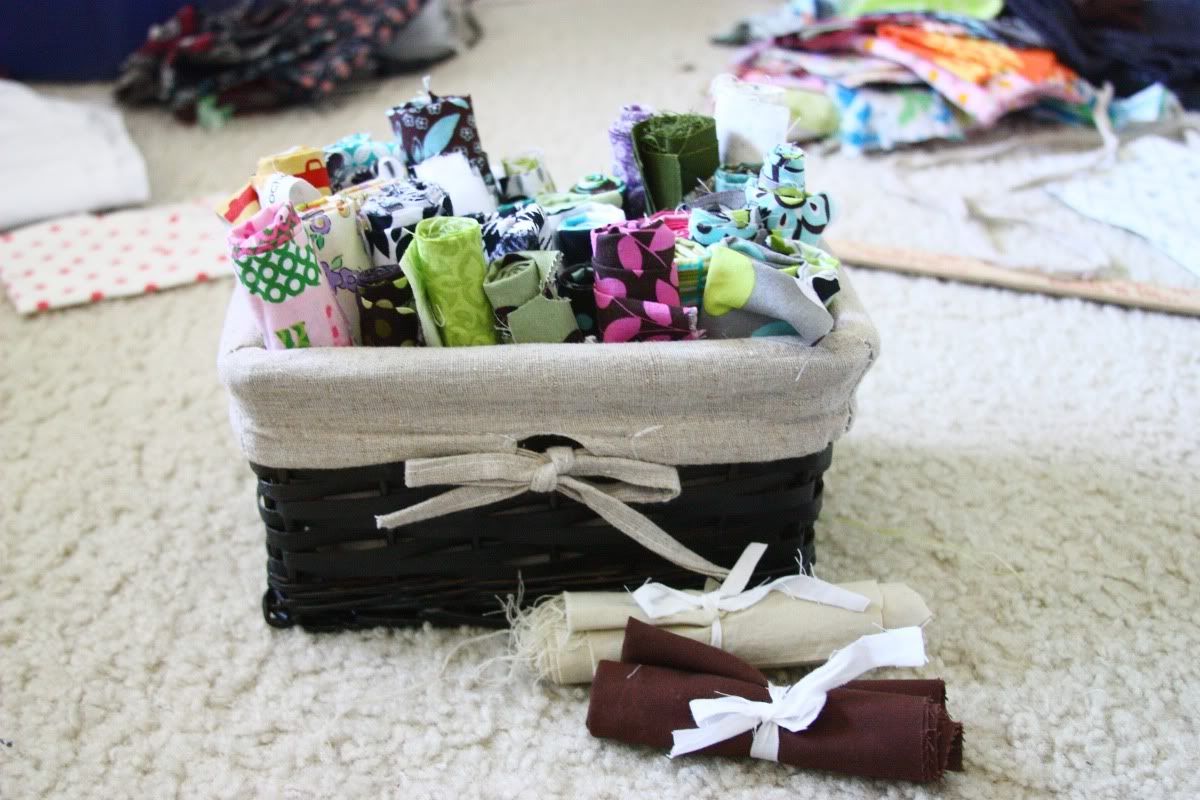
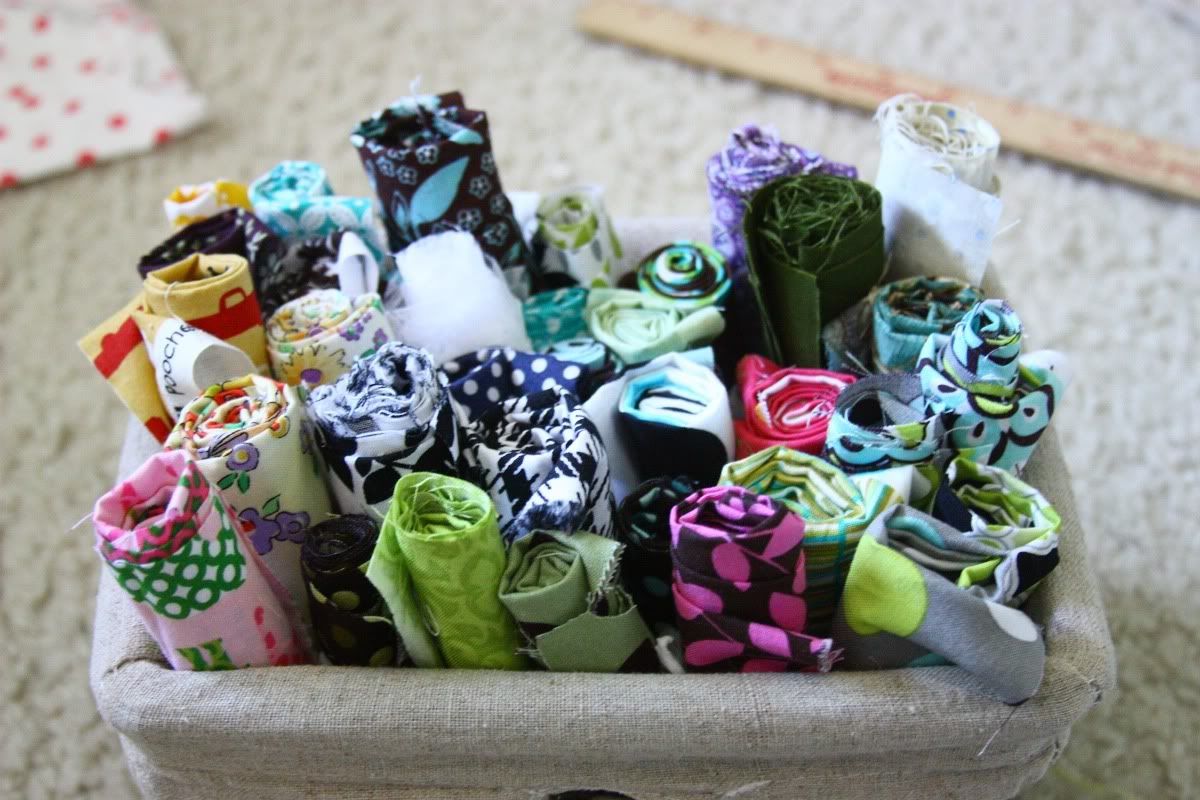
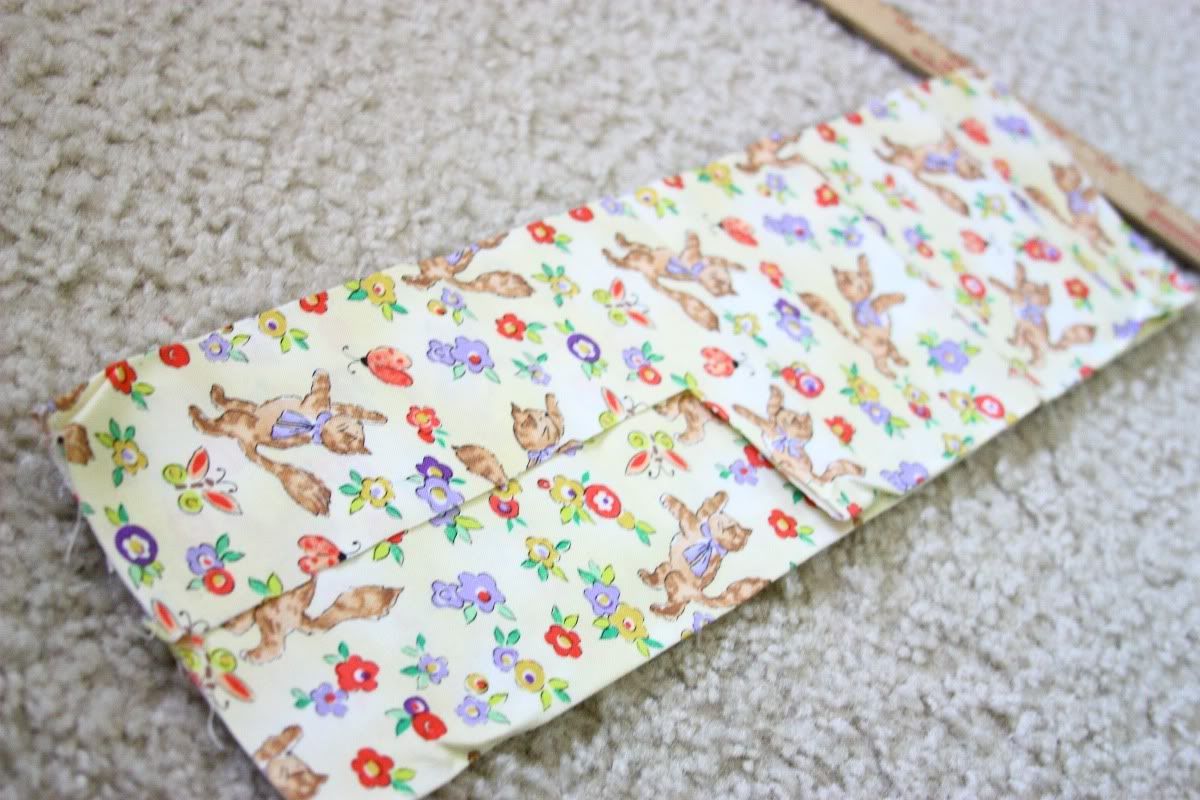
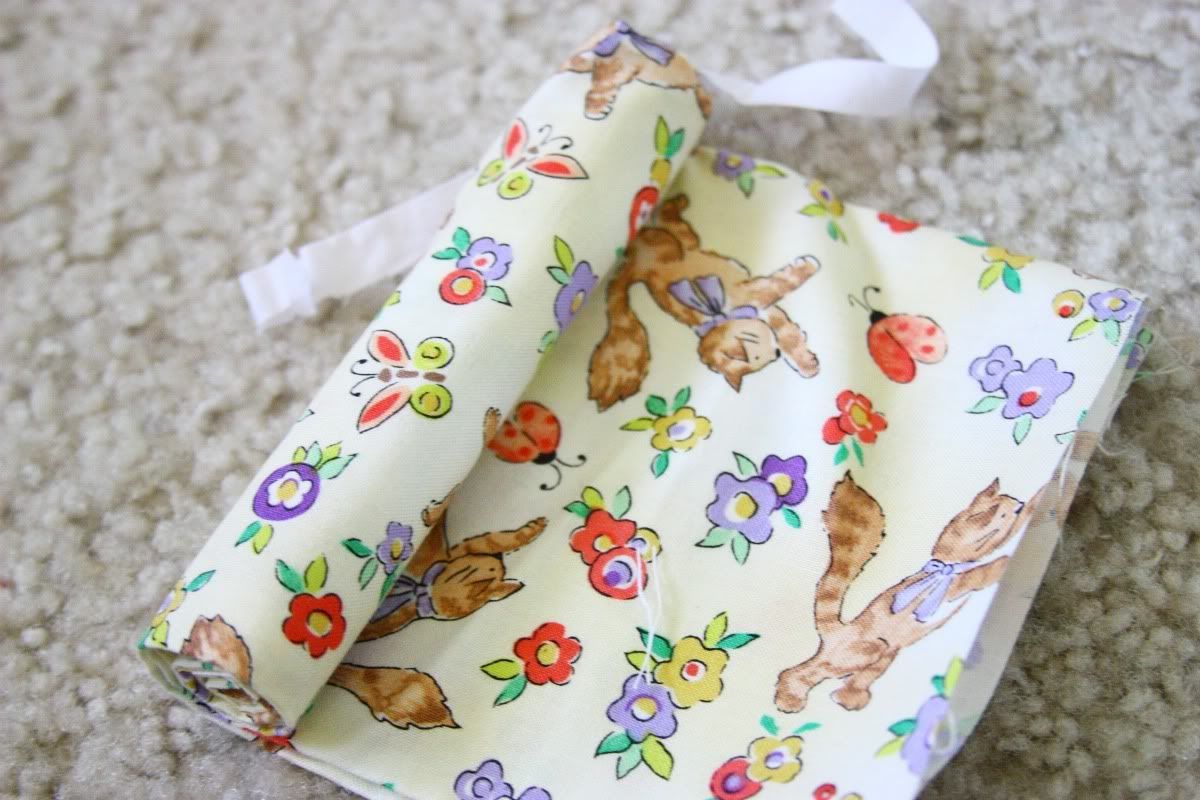
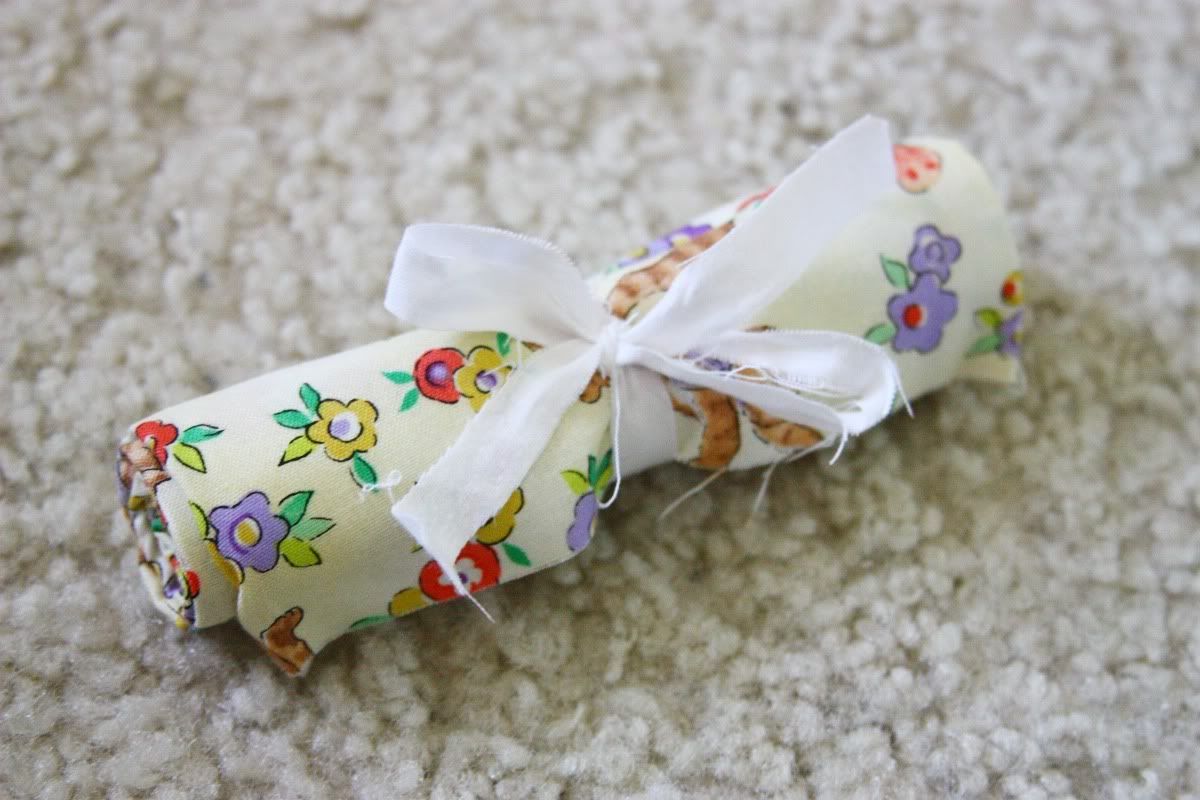
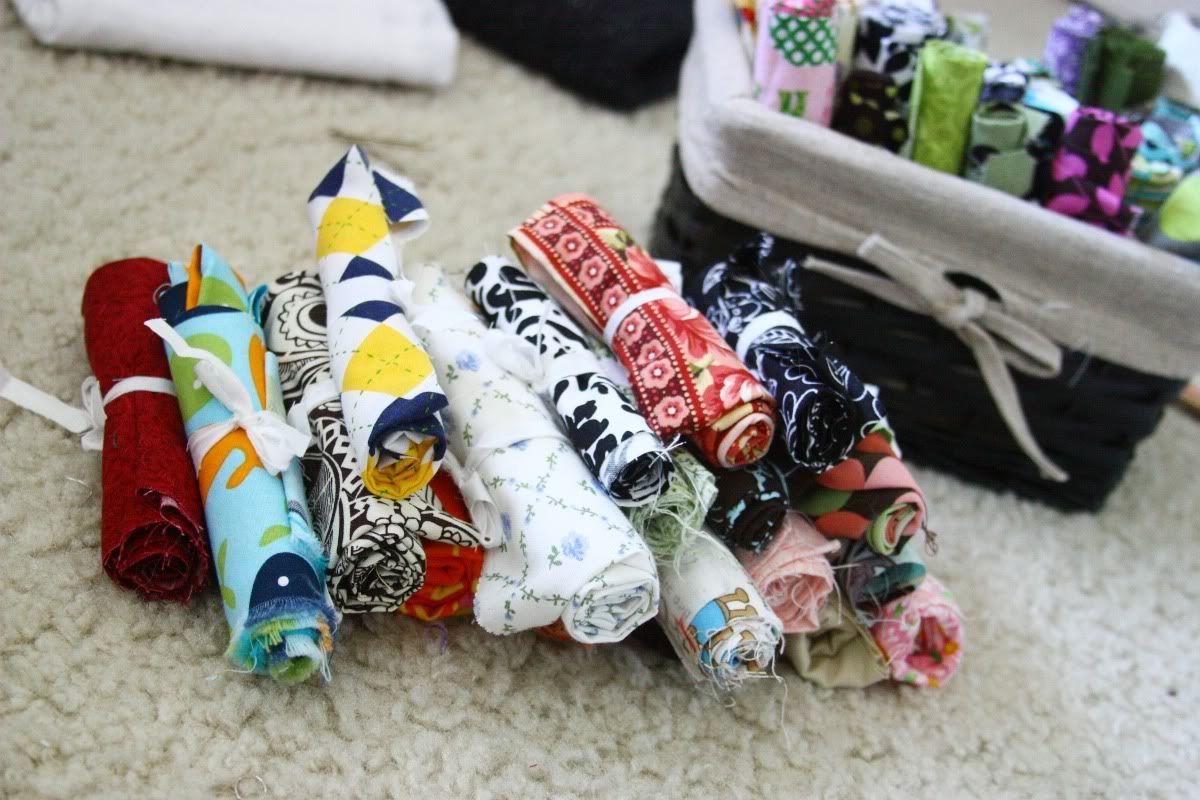
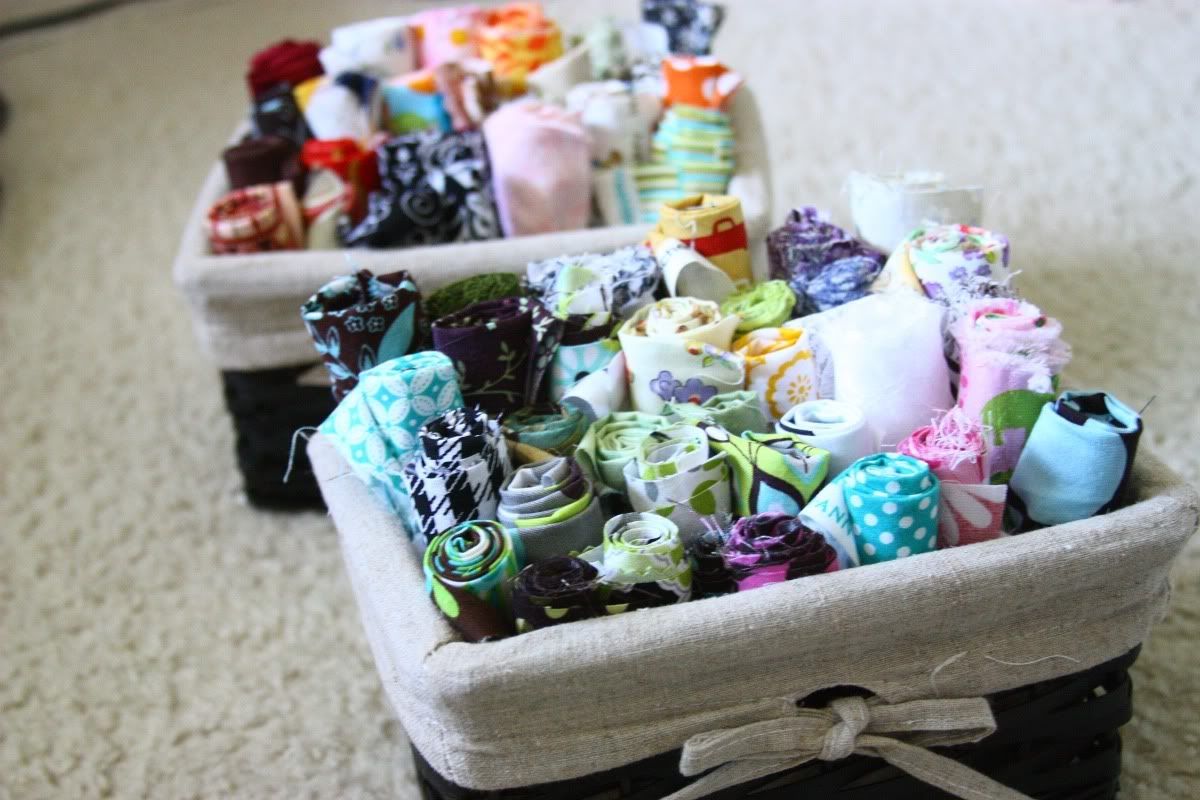
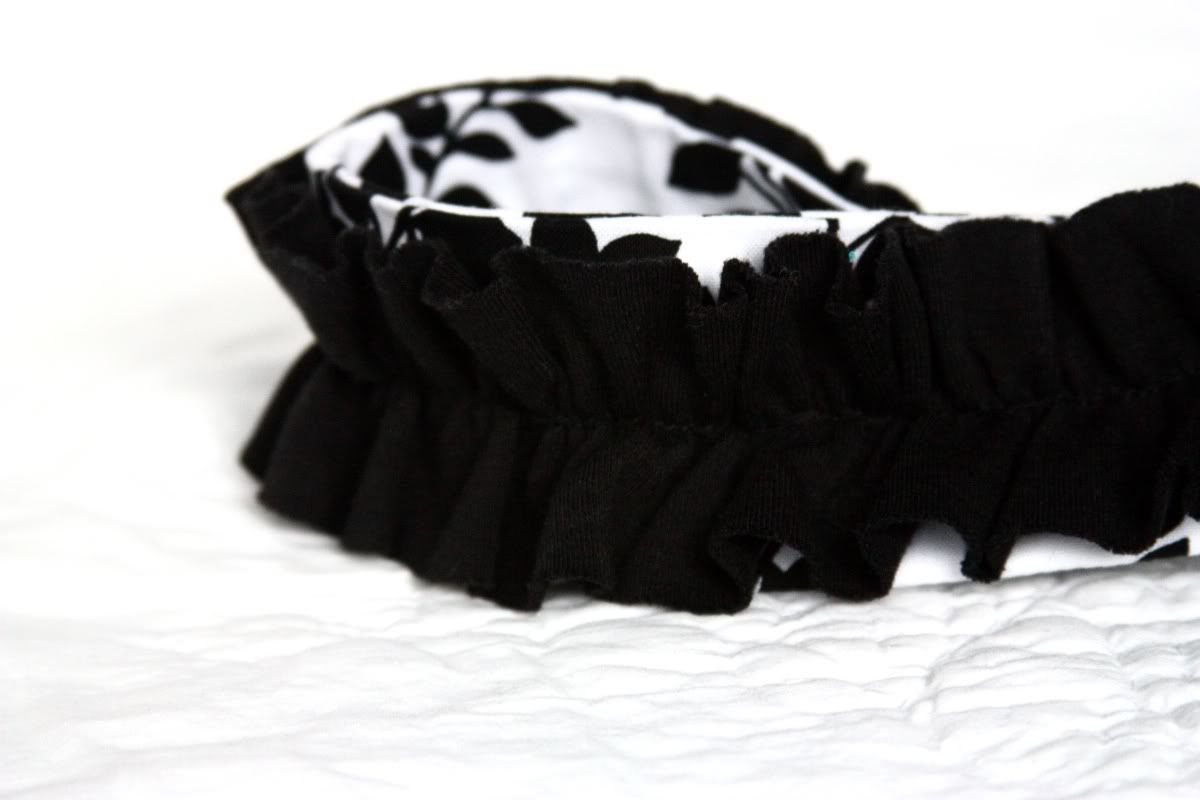
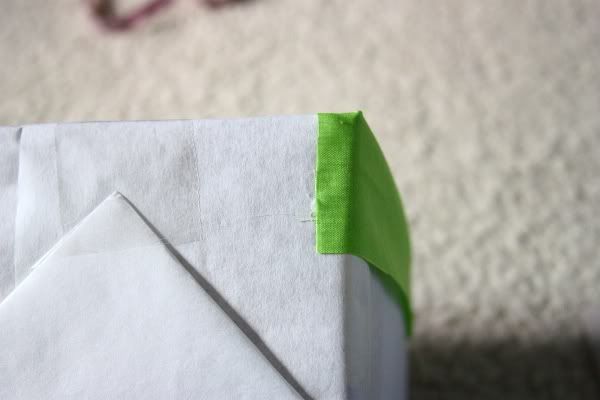
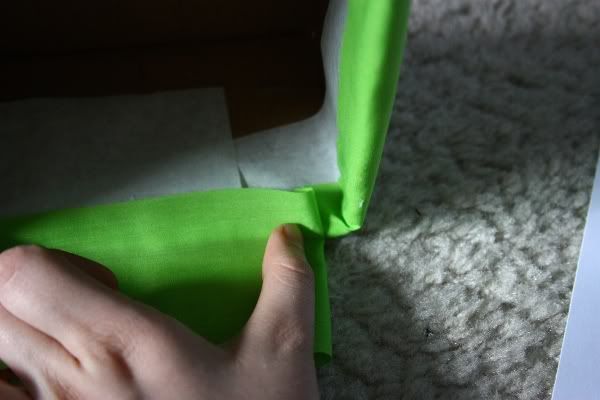
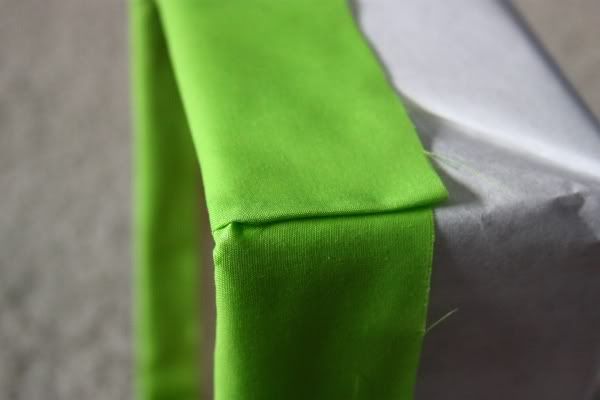
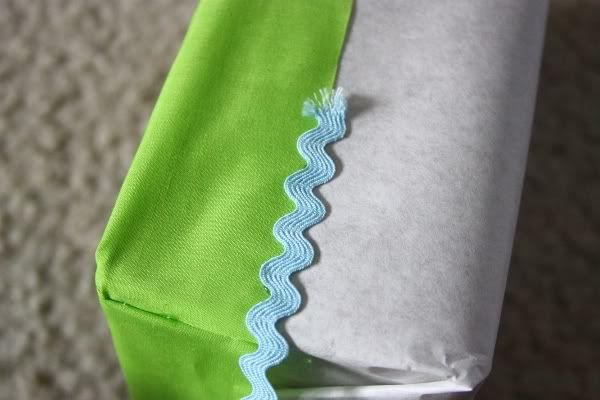
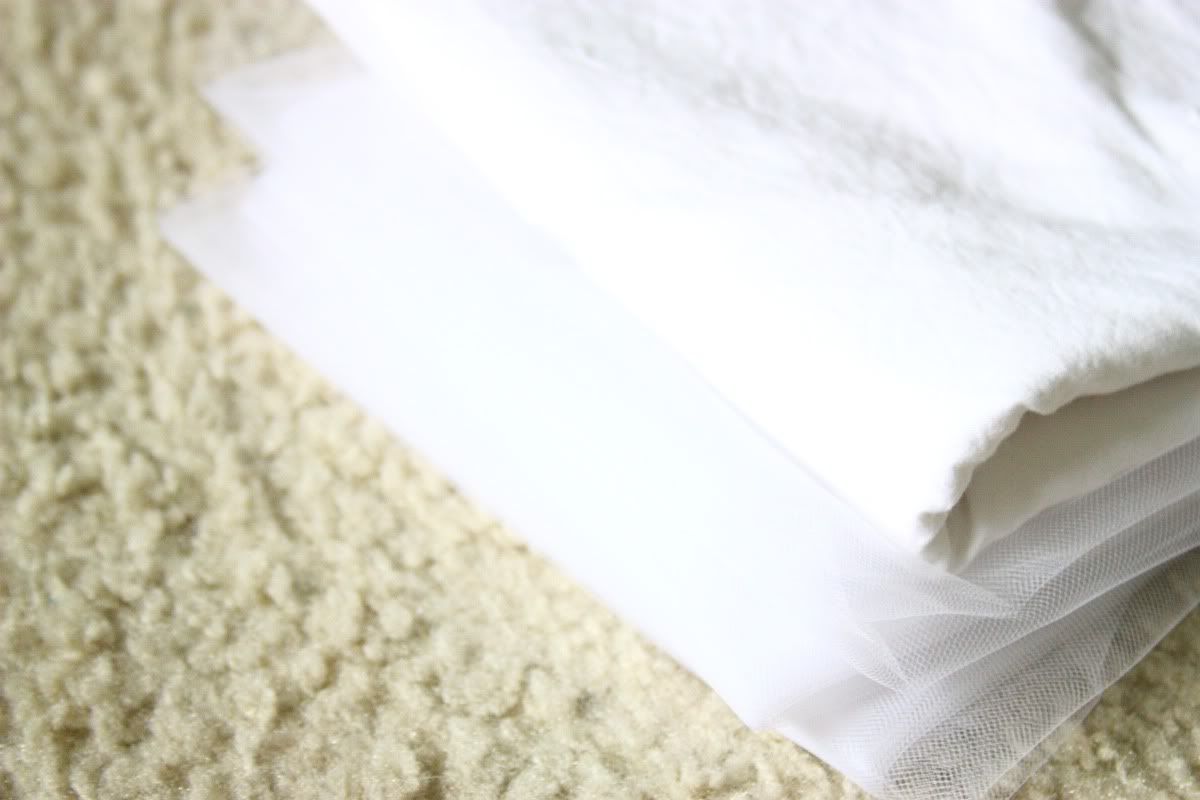
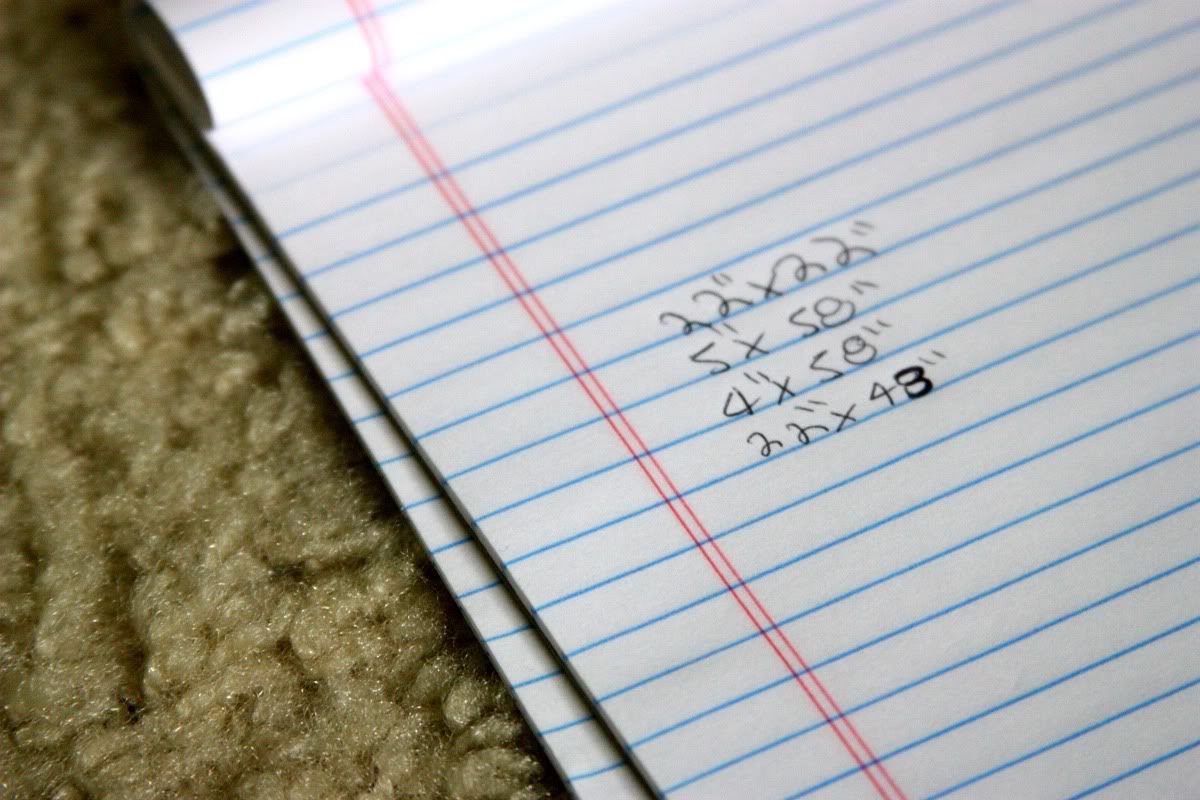
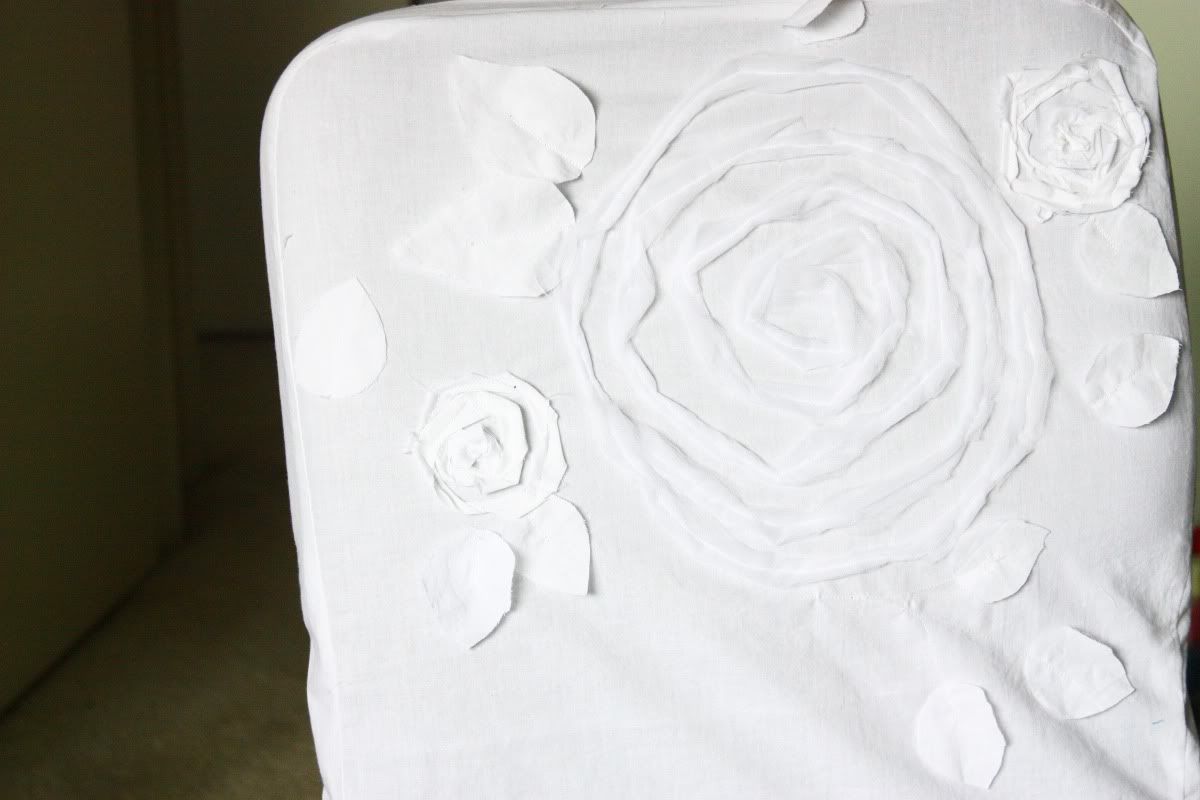
First off I finally started on making some pillows for my room! yay!
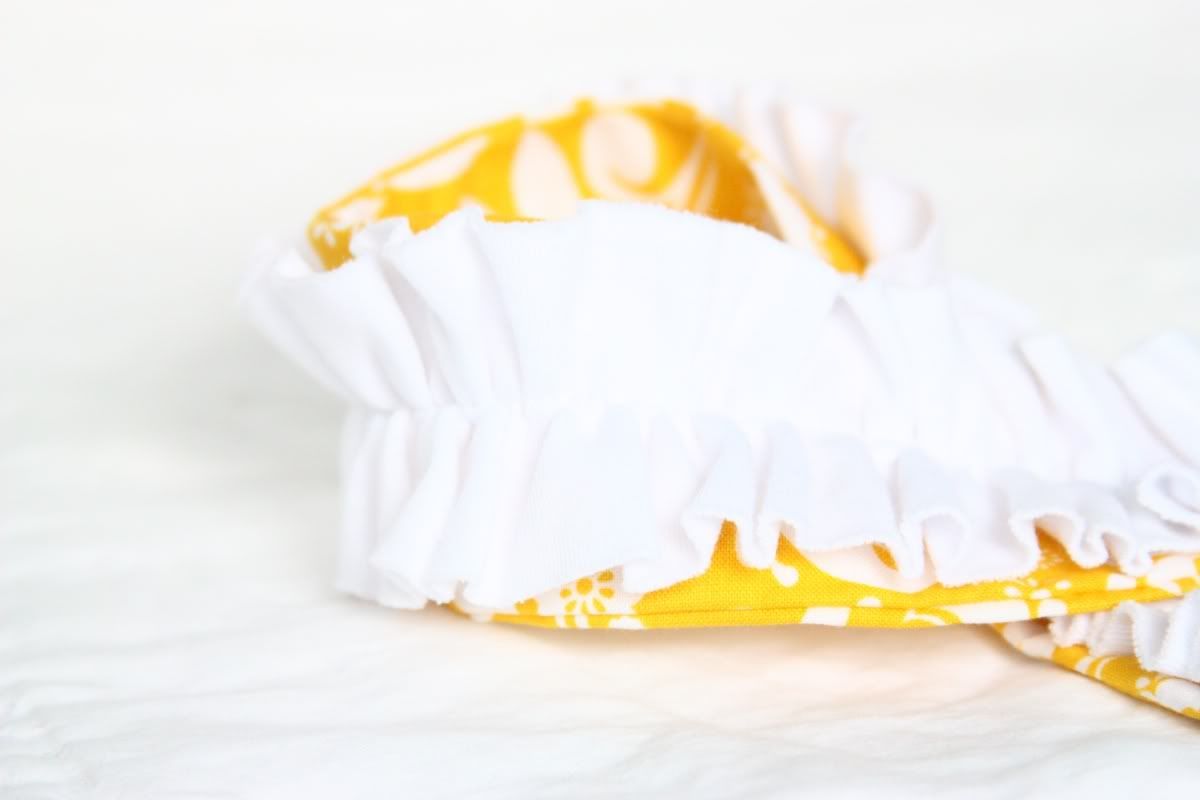
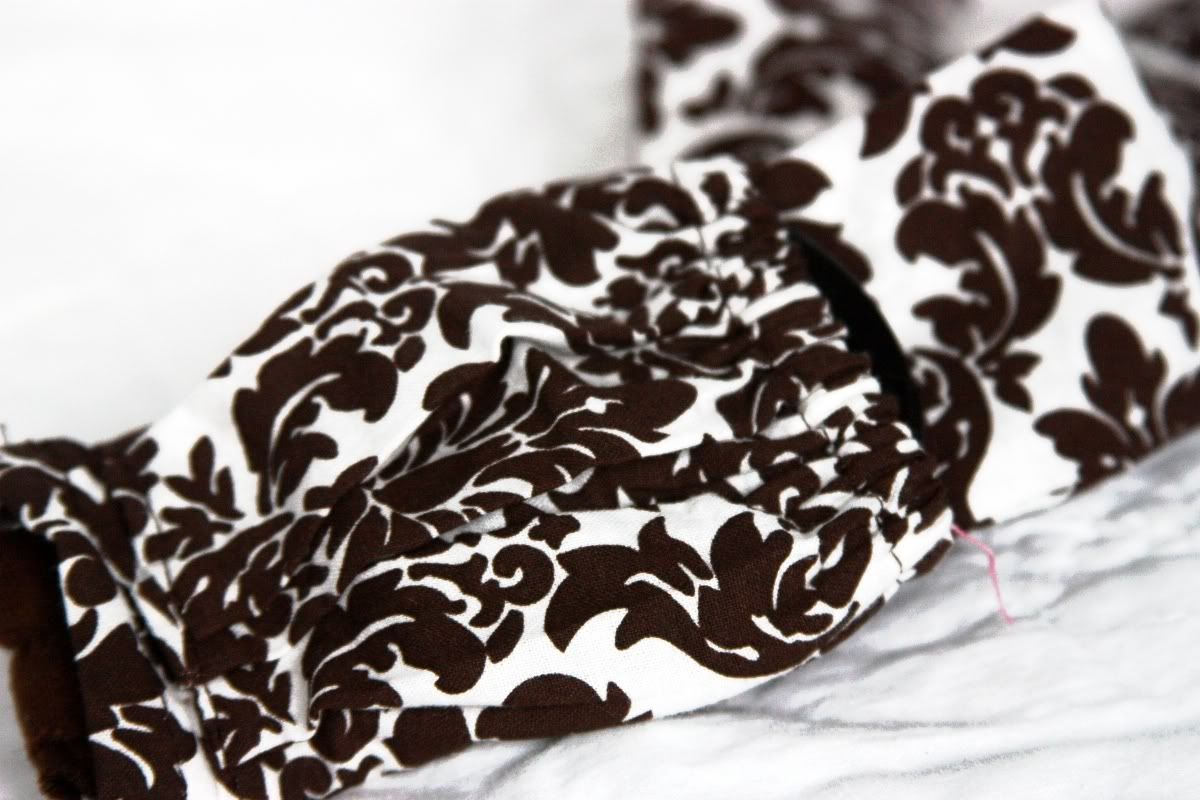
Here's a sneak peak of my first one.
 

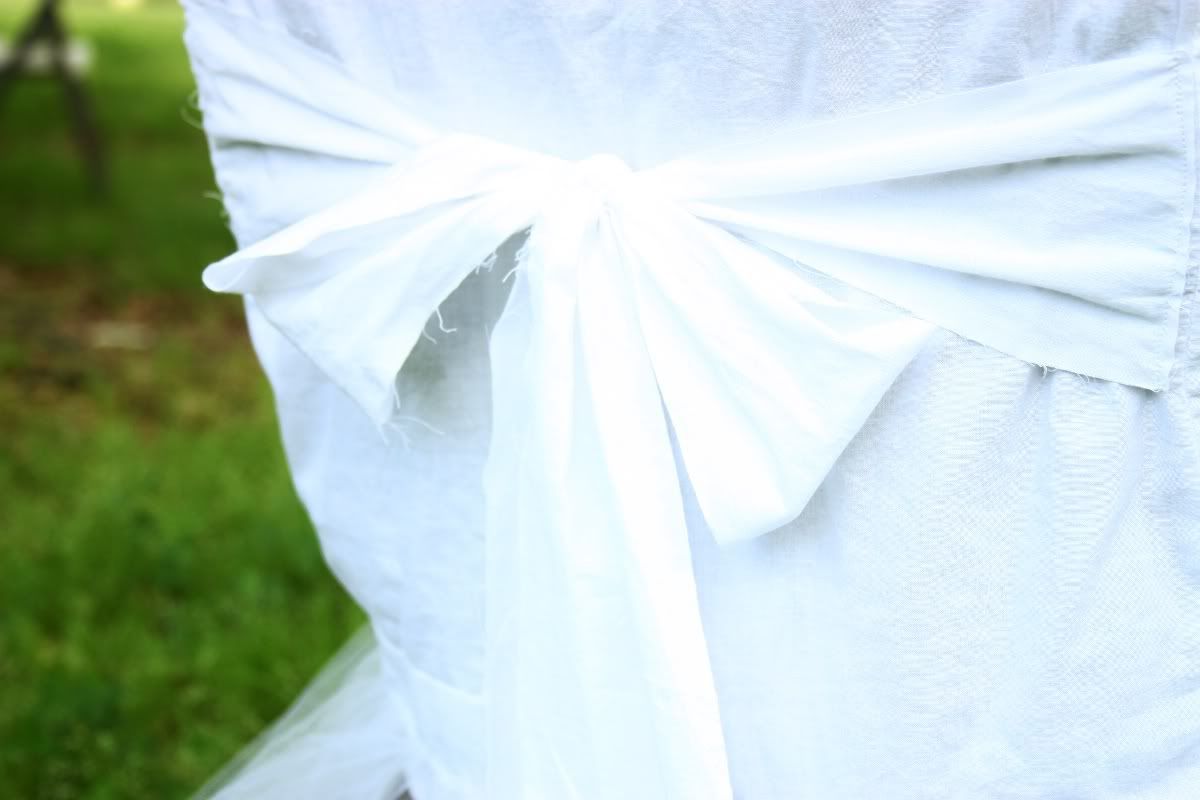
I also need to crack down and finish my mom's couch cover (perhaps a Mother's Day gift?), I have a piano recital piece in the works (oh dear...), and just a few gigantic small projects all around that I do not wish to discuss. yet.

Yesterday I had the chance to go to a Chinese gathering for the purpose of meeting them, inviting them to a Chinese bible study and church, as well as sharing the gospel. Even though I didn't directly have any chances to share the gospel I really enjoyed talking to the Chinese people. It also makes me see how truly blessed I am to be here with my family. 

I hope you all have a wonderful God filled Sunday!

Katie

Thursday, April 26, 2012

{Fabric Organization} Mini Fabric Bolts

One of the first things I new I wanted was some of those lovely mini fabric bolts!Not only are they cute but since I'm a visual kinetic I can see all my fabric at once!

Here's my version of these mini fabric bolts.


Photobucket

Photobucket

What you need:
Foam board 20x30 (I bought some from Micheal's for $3 and some from Hobby Lobby for $2)
Razor Blade
Pins
Fabric

Photobucket

Using a yard stick and pen draw your lines for the size bolt you want. I made two sizes 7.5x10 for full yards or more, and 7.5x5 for 1/2 yards and smaller. You can get 8 larger bolts and 16 smaller bolts out of these.

Photobucket

Once you've traces your lines use your razor blade and cute them out. Make sure the blade is sharp or the foam won't cut cleanly. You can also use scissors but I found a razor blade to cut the best.

Photobucket

Take a piece of fabric and fold it about 1" small then the bolt height.

Photobucket

Placing a the fabric under the bolt start rolling the fabric on too the bolt. If you a have a small piece left over fold under and pin.

Photobucket

Foam boards are also great because you can stick the pins strait into them to hold the fabric better.  

Price for large bolt:  .25-.38
Price for small bolt:  .13-.19

Photobucket

Linking up with- Tatertots and Jello , Flamingo Toes, and One Artsy Mama 
 
Katie

Wednesday, April 25, 2012

{Fabric Organization} Scraps!

While I was working on my room I decided I needed somewhere to place all of my larger size scraps any where between 6x12-12x24. Most of them were left overs from 1/8-1/4 yards of fabric. I just love how I can see all my scraps! I've had problems in the past with buckets or boxes because I can't find a certain scrap I'm looking for. Plus these hold way more!

Photobucket

Photobucket

Here's why you need:
Fabric strips 1/4-1/2 wide by about 12"-15".
Basket, box or other storage unit
All your lovely larger pieced scraps!


Photobucket

I was definitely overflowing in scraps!

Photobucket

I bought my baskets at Micheal's. I think they were 2.50-3.00 half off. There are also very small probably 8x5. Each basket holds maybe 25-30 scraps.

Photobucket

Mine where brown so I spray painted them black.

Photobucket

Now to all my scraps.

Photobucket

Take them a fold in into a piece 3-5xwhat-ever-length.

Photobucket

Roll it up...

Photobucket

and tie it off.

Though its a little time at first consuming, its real easy and it looks great! I've also done this with some of my large pieces of fabric that I don't use very much. Just roll them up and stick them in a box.

Photobucket

Photobucket

Photobucket


Linking up with- Tatertots and Jello , Flamingo Toes, and One Artsy Mama 
Katie

Monday, April 23, 2012

Add some ruffles...

I just love ruffled camera straps! I while back and gave them a try here are a few snap shots I took:
I just love how they turned out! I'm kinda attached. :)


Photobucket

Photobucket

Photobucket

Photobucket


Katie

Saturday, April 21, 2012

Spruce up a Box Tutorial

While I was preparing for my "craft fair" (read about it here) I knew I need some cheap and super fast table decor and boxes.


Photobucket
Aren't they cute? I just love them, I think I might keep them forever! And you know what? Its under a $1 a box!! Yay!

Supplies: Fabric (Scraps or 1/8-1/4 should do)
Box Paper (wrapping, butcher or kraft)
Scissors
Tape
Hot Glue
Ribbon or RicRac (optional)


Photobucket Photobucket
Take your box and cut off the edges. I used my lovely electric scissors and they were wonderful! *sigh*


Photobucket Photobucket
Next Wrap your box in any desired paper.


Photobucket Photobucket

Cut 4 strips of fabric a desired width X the box's length plus 2" extra. My total width was 4"

Stating with the longer sides of the box place a line of glue on the inside of the box and lay the fabric down. Place another dot on the corner and push the fabric down waiting slightly for it to dry.

Photobucket Photobucket

Fold the fabric out and glue it where the fabric overlaps to the corner. Repeat for other side.
Now to the short sides. Fold the fabric in so the length is equal to that of the boxes. Place your line of hot glue and set the fabric on top.

Photobucket Photobucket

Fold it over and glue it on the edges.


Take your RicRac or ribbon and glue it on to the edge of the the fabric all the way around your box. Now if you'd like you can place some paper on the inside of the box so it has a nice inside finish, or if your like me just use as is!

Linking up with- Tatertots and Jello , Flamingo Toes, and One Artsy Mama 


Katie

Friday, April 20, 2012

My Craft Fair Booth

Back in November of 2011 I was invited to a craft fair thingy.  It was short Saturday 10-3. I didn't end up selling much, but I loved planning for my booth. Here was my booth:


As it happened the booth directly behind me didn't show so I was able to use two booths instead of one. That was really nice for my booth setup. Unfortunately I didn't get a picture of my whole booth.

I used a plastic table cloth with a green fabric around the top. To hold things I decorated plain boxes, created my own catalog for custom orders,  used a book shelf for display and created all my own labels.

Photobucket

Photobucket

It was a good experience and I learned a lot, but I did determine that craft fairs are not my thing! :)

Katie

Friday, April 13, 2012

Bridal Shower Chair How To

Photobucket

It was my moms idea actually. She wanted a special chair for the occasion so I created a Bridal Shower Chair slipcover.

Photobucket

Complete with a floral back...

Photobucket

and a lovely bow!

You'll need
Approx 2 yards of white cotton fabric (I used 36" muslin because I need the length not width)
And at least 3 yards of tulle. I think it would be better with 6 yards so you could so 2 layers or use something thicker than tulle.

I did this with frugality in mind. The final price was only $5!


Photobucket


Photobucket

Here are my rough measurements.
I was only measuring the padded part of the chair. This is how I pieces my chair:
Starting at the top of the font all the way down to the edge of the bottom. Meaning the entire front piece of the chair was one big piece: 20"x41"
Back width and length: 20"x20"
Vertical Side-over the top-down the other side: 3"x56"
Horizontal side-back of chair-other size: 3"x56.

I added 2" for seam allows and measure large so I'd have plenty of wiggle room.


Cut out all your pieces. If your planning on doing a floral background I'd do so before you continue sewing. I wasn't planning on adding roses so I did it after I finished it over, it was much hard to sew that way! I used extra scraps I had for the bow and for the rose background.

Photobucket

Here I've laid out my main front piece and started pining it tot he top/side piece. Once it was Pined I sew it into place. Next I did added the back, and finally moved onto the back/side/bottom piece.

Once they were all sewed into place I cute my tulle into three piece, sewed them together and trimmed it. Added a gather stitch a, pined it into place and sewed it down.

Photobucket

It was a rather easy and quick project! I think it took me, maybe, 2 hours.

Photobucket

As you can see it was windy outside.

Linking up with- Tatertots and Jello , Flamingo Toes, and The Grant Life.
Katie