


I was looking at something like this. But all the baskets I liked were $30-$60, which I didn't want to pay. So on the whim I got to thinking "why couldn't I make my own using a cardboard box?".
And I did.
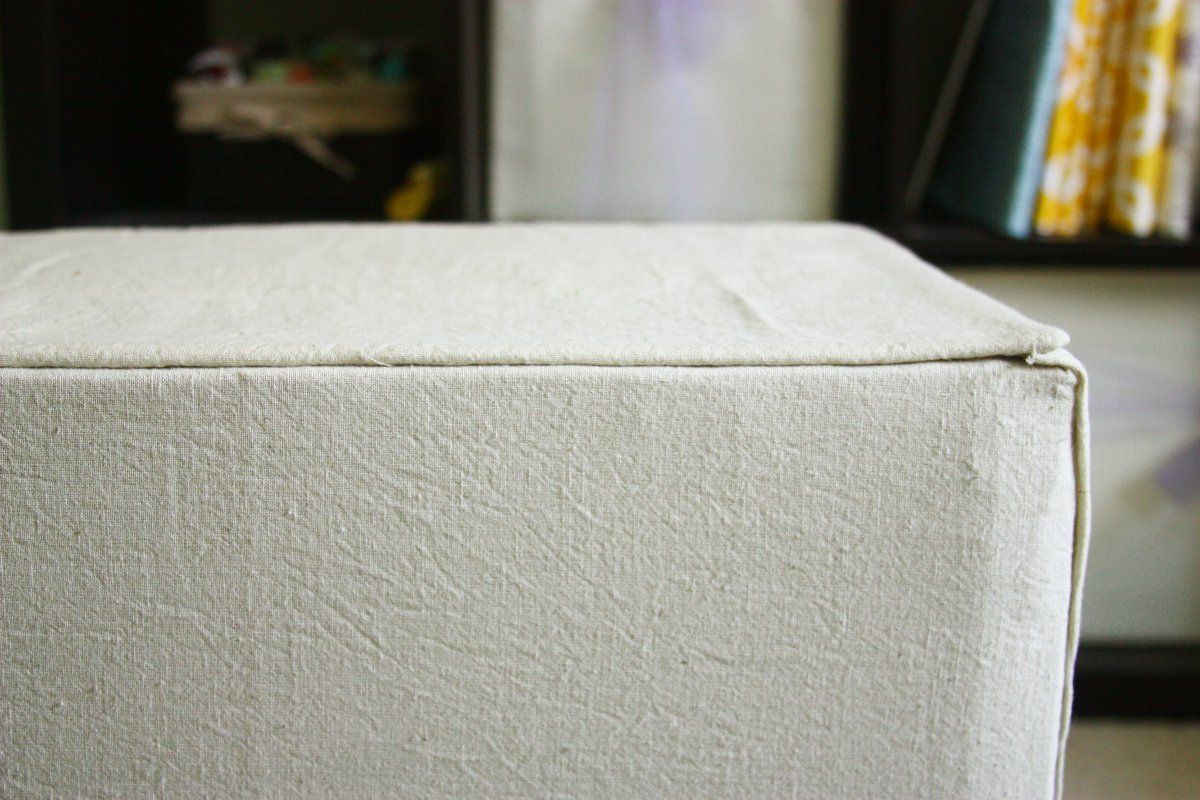
Here is my new "basket"
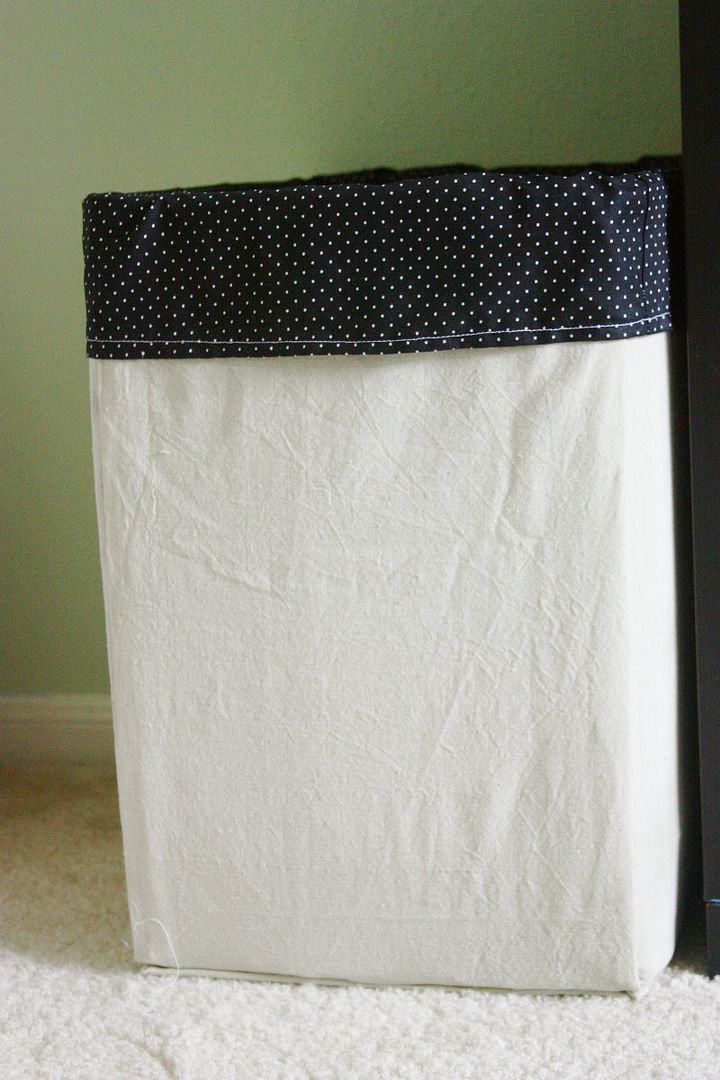
I love that I now have a lovely laundry basket that matches my room! Plus all it took was a cardboard box, some fabric I had on hand and a little elbow grease! Plus it was under $10!
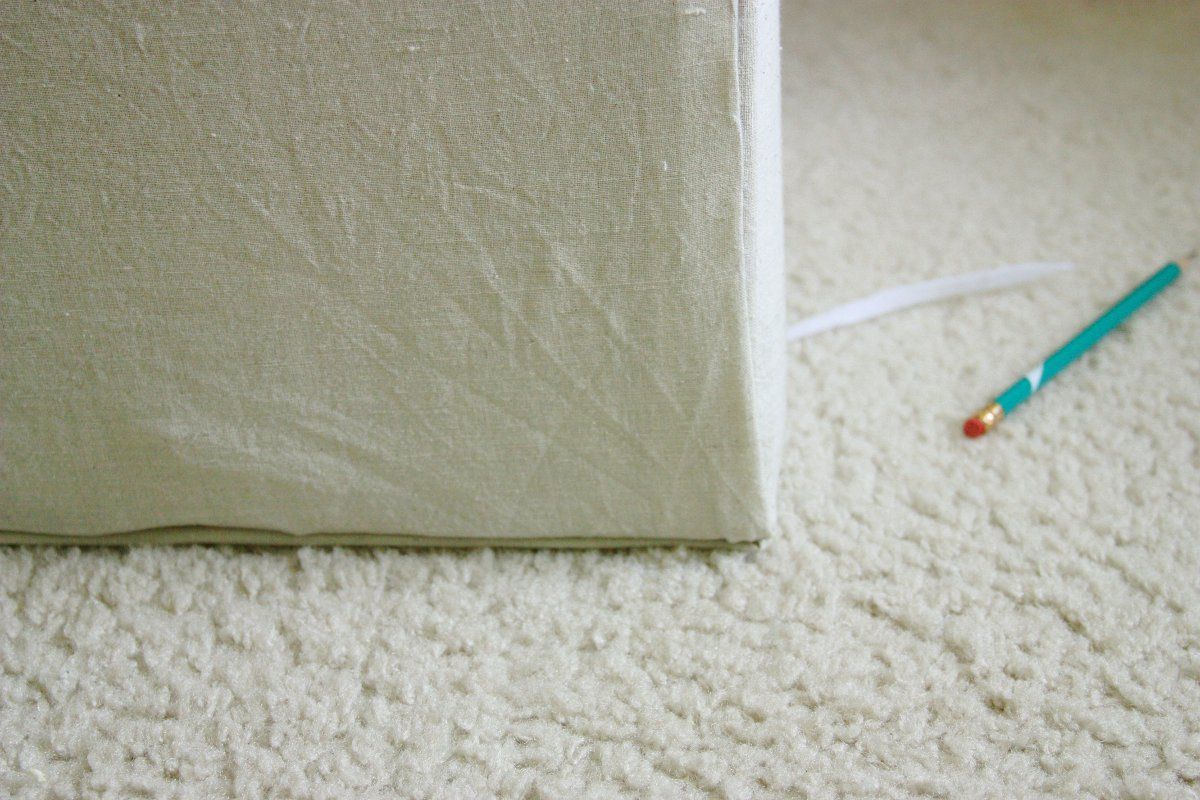
Its not quiet at sturdy as a normal basket, partially due to the box I picked. You could even add some strap to the wide of the box if you want to carry it around.
Supplies:
1 yard Fabric for box
1 1/2 yard Fabric for lining
Cardboard Box
Hot glue
I also used:
Felt
Fleece
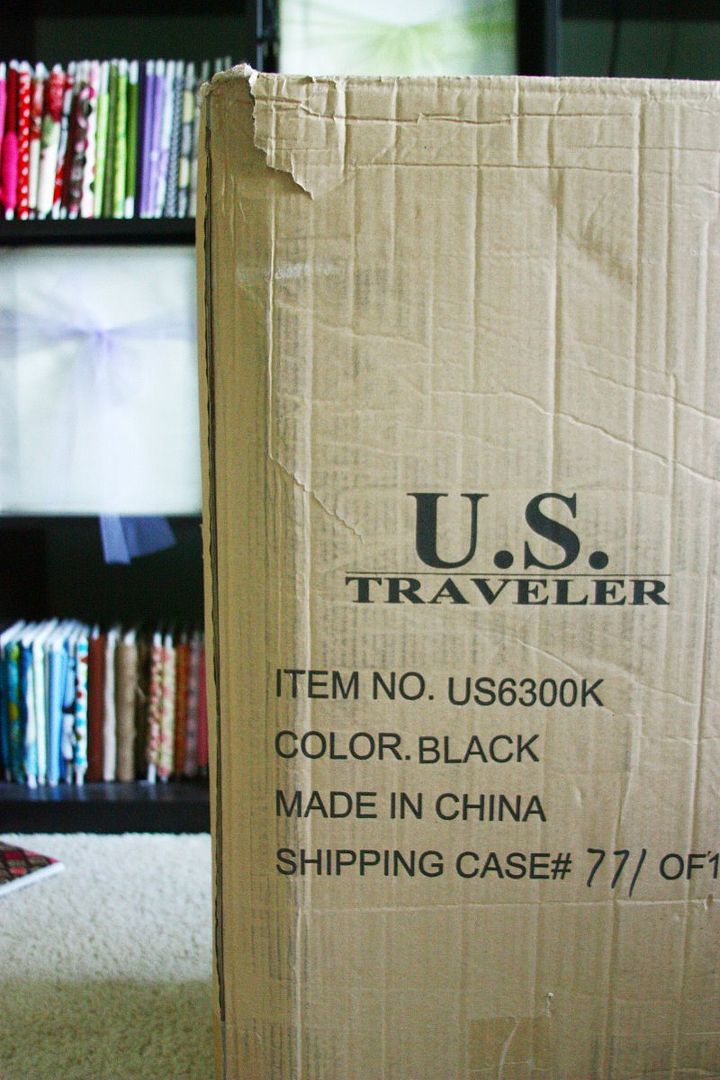
Here's my box!

My box was falling apart at the bottom so I started by taping it up.
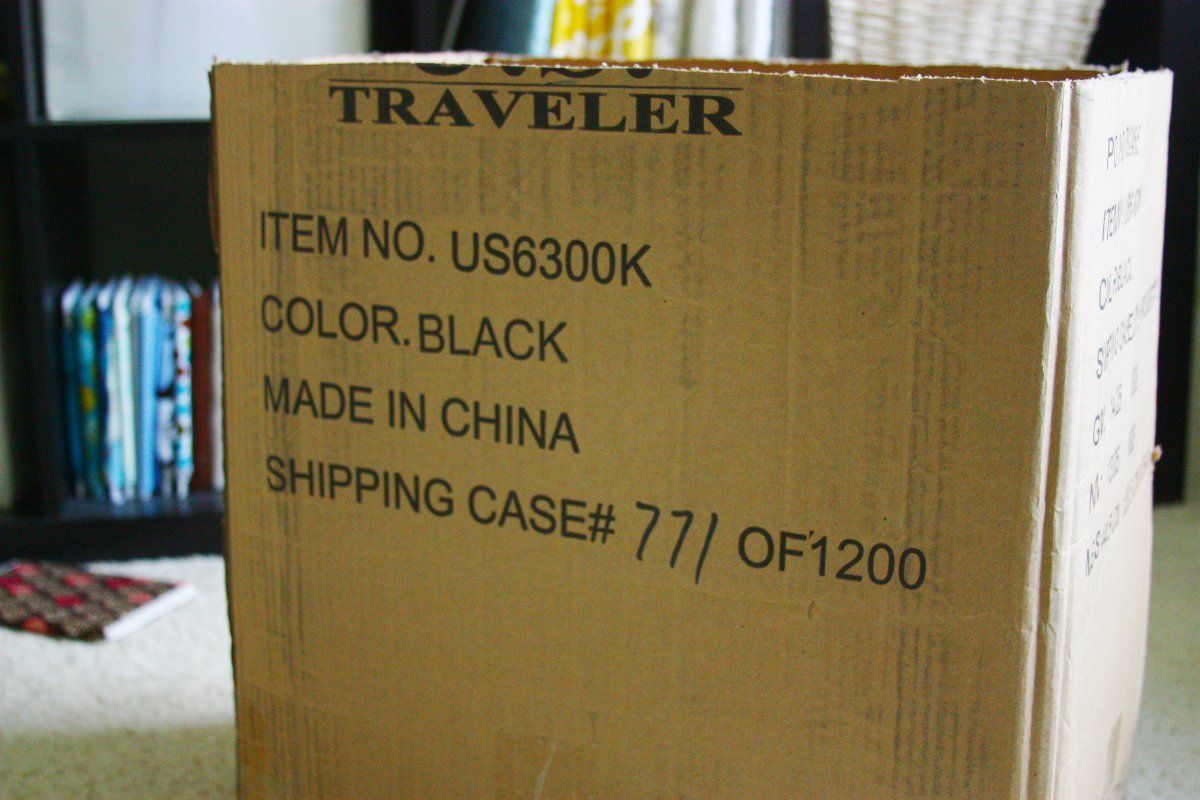
Then I cut my box down to about 18".
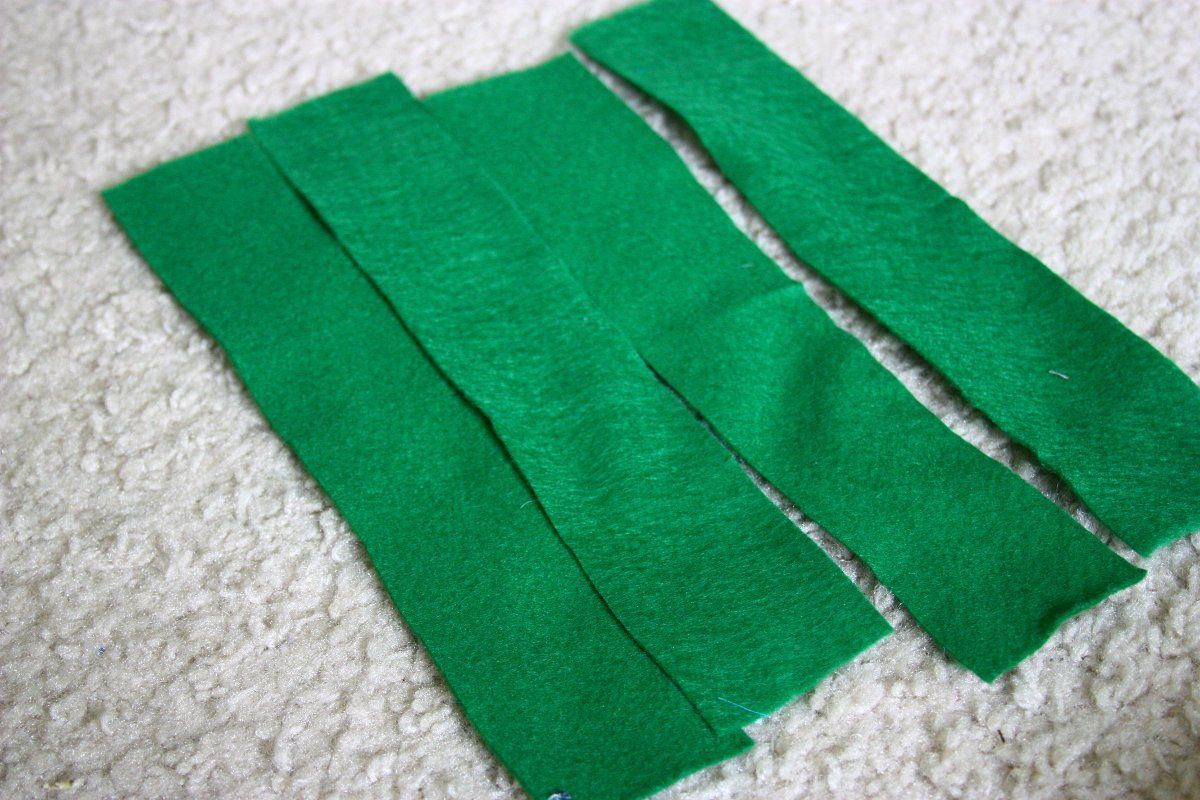
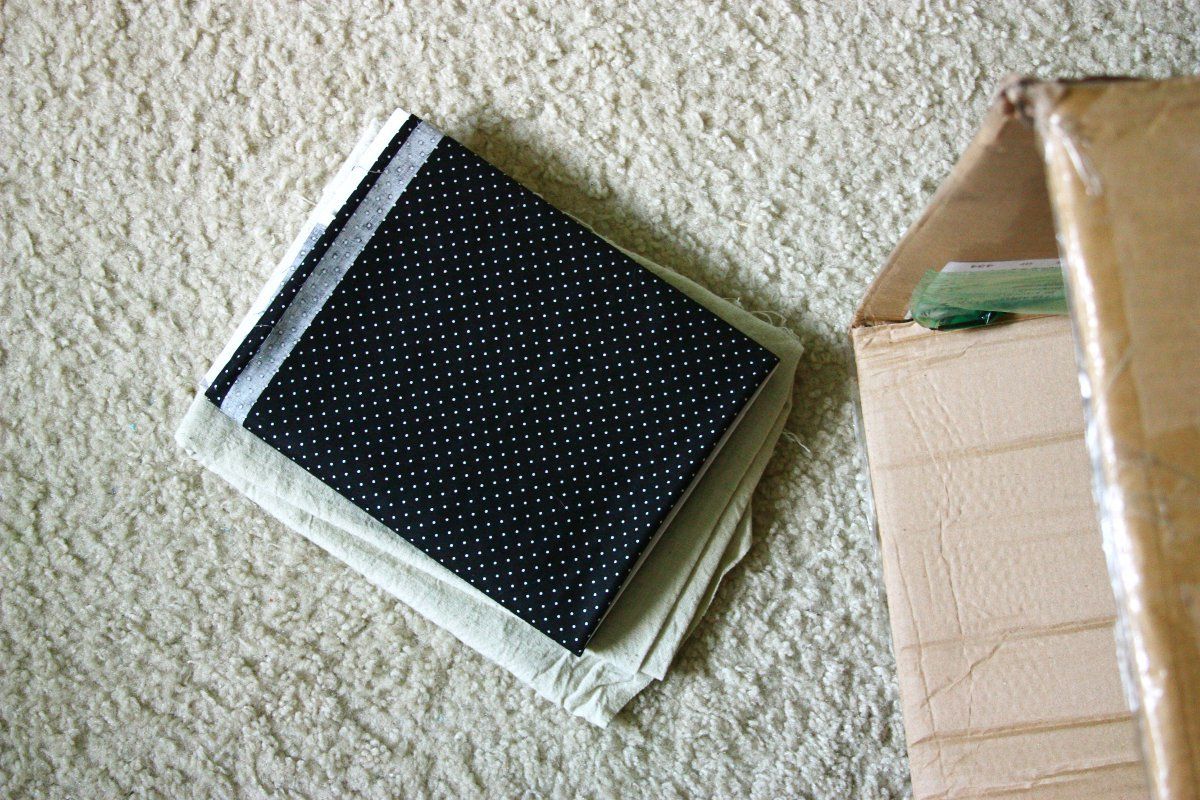
I decided to cover the top of my box with felt to smooth out the cut marks. Cut your felt sheets into 4 equal strips.
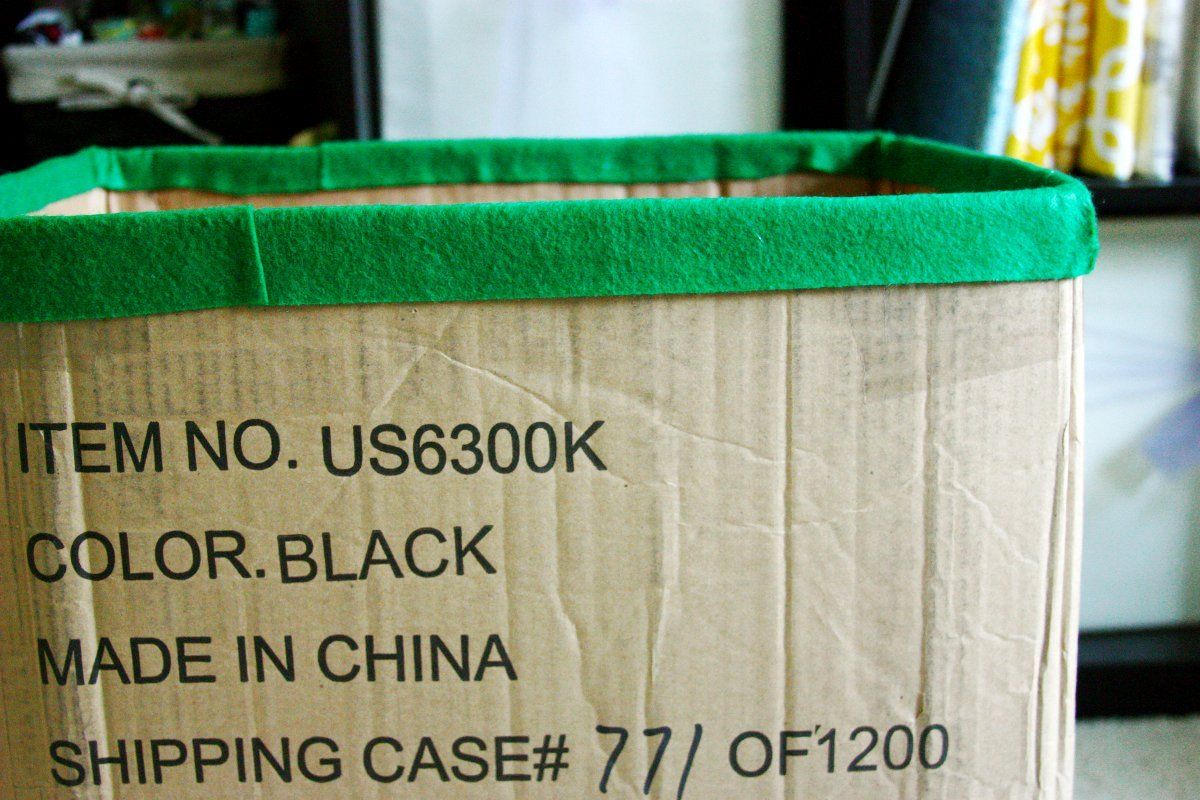
Hot glue them around the top of your box. I used about 1 1/2 felt sheets.
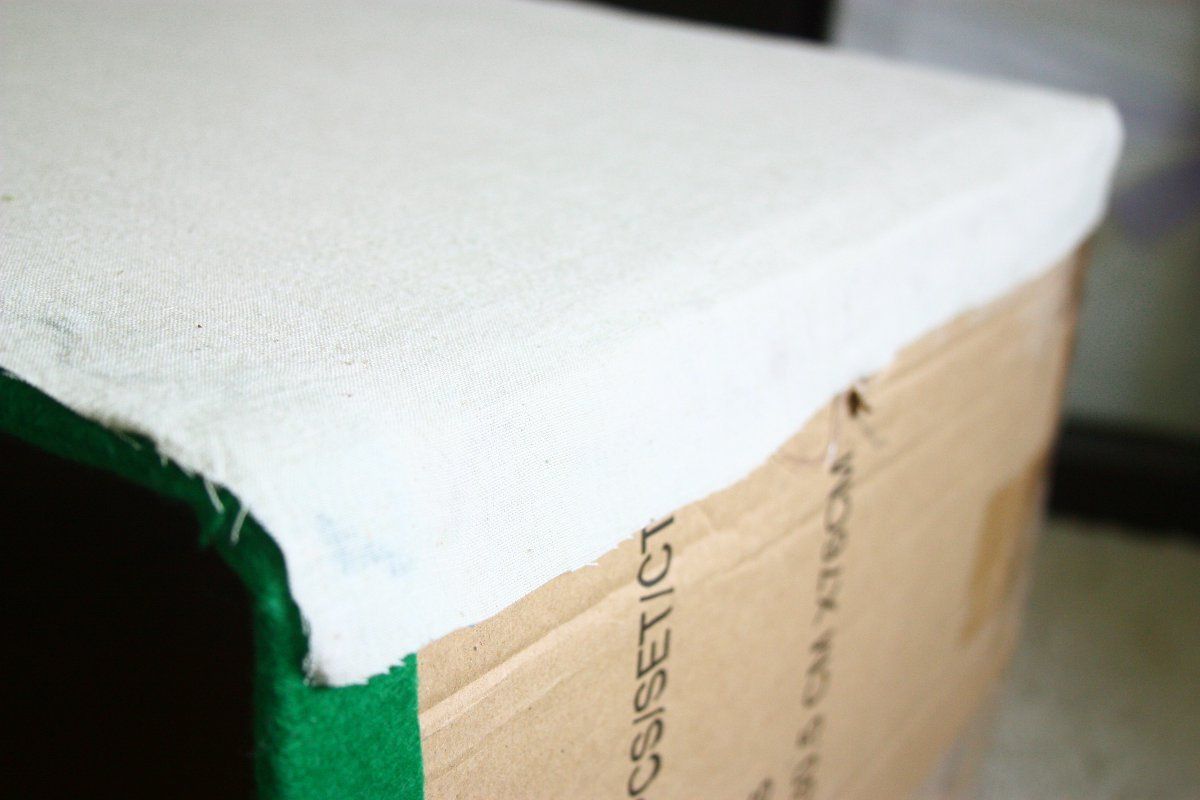
Starting with your long sides hot glue it along the bottom of your box, leaving some extra off the edge for folding over.
Pull it tight and glue it across the top and glue. I only had about 2/3 yrd fabric or I would have made my pieces large so I could pulled it up and over to the inside of the box. Although the living will cover it.
Finally pull the edges tightly around the sides and hot glue into place. Repeat for other side.
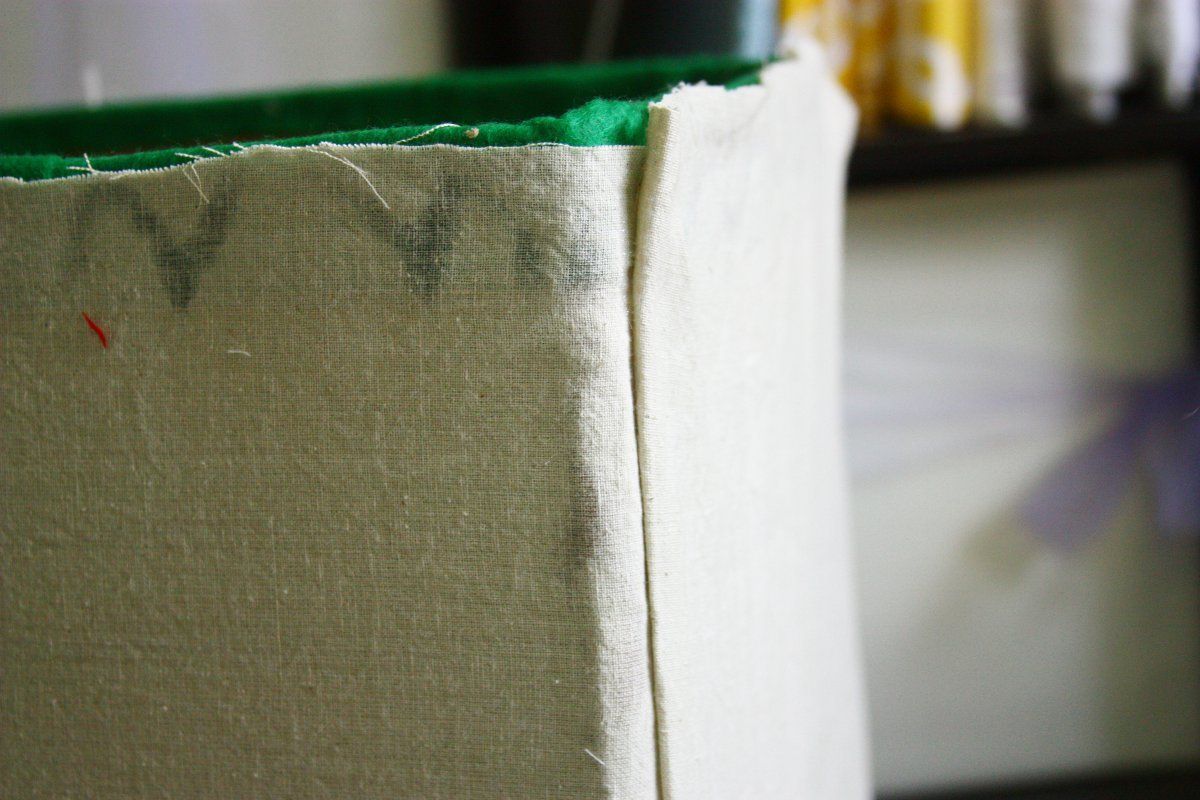
I ran out of fabric and so had to start piecing it for one side. You can barely see the seam here.
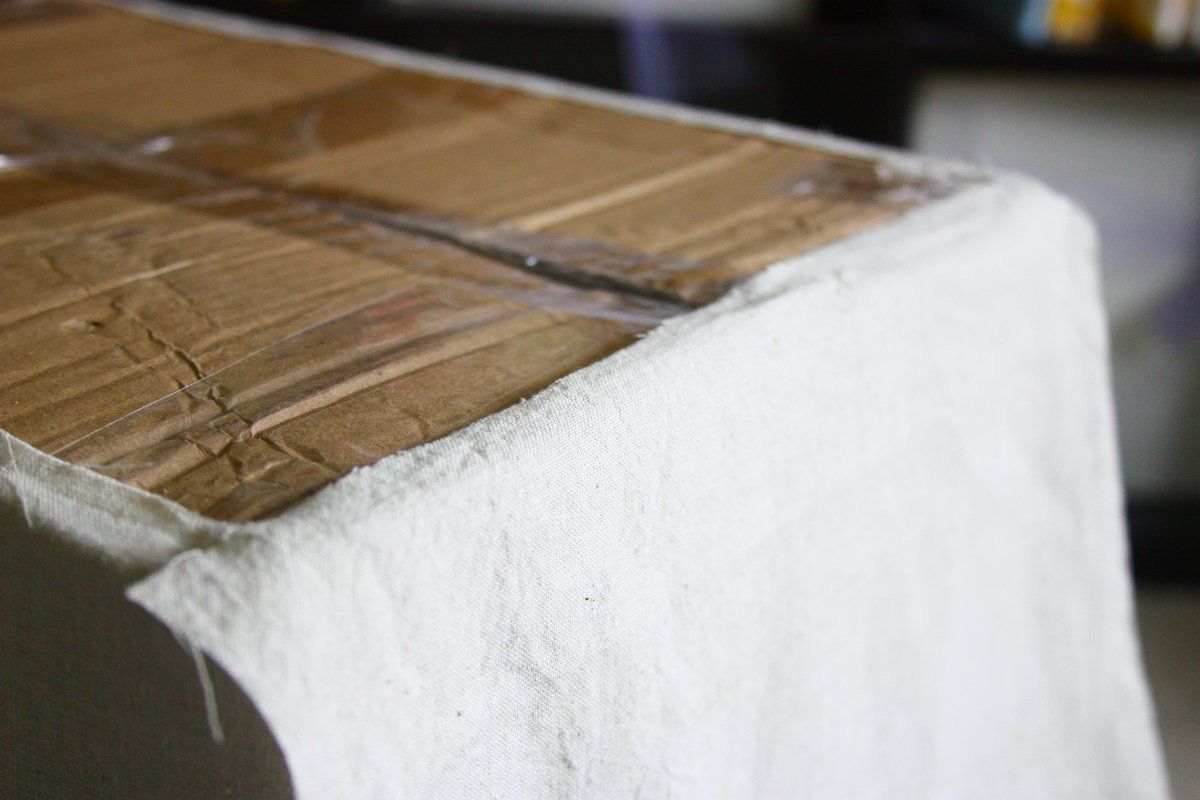
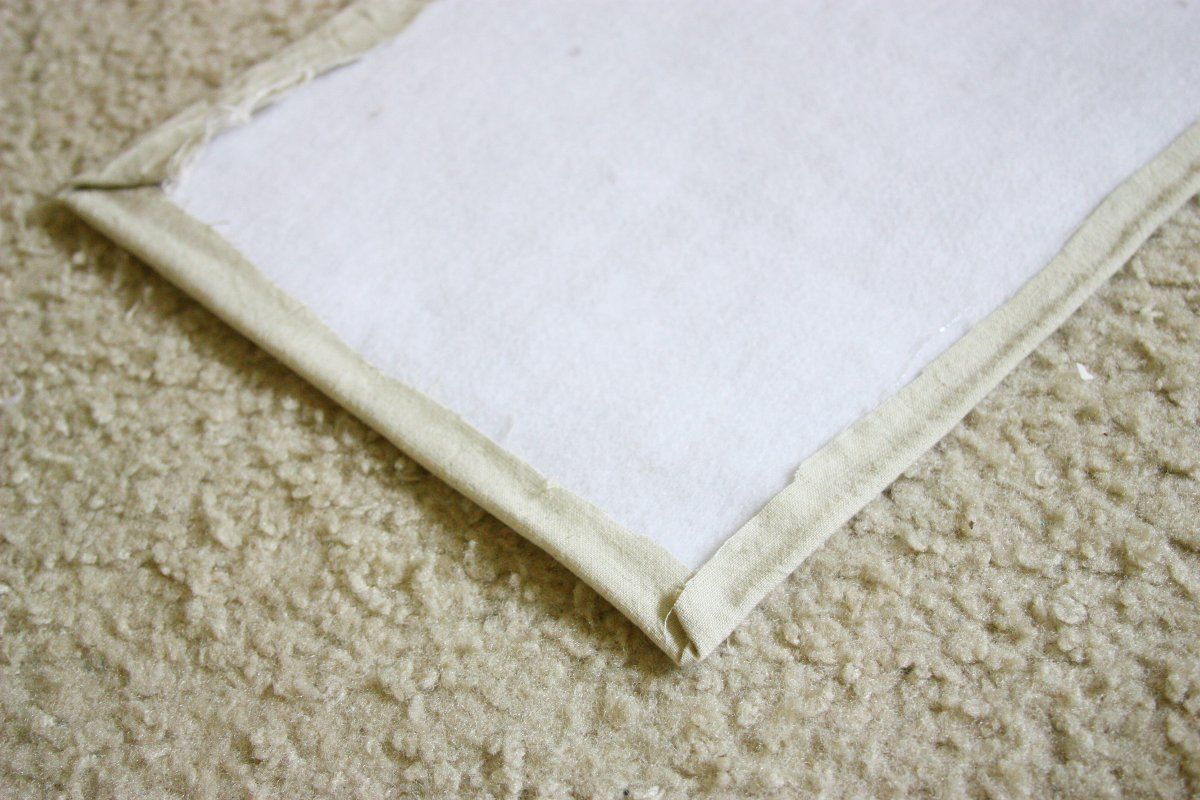
For the short sides, also start by gluing it in along the bottom edge.
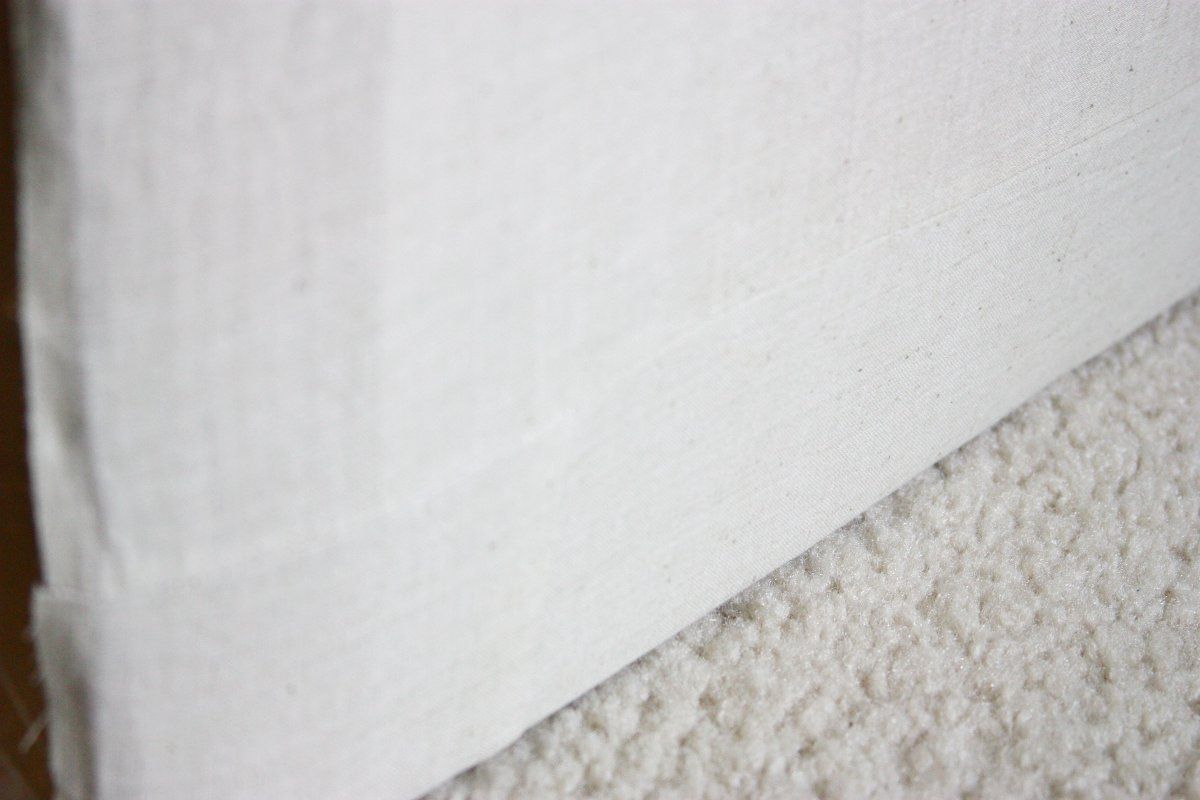
Instead of gluing it along the top first, fold over the edge of the fabric and glue it along the edge.This way you get a nice clean edge. I was thinking of adding some pipping too, but I didn't have enough fabric. :(

Finally glue it along the top. and trim any extra off the top. Repeat for other side.

For the bottom I decided to use some Pellon fleece I had on hand. This part is optional. Trace the bottom of your box onto a piece of fleece and cut it out.
Then glue your bottom piece onto your fleece.
Finally glue the fleece piece onto the bottom of your box.
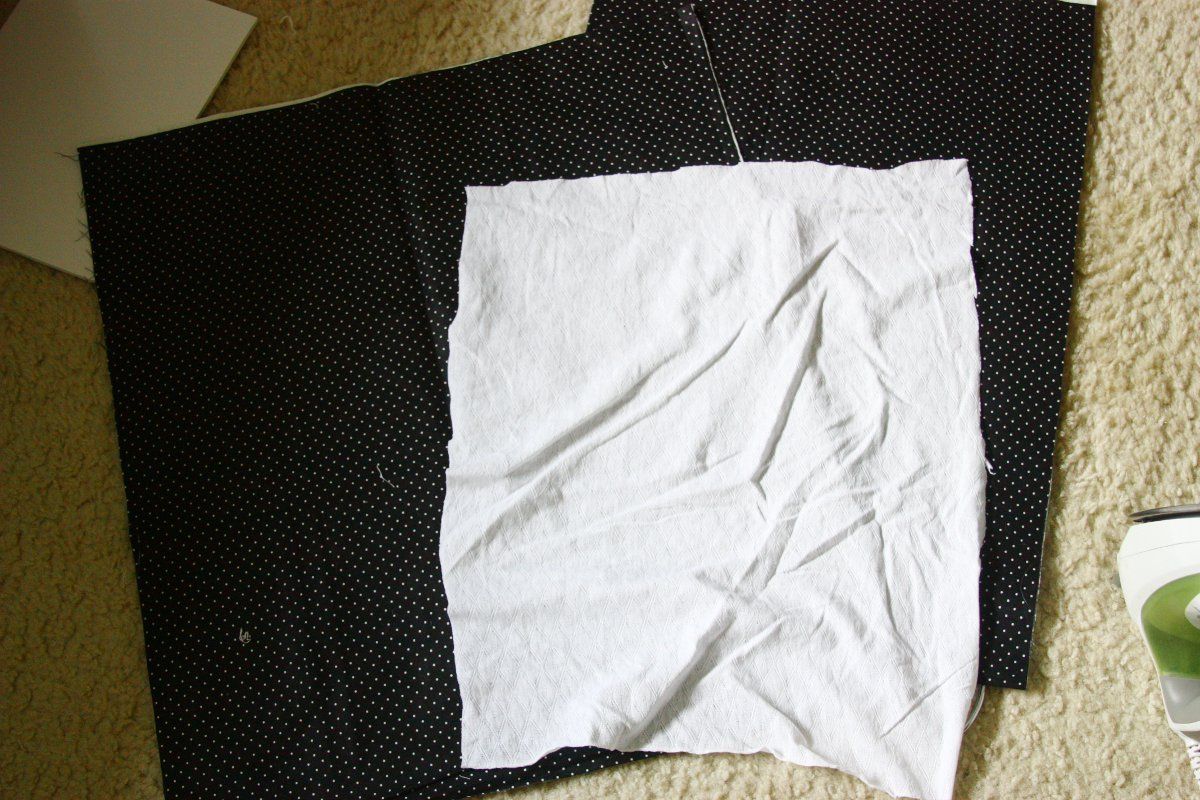
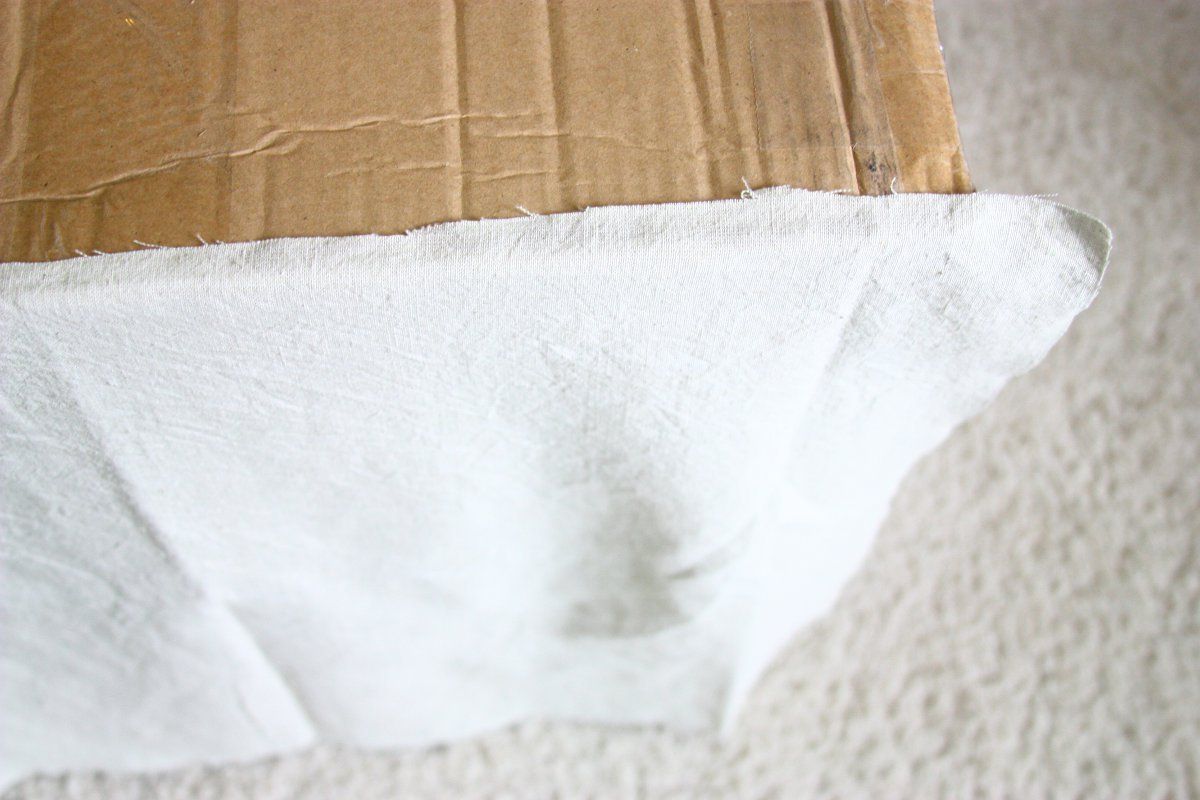
For the lining cut out your 4 side pieces and a bottom piece. I ran out of fabric (only had 1 yrd. on hand) so used some white fabric for the bottom.
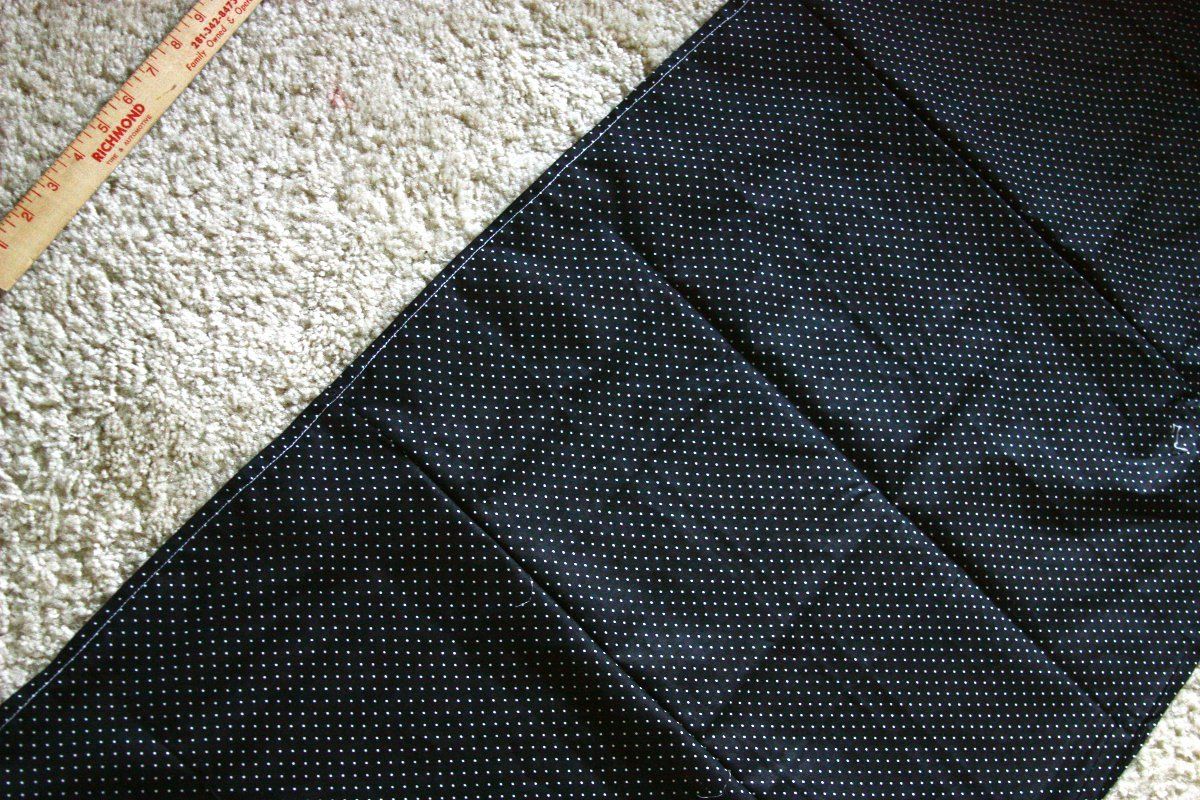
First I piece the 4 side pieces together in a long strip and did a quick hem along the edge.
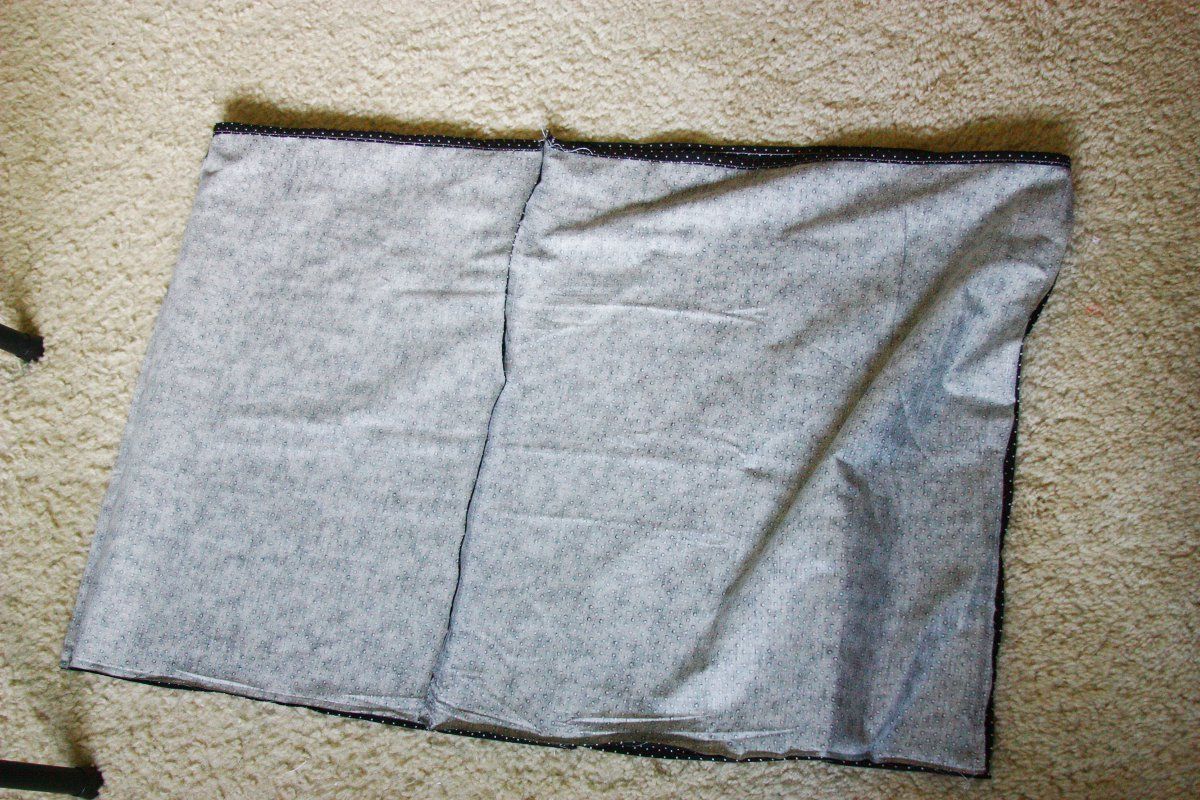
Then I sew it all together in the a tube shape.

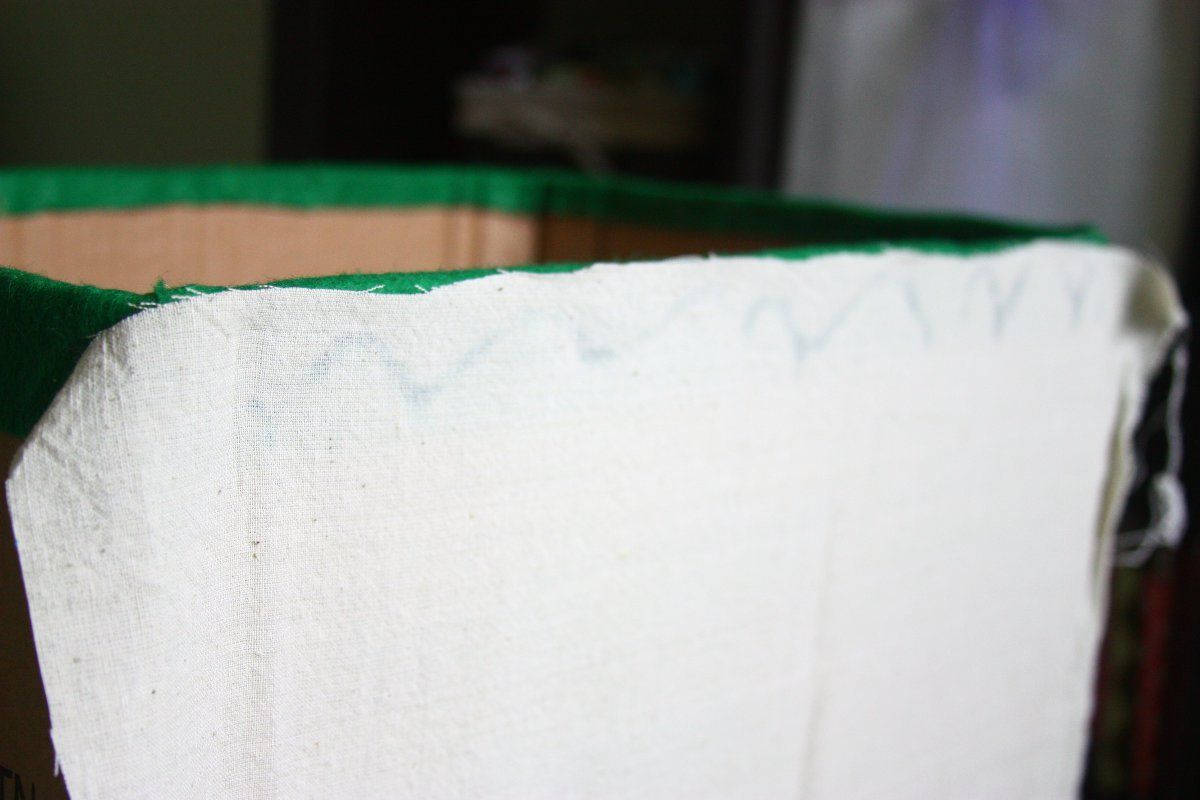
Pin on the bottom piece and sew 1/2" along the edge.
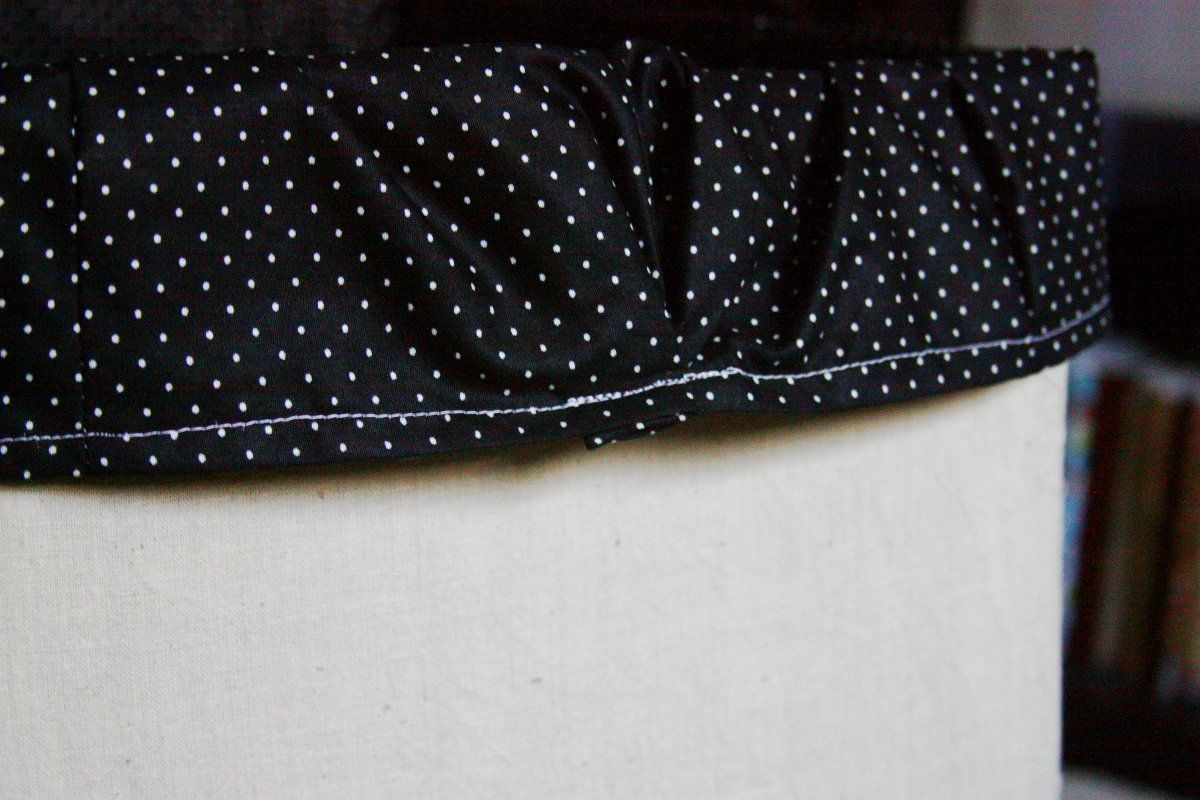
I wasn't being very precise and made my lining too big, so I gathered some at the back.
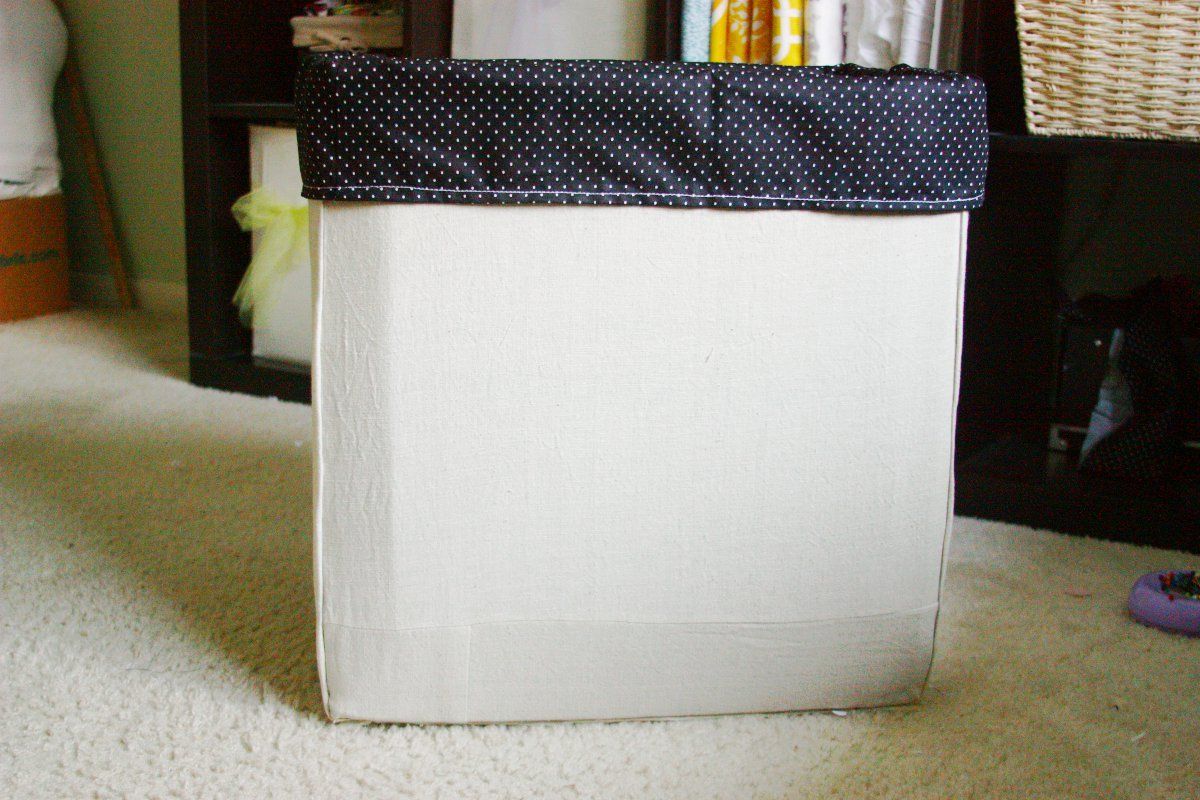
And there it is! I love the fact that I finally have a laundry basket/hamper and it was so inexpensive!
Linking up with- Tatertots and Jello , Flamingo Toes, The Well Crafted Home, The Grant Life, One Artsy Mama

Very nice! These are so pretty! Thank you so much for linking up at Well Crafted Wednesdays!
ReplyDeleteGreat minds think alike Katie. I've been thinking of doing the same because our bathroom is smaller now so I searched Pinterest and found your post. Will give you a mention when I write my blog post. Well done.
ReplyDeleteAnne @ domesblissity