


Ever since I saw Flamingo Toes Romantic Ruffled Bracelet I knew I wanted to give a cuff bracelet a try. Here's what I came up with...
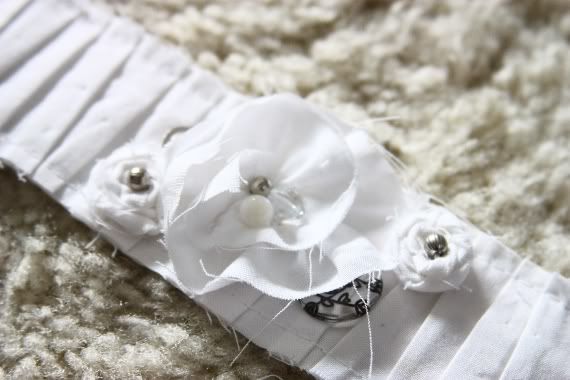
I just love how it turned out! :) It might become a new favorite.
Ready? Here's a tutorial to get ya going.
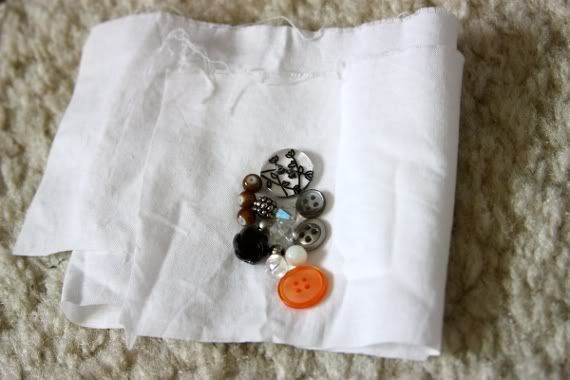
What you'll need...
Fabric scraps
Assortment of Buttons and Beads
Matching Thread
2 complete snaps
Your necessary sewing tools (ie. Scissors, needle, iron, pins, tape measure)
Lets cut the fabric...
-20sih x 4ish for bracelet
-8.5x1.5 (or desired width) for bracelet backing
-15x 1.5ish (main flower)
-{2} 12x 1ish (rosetta flowers)
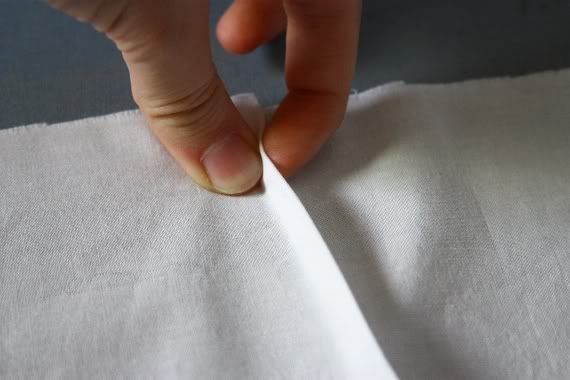

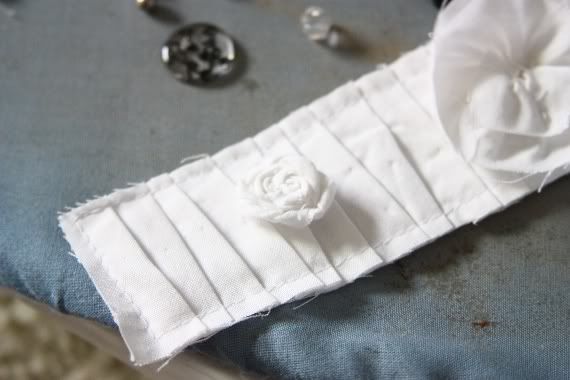
Taking your bracelet piece being pleating it starting from the middle. The idea is to do the pleats back and forth adding slight diagonals and overlapping it some. First pinch a small section (anywhere from 1/8-1/4) and iron it down.
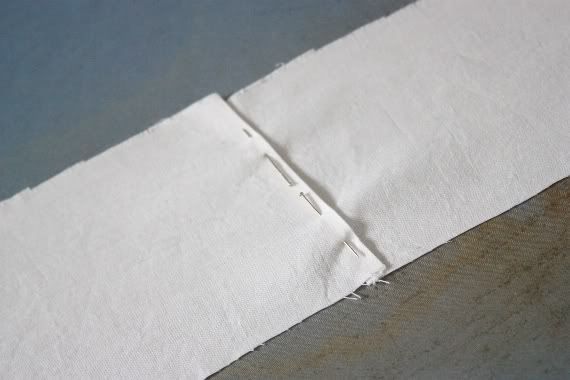
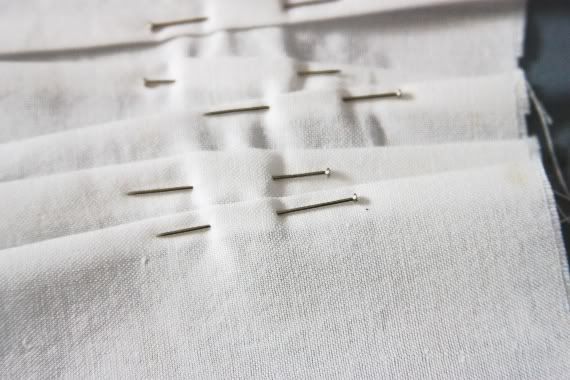
Then pin it and continue.
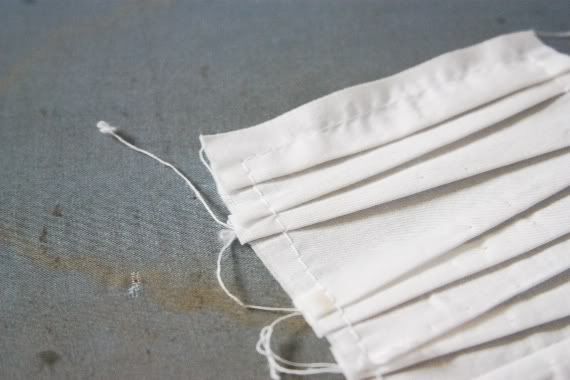
After you've finished pining continue by basting around the edges using your sewing machine.

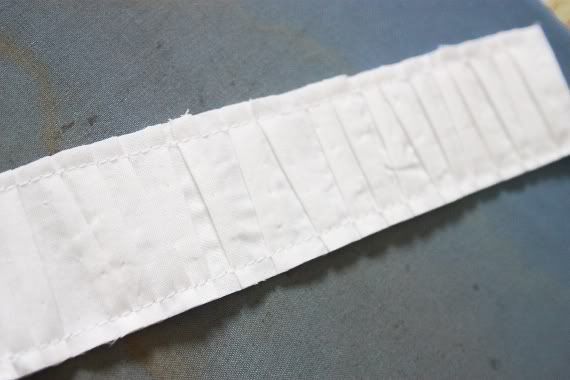
Taking your bracelet backing pin it to the wrong side and top stitch 1/8 inch around the entire backing piece. Trim it down.

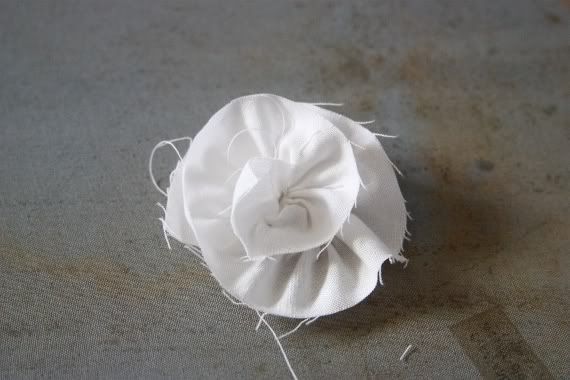
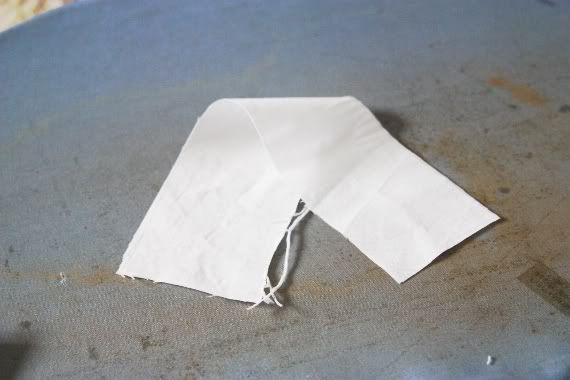
Now its time to embellish your bracelet! For the main flower begin by taking your piece 15"x1.5" and doing a gathering stitch across the bottom. Pulling the thread until it being to create "natural" circles. Simply "mold" your flower into shape and once your satisfied tack it down using a needle and thread.
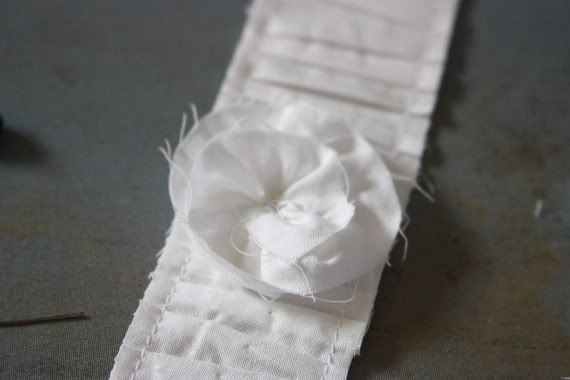
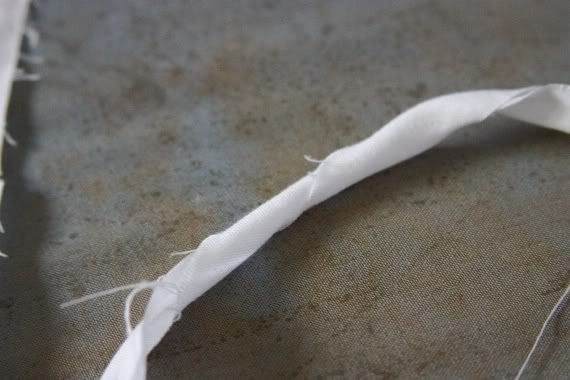
Centering it on your bracelet sew it in place. Moving on to the rosseta flowers, take your 12x1ish piece and twist like a cord.
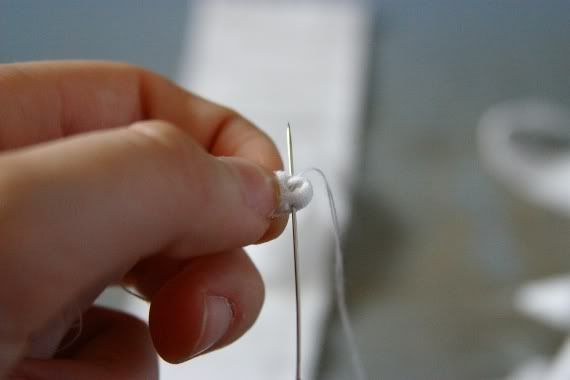
Slowing begin rounding it into a circle stopping to tack it down every 1/3-1/2 turn. Continue process until you get the desired size or run out of fabric.
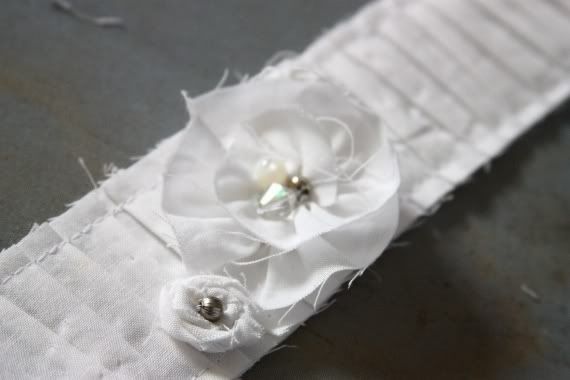
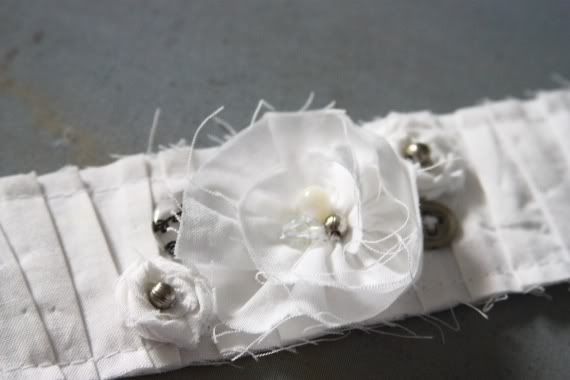
Arrange all your buttons, beads and little rose flowers. I used 2 buttons. Then start sewing them all down using a needle and thread.

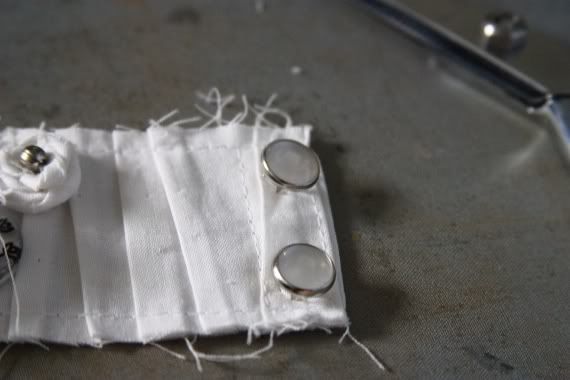
Now measure your bracelet. You want it to be 1" longer then a comfortable fit on your wrist. If its too long (like mine was) fold it over the necessary length and sew it down. I did about a 1/2" for each end.
Taking your snaps place two on each side and follow your instructions on the box to secure them in place.
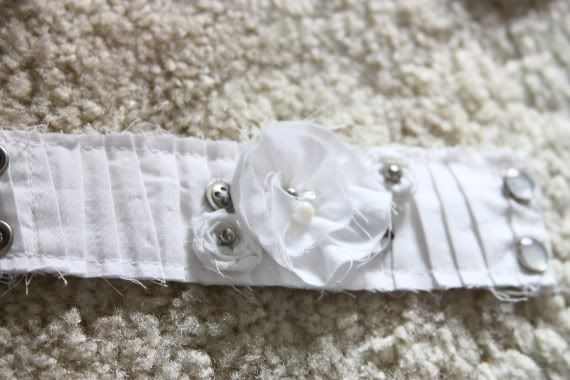
Walla! Your all done. I would have gotten a picture of it on me, but alas the camera was not cooperating.

Ohhh I love this as well! Again, novice sewer here, and I think this is a great way to learn to pleat, not to mention ADORABLE!
ReplyDeleteAngie @ Desperate Houselife