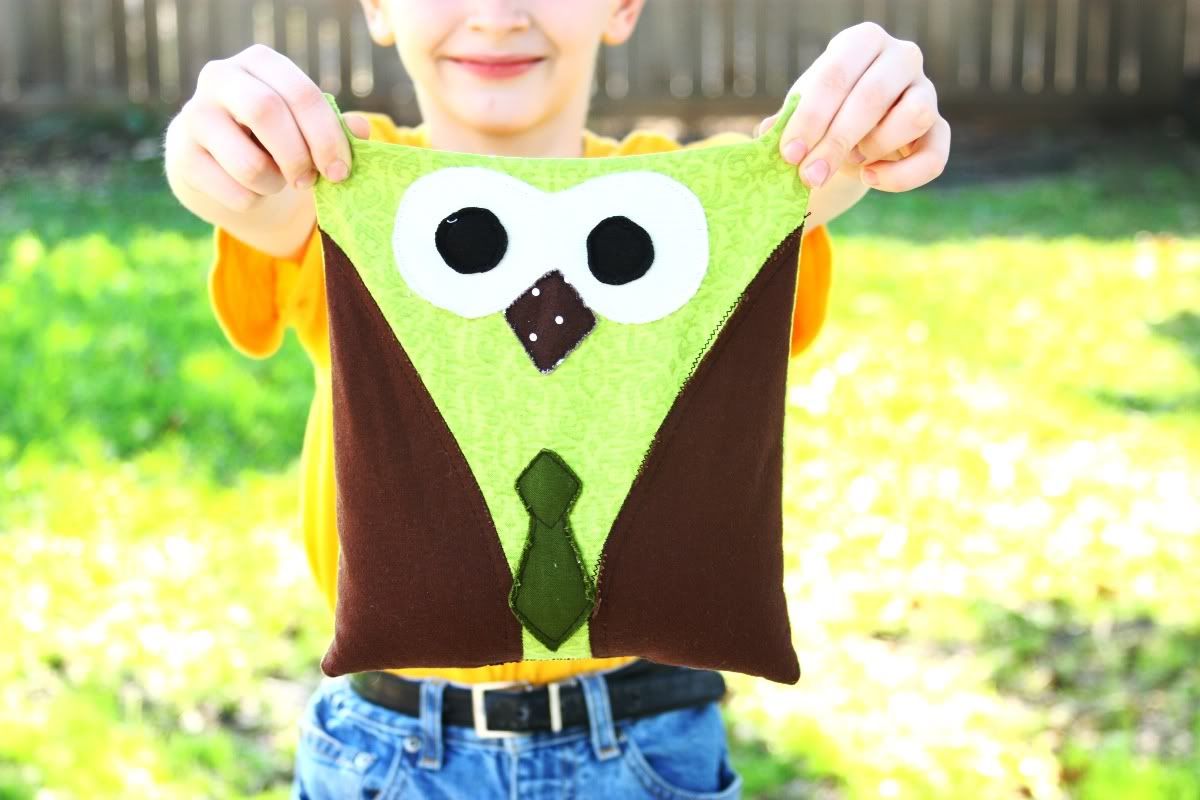
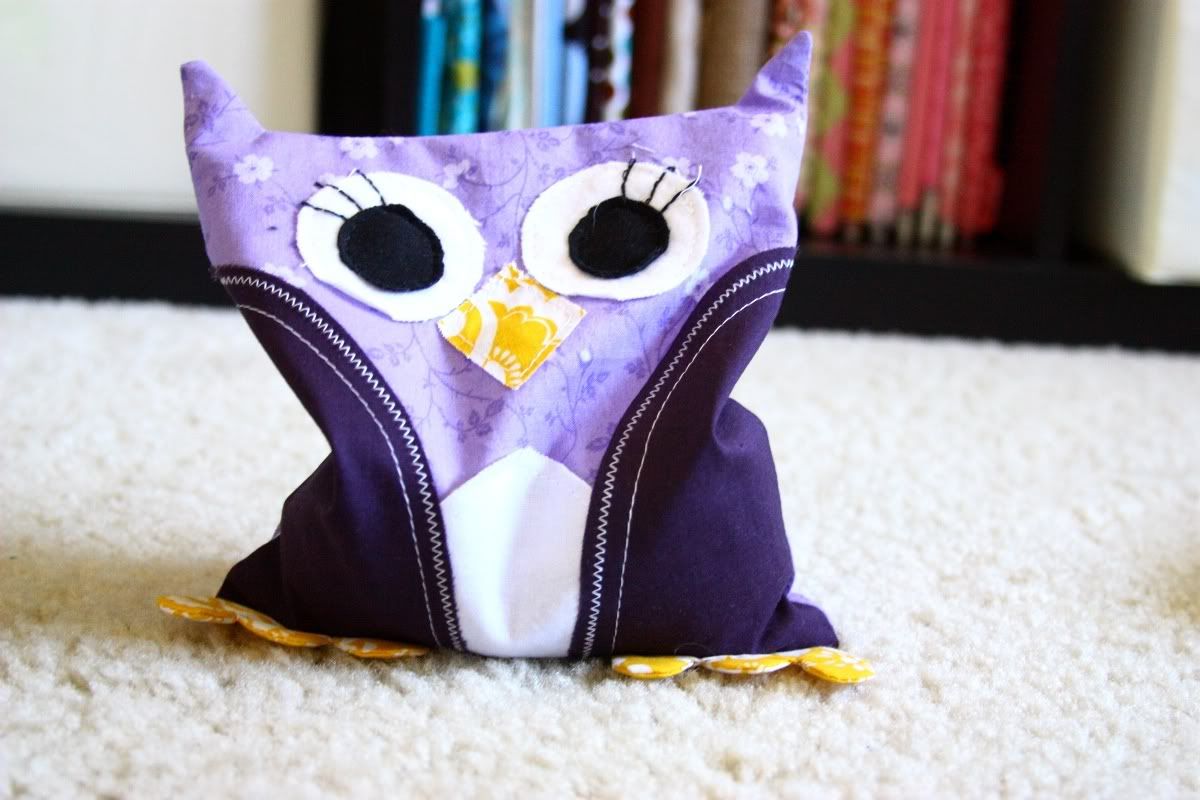
Both of my Brothers wanted heating pad for Christmas and after coming across these adorable
owl hand warmers I thought they'd be adorable as big ones too! Just warm them in the microwave and you can have a warm little friend to sleep with!
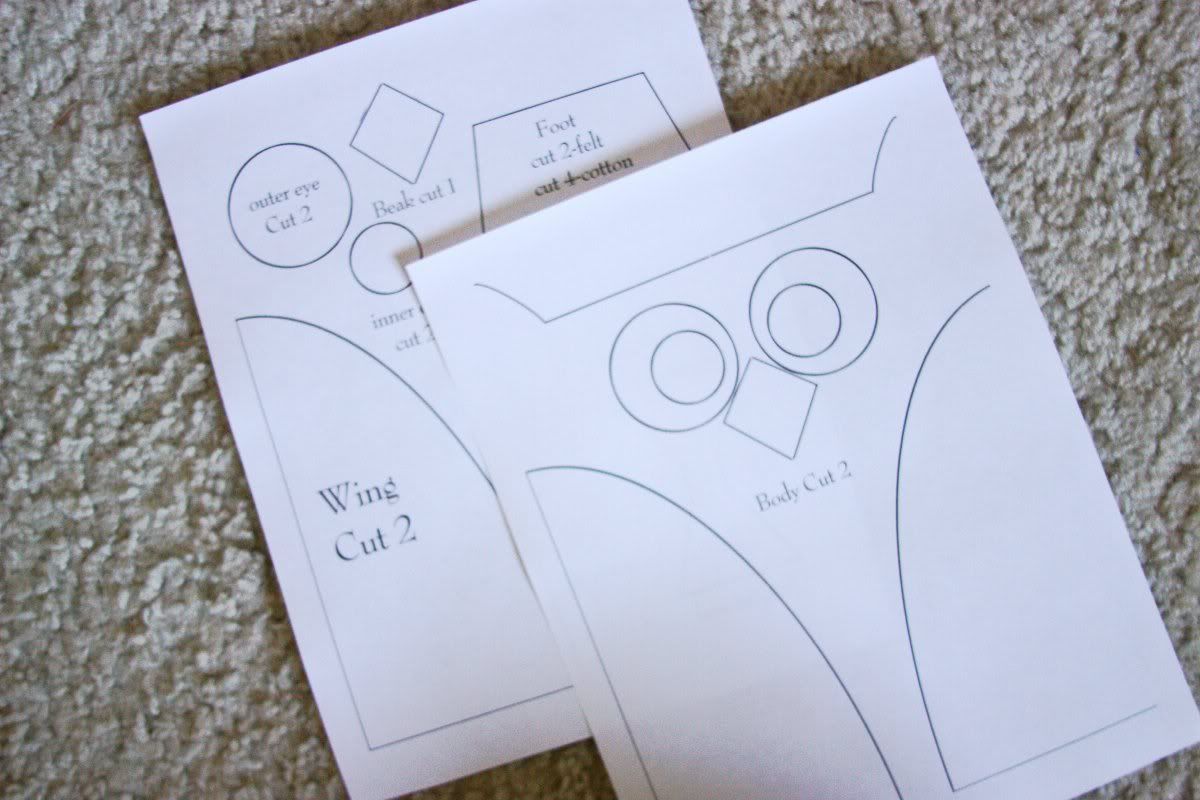
You'll find the pattern pictures for you to print at the bottom of the post.
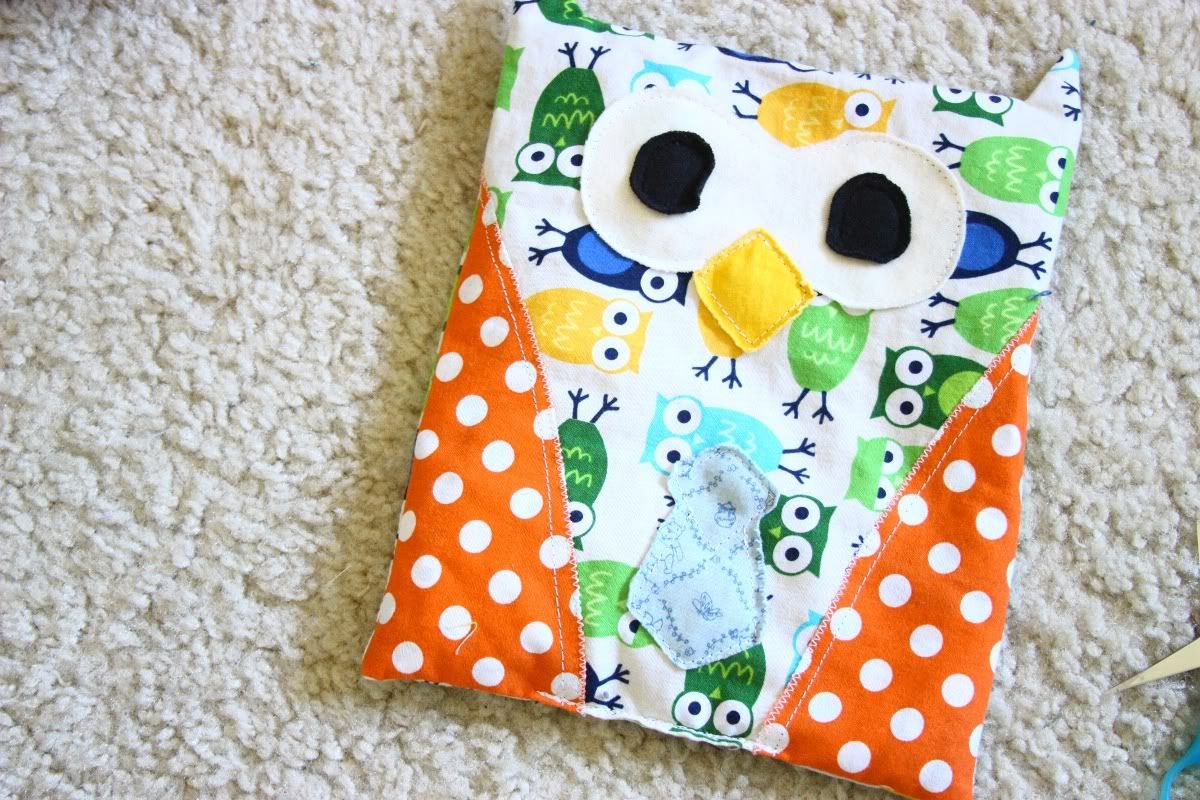
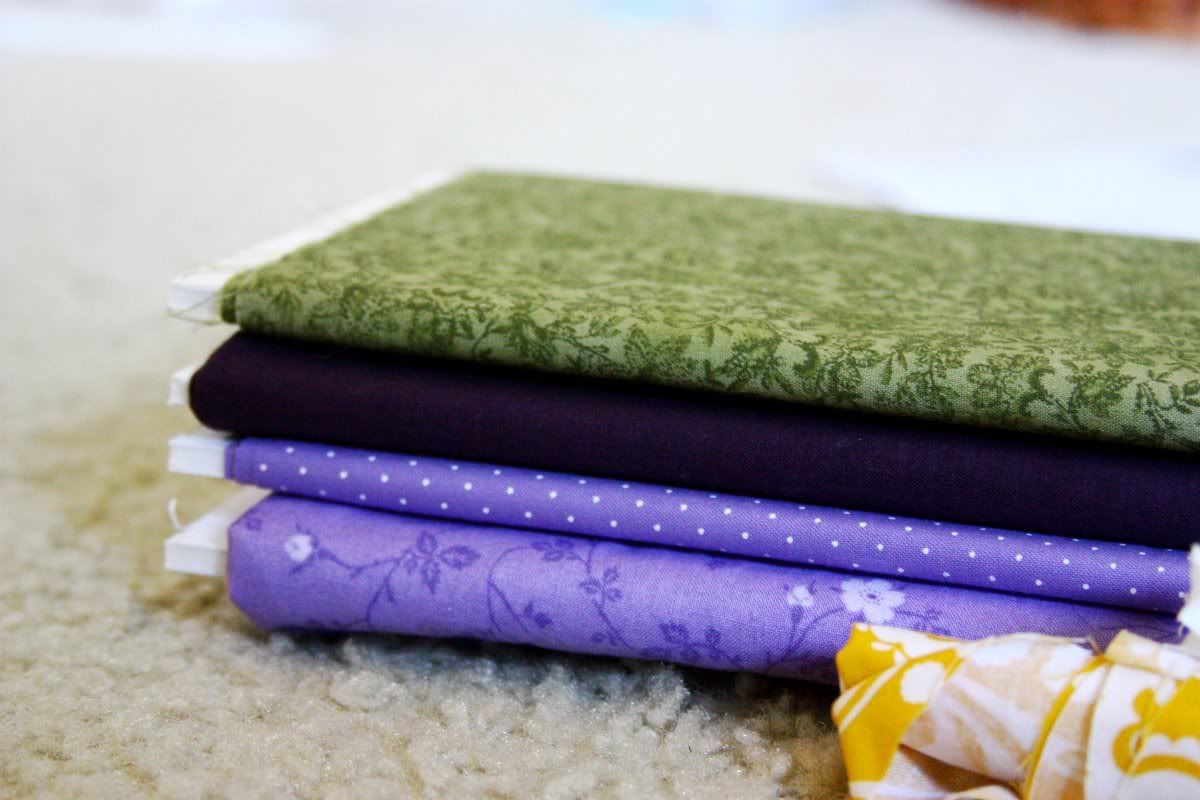
All you really need are some fabric scraps and rice. (or flaxseed, wheat grains, cherry pits, etc.) I used cotton for the body and wings, and flannel/knit for the eyes. You can use felt, though if you do test a small piece in the microwave first.
Print out the Owl Pattern and cut!
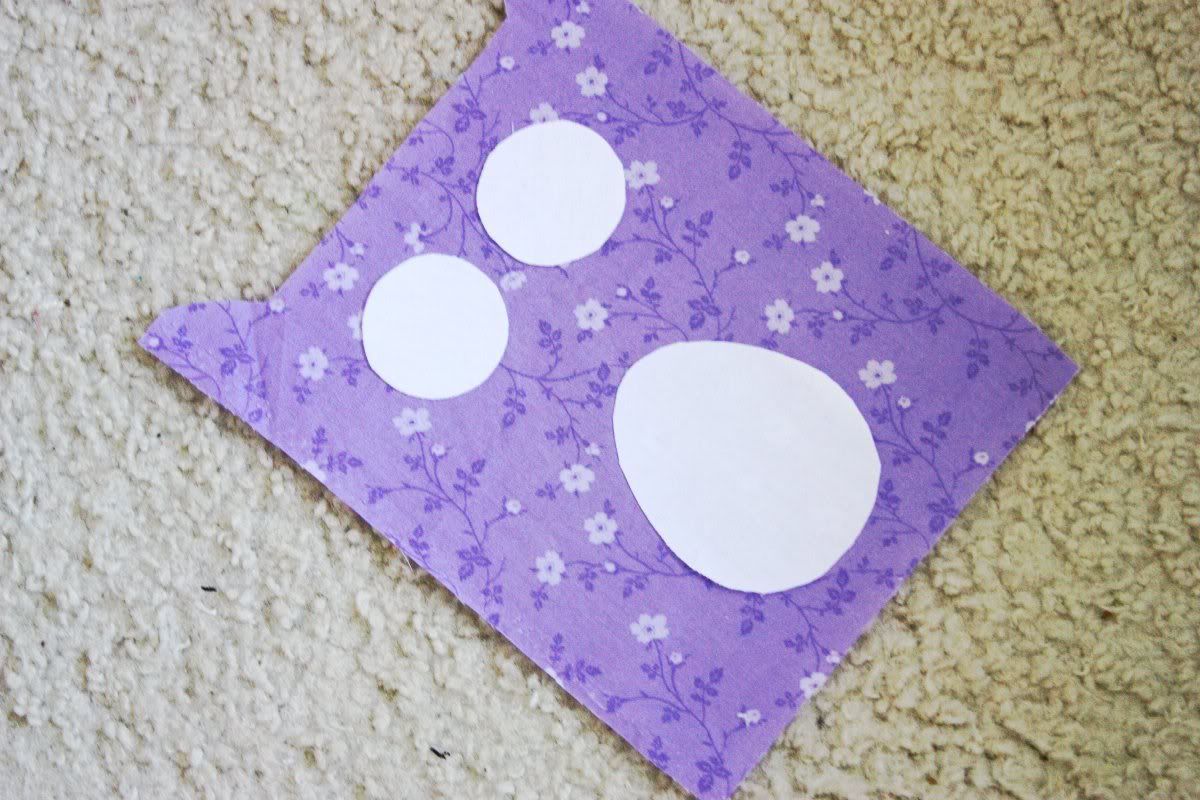
2 Body
2 Wings
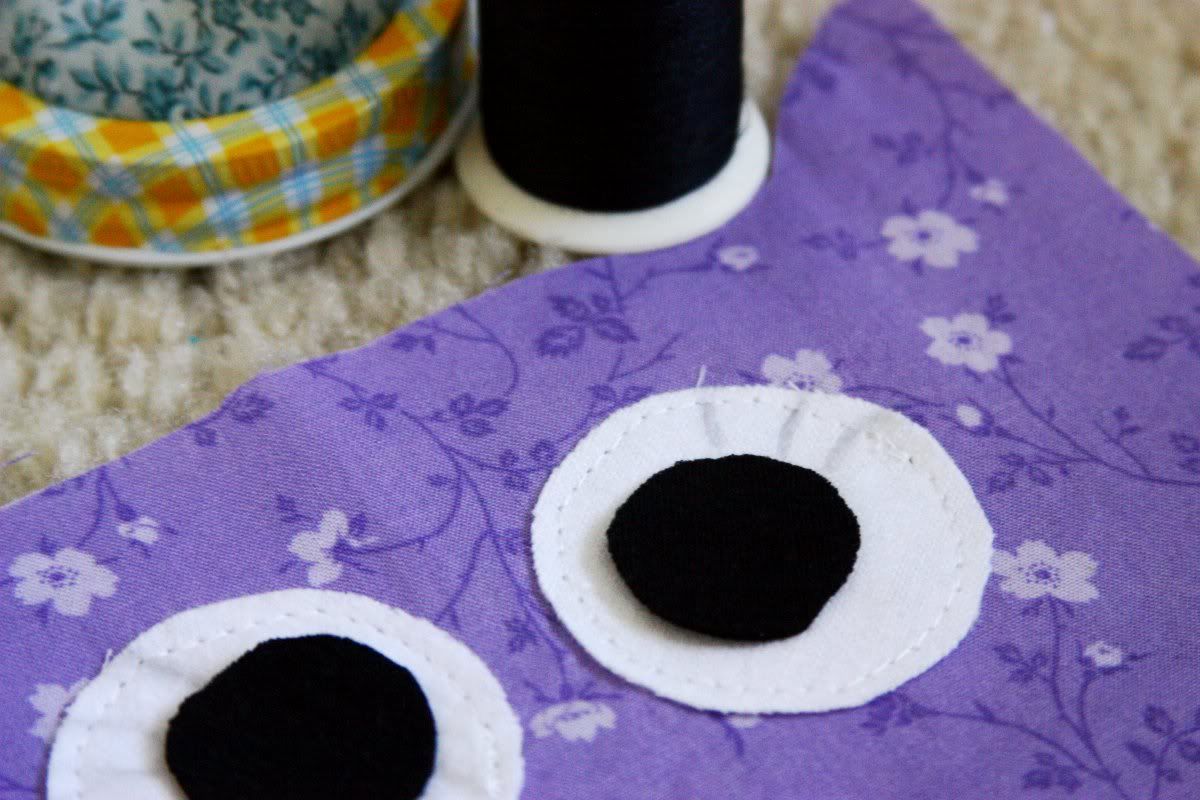
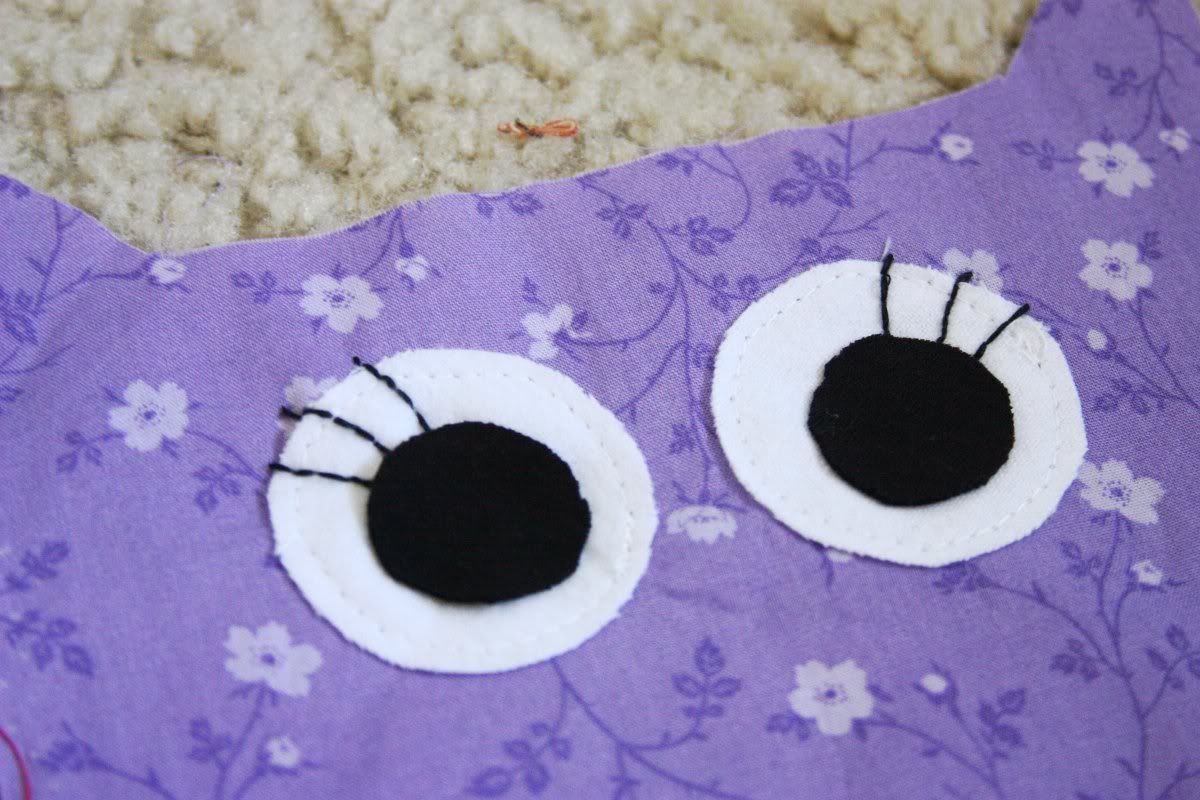
2 Outer eyes (you can also 'connect' you two outer eyes making a figure 8)
2 Inner eyes
Beak
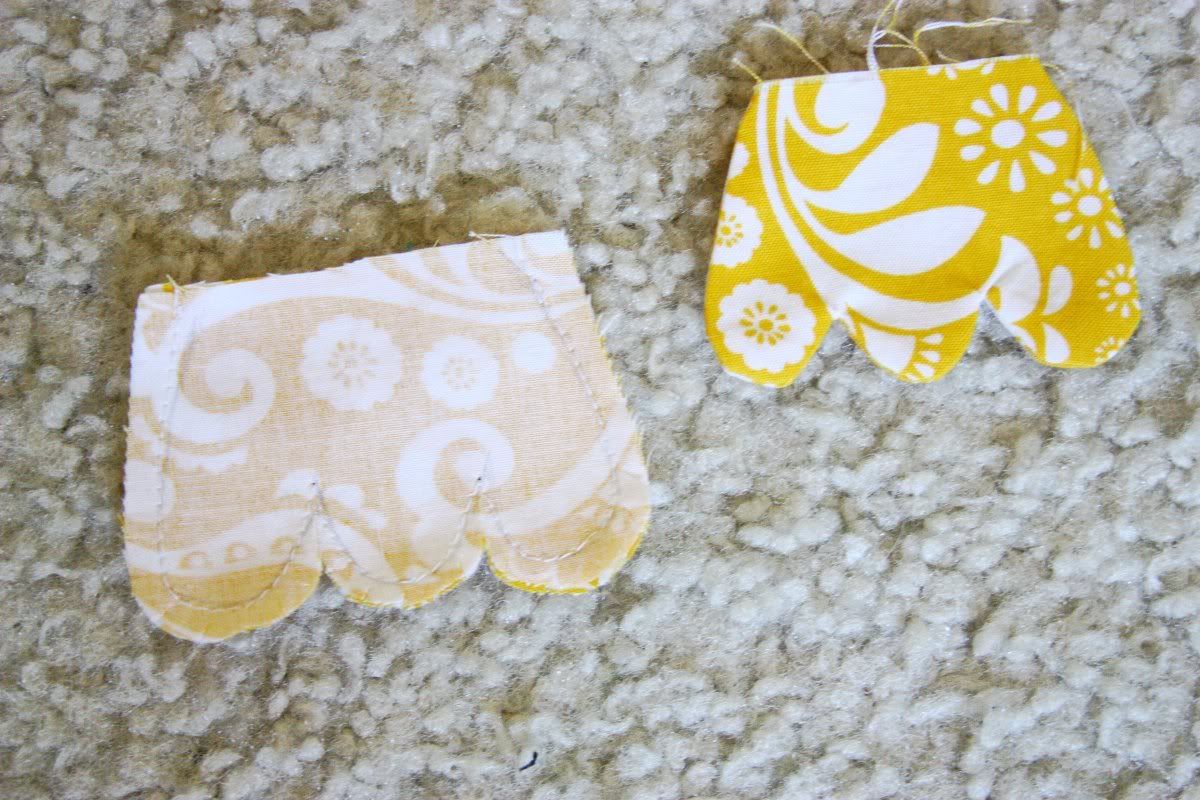
4 feet (optional)
Tie or Bowtie (optional)
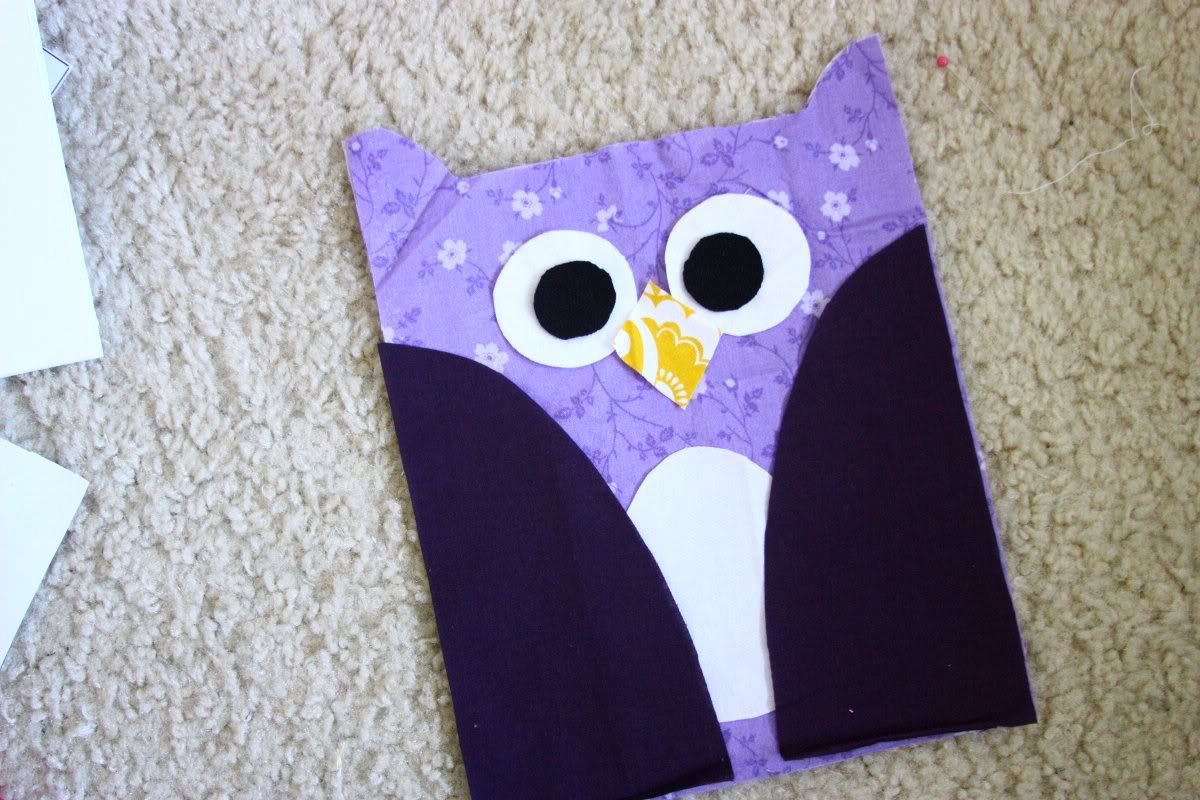
First I laid out all my piece so I could see how it would look.
Now I added a white egg shaped piece just for fun, if your making a 'boy' and are using the bowtie or tie then I probably wouldn't, BUT since mines a girl I did. :)
Starting with the Outer eyes use a large stitch and sew around the edge. Do the same to your middle piece if you have one.
For eye lashes (suggest only for girl owls) lightly draw them with a pencil and using contrasting thread stitch them. I used 4 layer of black thread to make it thick.
Now finished your eyes and add the beak.
For the wings do a large zigzag stitch around the edges then follow up with a strait stitch.
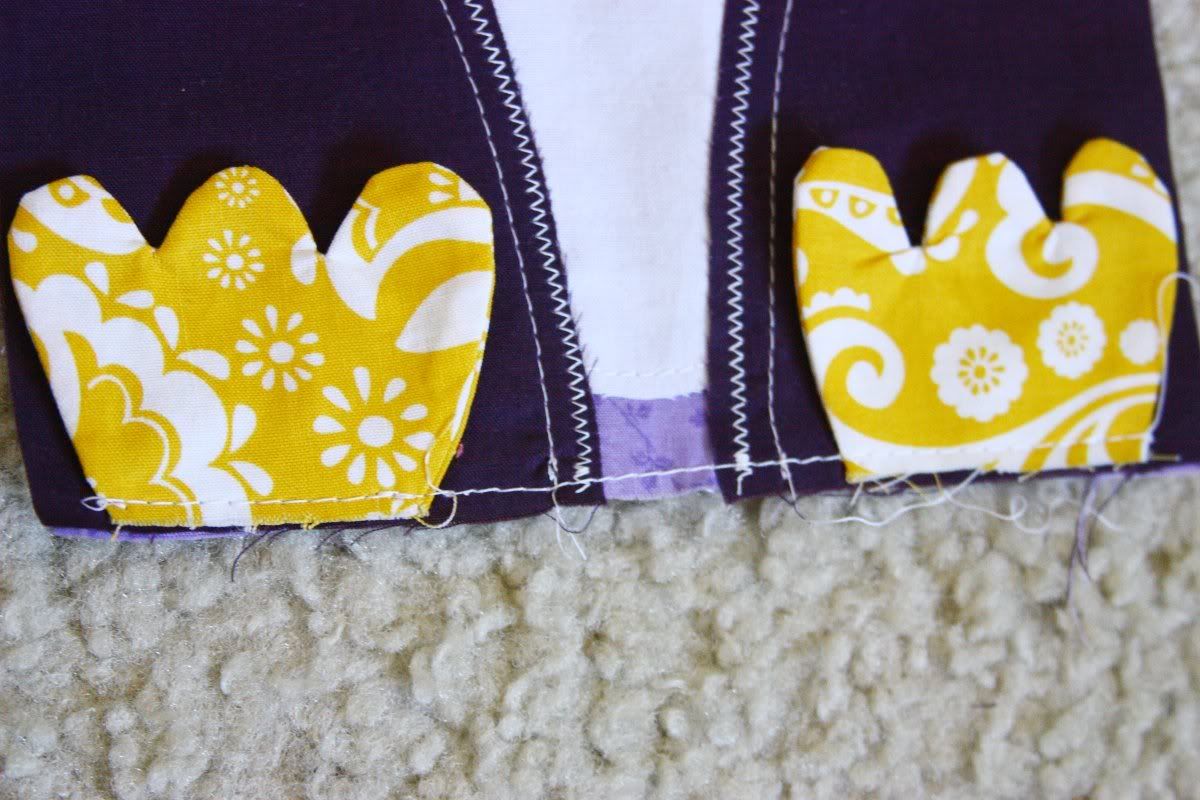
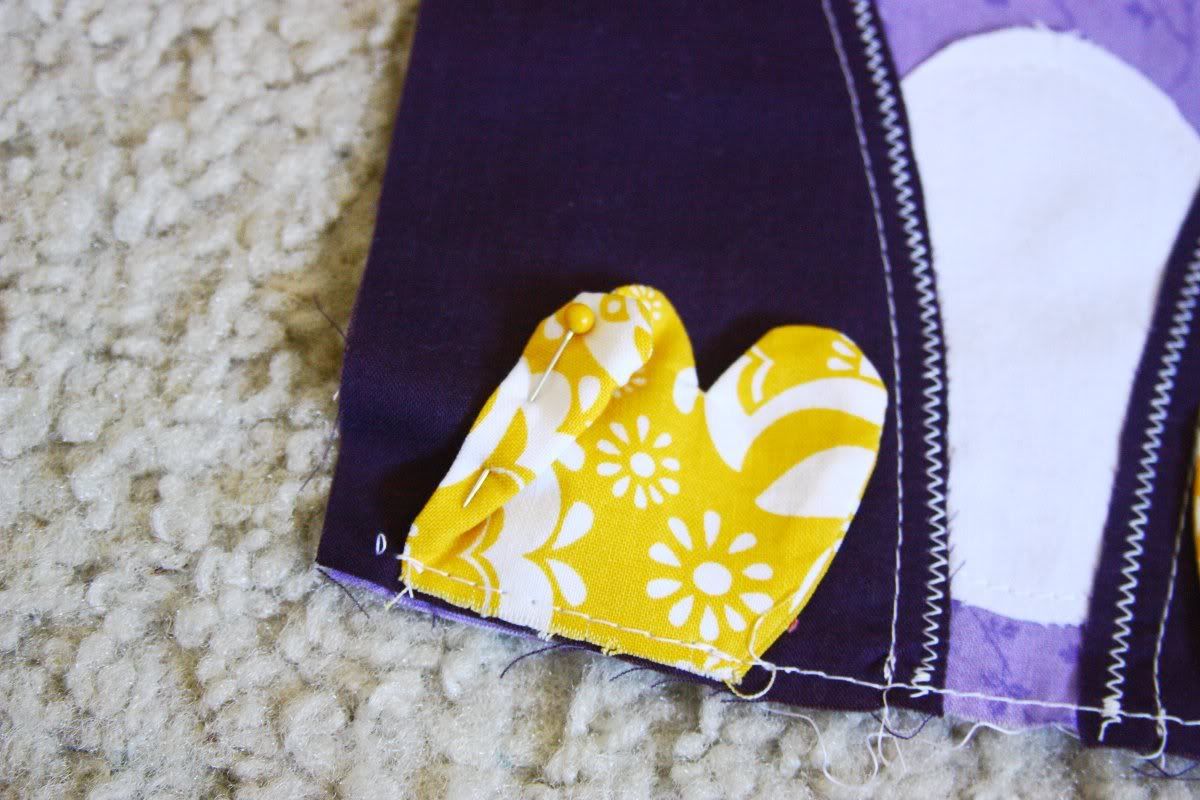
Feet are optional, they look cute with or without them. With right sides together sew around your feet leaving the end open. Its about 1/8-1/4 inch from the edge with a slight tilt toward the top. Cut the corners and in between the toes and turn right side out.
Pin and baste on to your owl.
Slightly fold and pin so you don't sew over them.
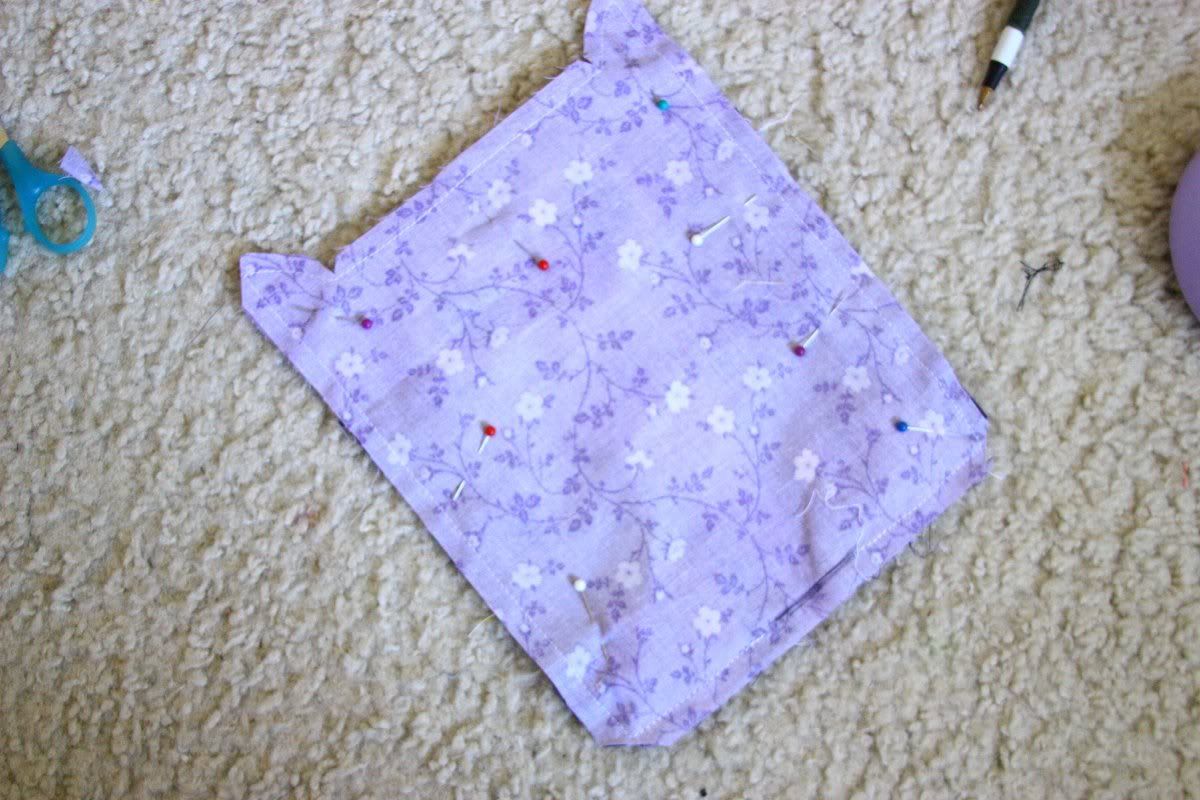
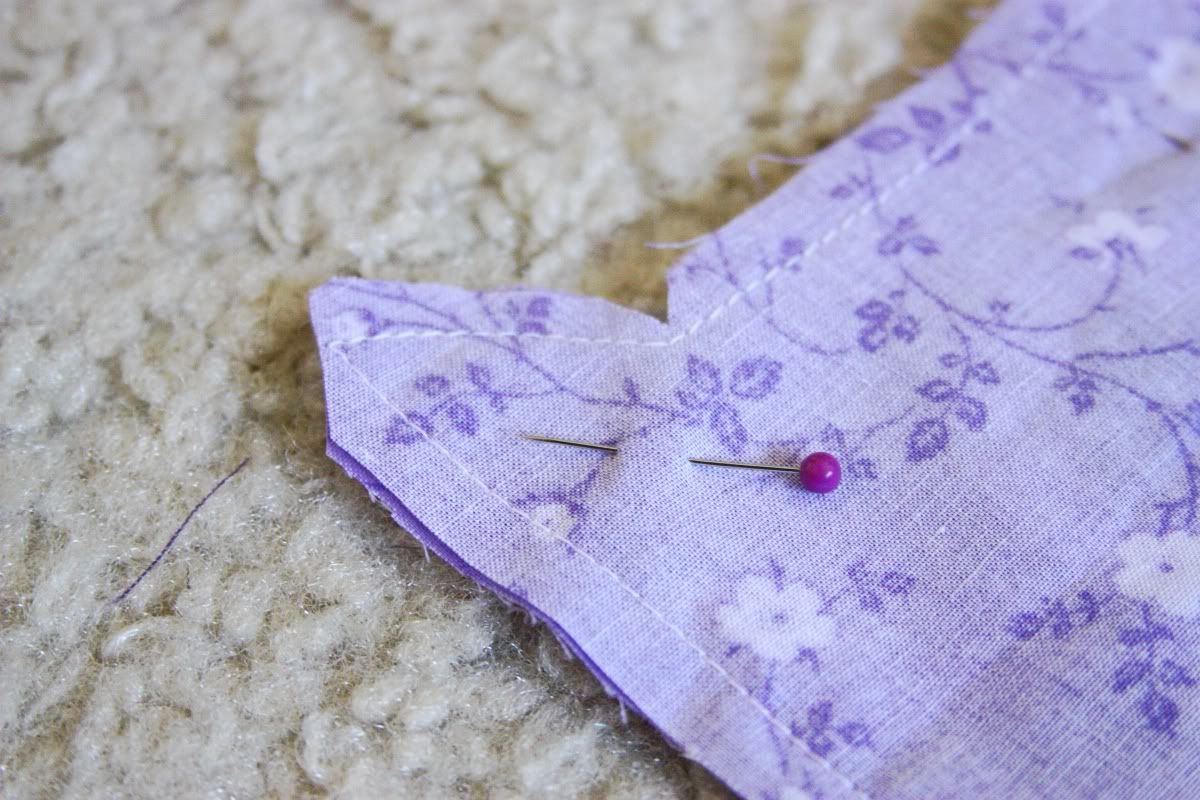
With wrongs side together sew all the way around leaving about a 2" opening on the bottom.
Trim the corners and ears.
Flip right side out and press.
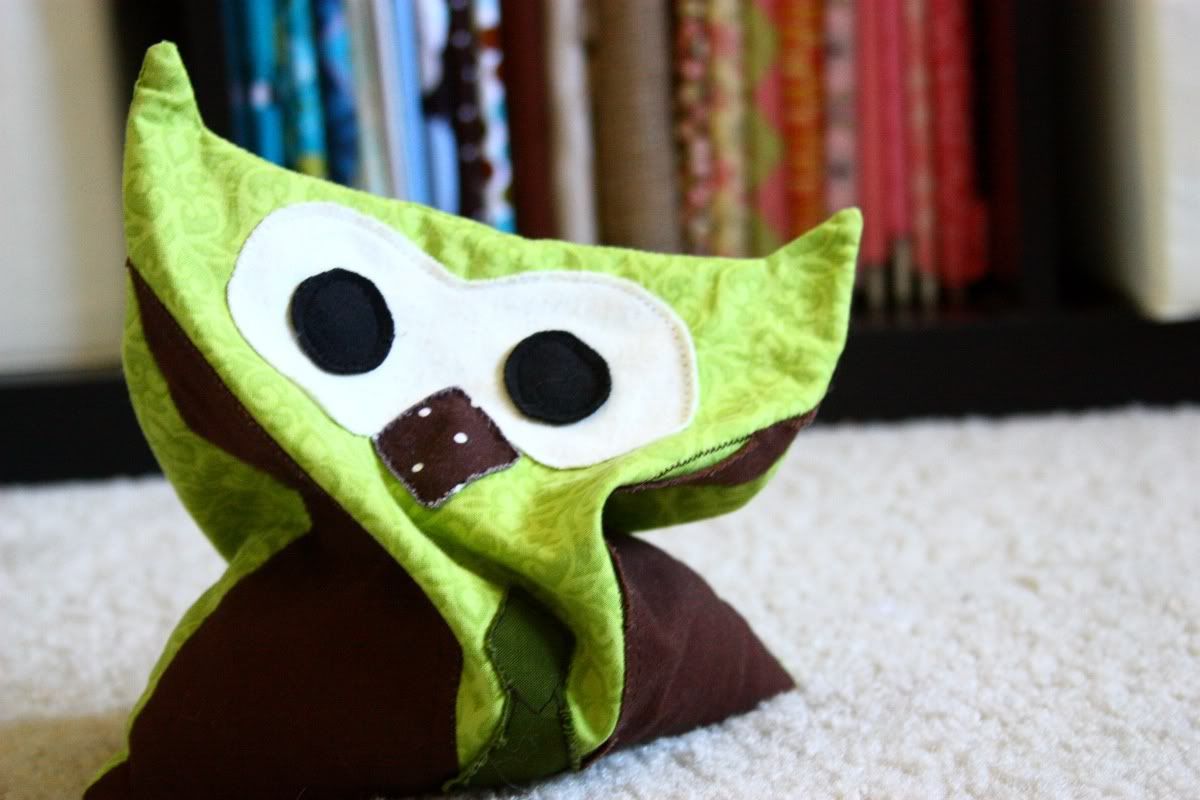
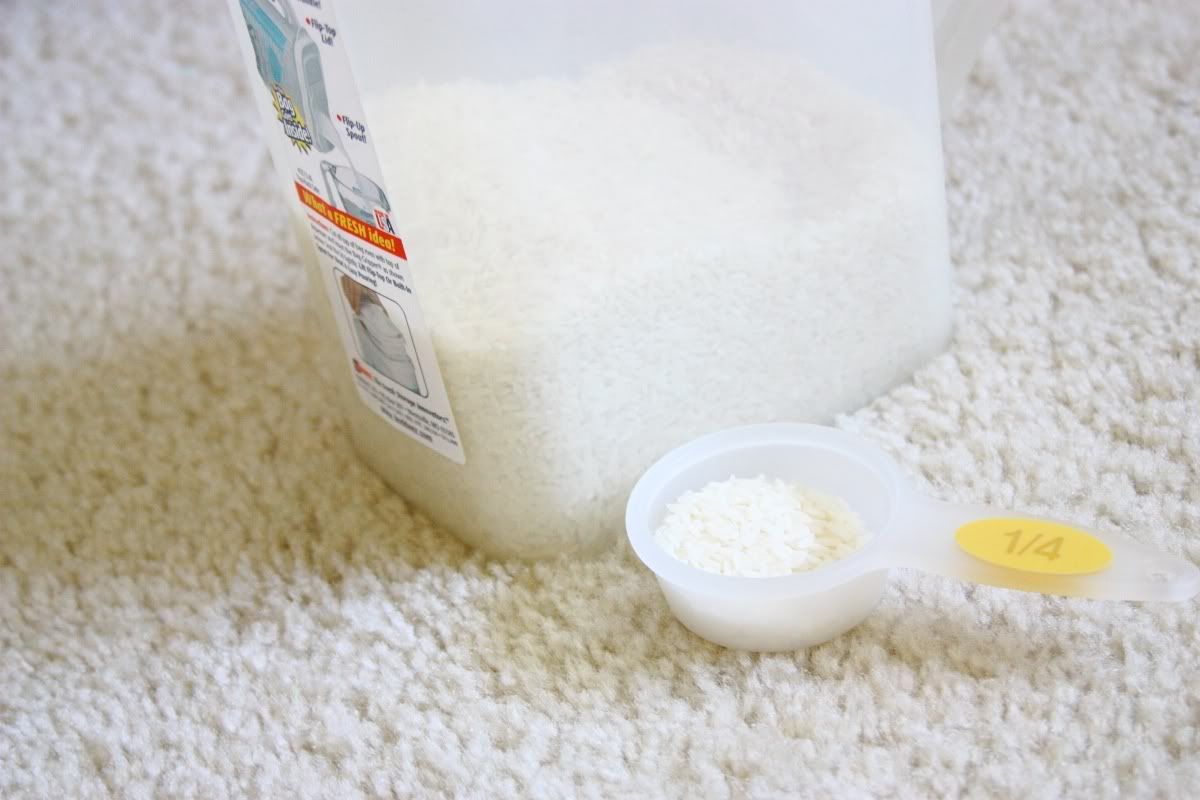
Now fill! I was going to use Flax seed but I couldn't find where it went. So I switch to rice. It takes about 1 1/2 -2 cups. It will depend on how full you want it. Stitch the hole with with your sewing machine, back stitching a lot!
Tada! A lovely owl friend that
will keep you warm at night! Microwave for about a minute, don't overheat!
Click and enlarge then copy and print.


